How to Make Espresso Coffee: 9 Steps from Bean to Perfect Crema
Only 20% of shots pulled each day actually develop proper crema — that golden, velvety layer that separates a mediocre cup from a truly exceptional one. The gap between a flat, bitter shot and a café-quality espresso isn’t luck or expensive equipment alone. It comes down to nine precise, repeatable steps that professional baristas follow every single time.
Disclosure: This post contains affiliate links. As an Amazon Associate, we earn from qualifying purchases, and at no extra cost to you.

This guide on How to Make Espresso Coffee: 9 Steps from Bean to Perfect Crema breaks down each stage — from selecting the right beans to reading your crema like a pro. Whether you’re just starting out or you’ve been pulling shots for years, these steps will sharpen your technique and transform your daily brew.
Key Takeaways ☕
- Bean freshness matters most: Use beans roasted within 2–4 weeks for the best crema and flavor [1]
- Precision is non-negotiable: A digital scale, burr grinder, and 9-bar machine are your three essential tools [3]
- controls everything: Aim for slightly finer than table salt for consistent, balanced extraction [3][5]
- Extraction time is your feedback loop: A well-pulled double shot flows for 25–30 seconds [3][5]
- Crema tells the story: Color, thickness, and texture reveal whether your shot is dialed in or needs adjustment [1][4]
Why Most Home Espresso Shots Fall Short
Before diving into the steps, it helps to understand what espresso actually is. Espresso is not a roast level or a bean type — it’s a brewing method. Hot water is forced through finely ground, compacted coffee at high pressure, producing a concentrated, emulsified shot topped with crema.
That crema — the reddish-brown foam on top — forms when pressurized hot water releases carbon dioxide (CO₂) trapped inside freshly roasted coffee cells. Without the right pressure, temperature, grind, and bean freshness working together, crema simply won’t form properly [1][4].
Most home shots fall short because one or more of these variables is off. The good news? Every variable is controllable. Let’s walk through each step.
How to Make Espresso Coffee: 9 Steps from Bean to Perfect Crema
1. Choose Beans Roasted Within the Optimal Window
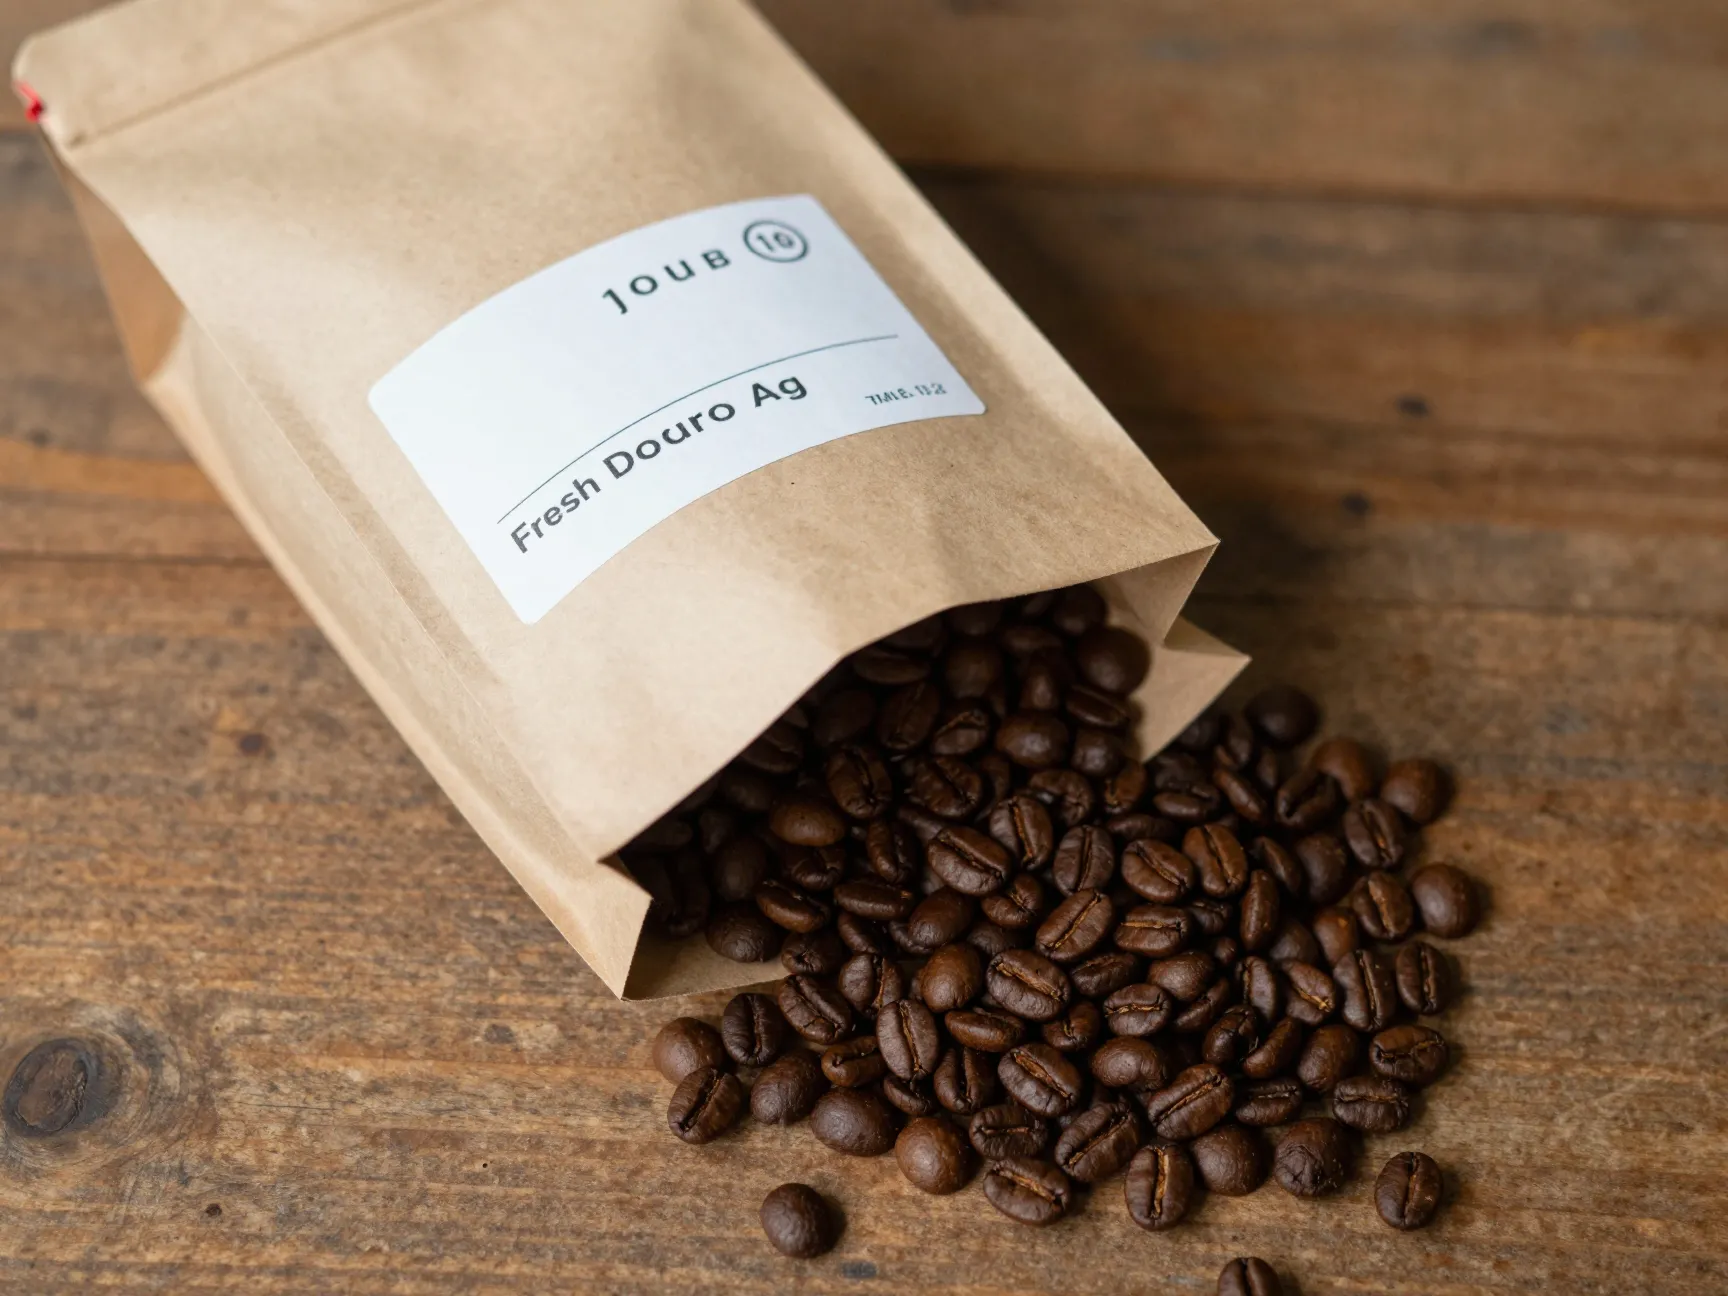
The journey to perfect crema begins long before you touch your machine. Bean freshness is the single most overlooked variable in home espresso.
Freshly roasted coffee beans contain high levels of CO₂ — the gas responsible for crema formation. As beans age, they off-gas and lose this CO₂ naturally. Use beans that are 2 to 4 weeks past their roast date for maximum CO₂ retention and crema quality [1][3].
💡 Pro tip: Beans roasted less than 5 days ago can actually produce too much CO₂, causing uneven extraction. The 2–4 week window is the sweet spot.
Older beans lose their natural carbon dioxide over time, resulting in thin or missing crema entirely [2]. Always check the roast date on your bag — not the “best by” date.
What to look for on the bag:
- A clearly printed roast date (not just a best-by date)
- Single-origin or espresso-blend labeling
- Medium to dark roast profiles (they tend to produce richer crema)
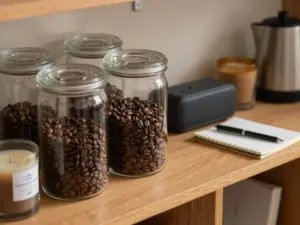
2. Store Beans Properly to Preserve Freshness
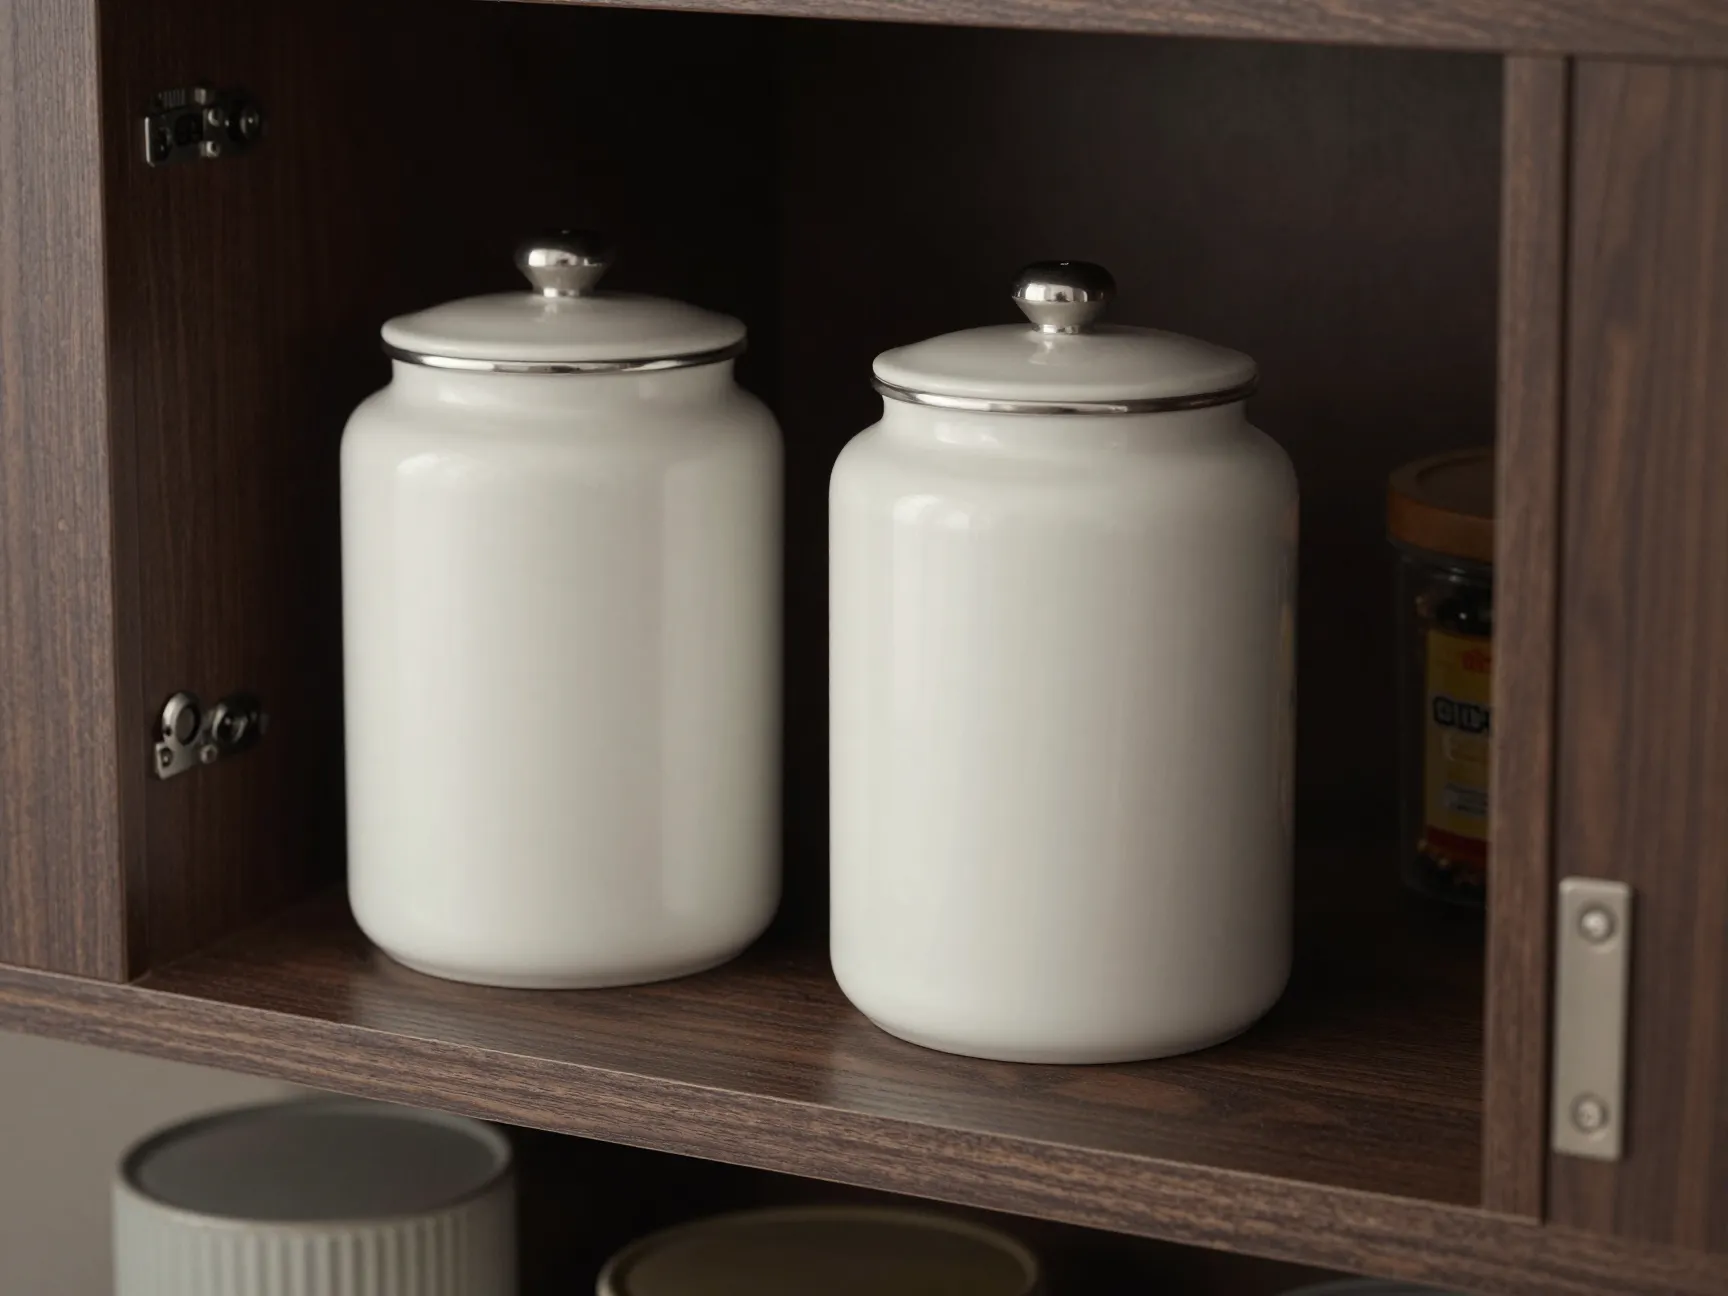
Buying fresh beans means nothing if you store them incorrectly. Exposure to air, light, heat, and moisture accelerates CO₂ loss and stales your beans fast [3].
Best storage practices:
| ❌ Avoid | ✅ Do This |
|---|---|
| Clear on the counter | Opaque, airtight container |
| Storing in the fridge | Room temperature, away from heat |
| Leaving the bag open | Seal tightly after each use |
| Buying in bulk too far ahead | Buy in 1–2 week quantities |
Store your beans in an airtight container away from direct light and moisture [3]. A dedicated coffee canister with a one-way valve is ideal — it lets CO₂ escape without letting oxygen in.
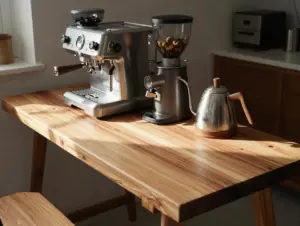
3. Gather Your Essential Tools
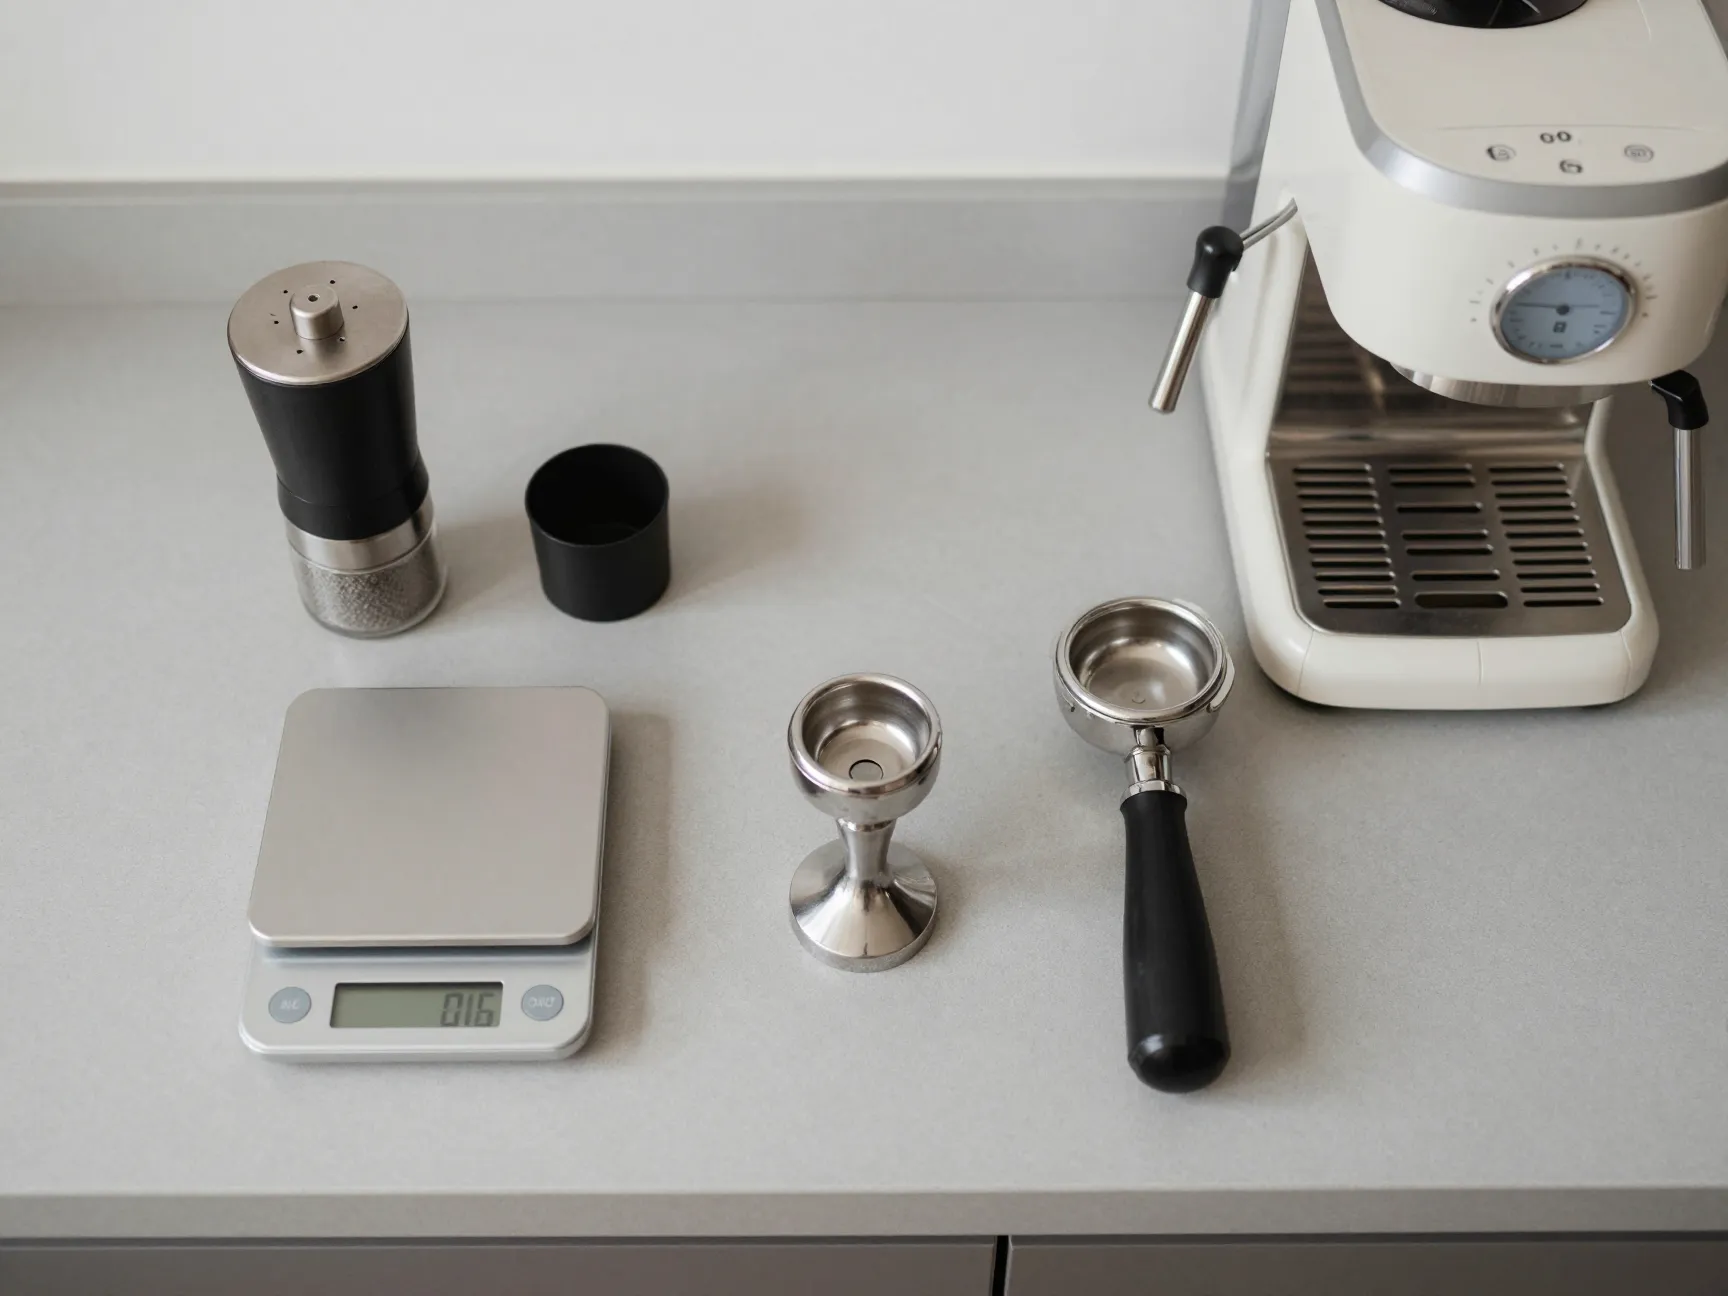
Attempting great espresso without the right equipment is like trying to bake bread without an oven. There are four non-negotiable tools [3]:
1. A quality burr grinder — Blade grinders produce uneven particle sizes that cause inconsistent extraction. A burr grinder (flat or conical) creates uniform grounds essential for even water flow.
2. An with 9-bar pressure capability — Pressure is what creates espresso. A minimum of 9 bars of pressure is required for proper crema formation and emulsification [3][4]. Machines that can’t reach this threshold simply cannot produce real espresso.
3. A digital scale — Eyeballing your dose leads to inconsistent shots. A scale accurate to 0.1 grams removes guesswork entirely.
4. A dedicated tamper — The tamper that comes with most machines is often too light and poorly fitting. A quality tamper sized to your portafilter basket (typically 58mm) makes a real difference.
4. Grind to the Right Consistency
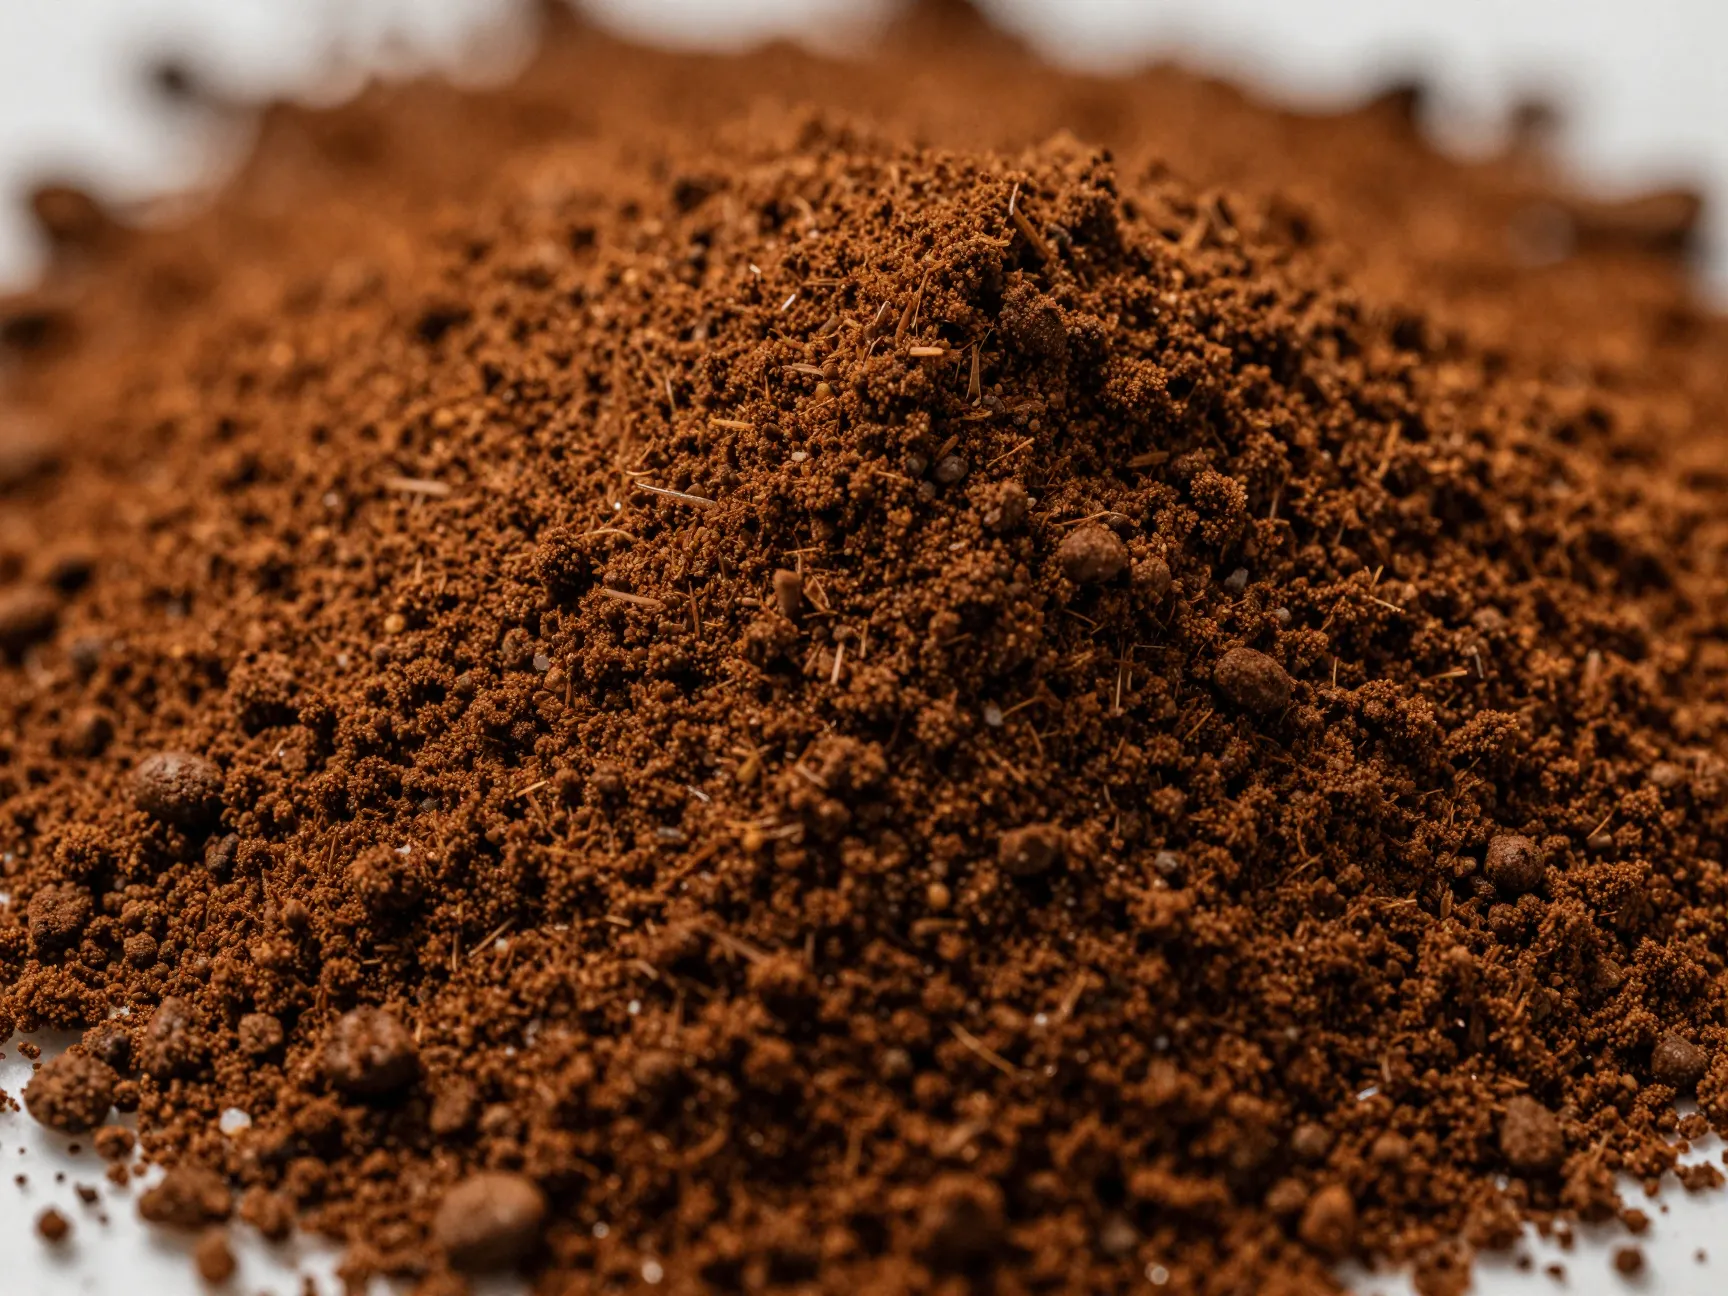
Grind size is the most powerful dial you have for controlling espresso extraction. Get it wrong, and no amount of technique will save your shot.
For espresso, you want a grind that is slightly finer than table salt but coarser than powdered sugar [3][5]. This specific texture creates the resistance needed for proper extraction under pressure.
Quick reference guide:
| Grind Size | Texture Comparison | Result |
|---|---|---|
| Too coarse | Like sea salt | Fast, watery, sour shot |
| ✅ Correct | Slightly finer than table salt | 25–30 sec extraction, balanced |
| Too fine | Like powdered sugar | Slow, bitter, over-extracted |
Grind your beans fresh immediately before each shot. Pre- loses its CO₂ within minutes of grinding, killing crema potential before you even start.
5. Dose Your Grounds Precisely
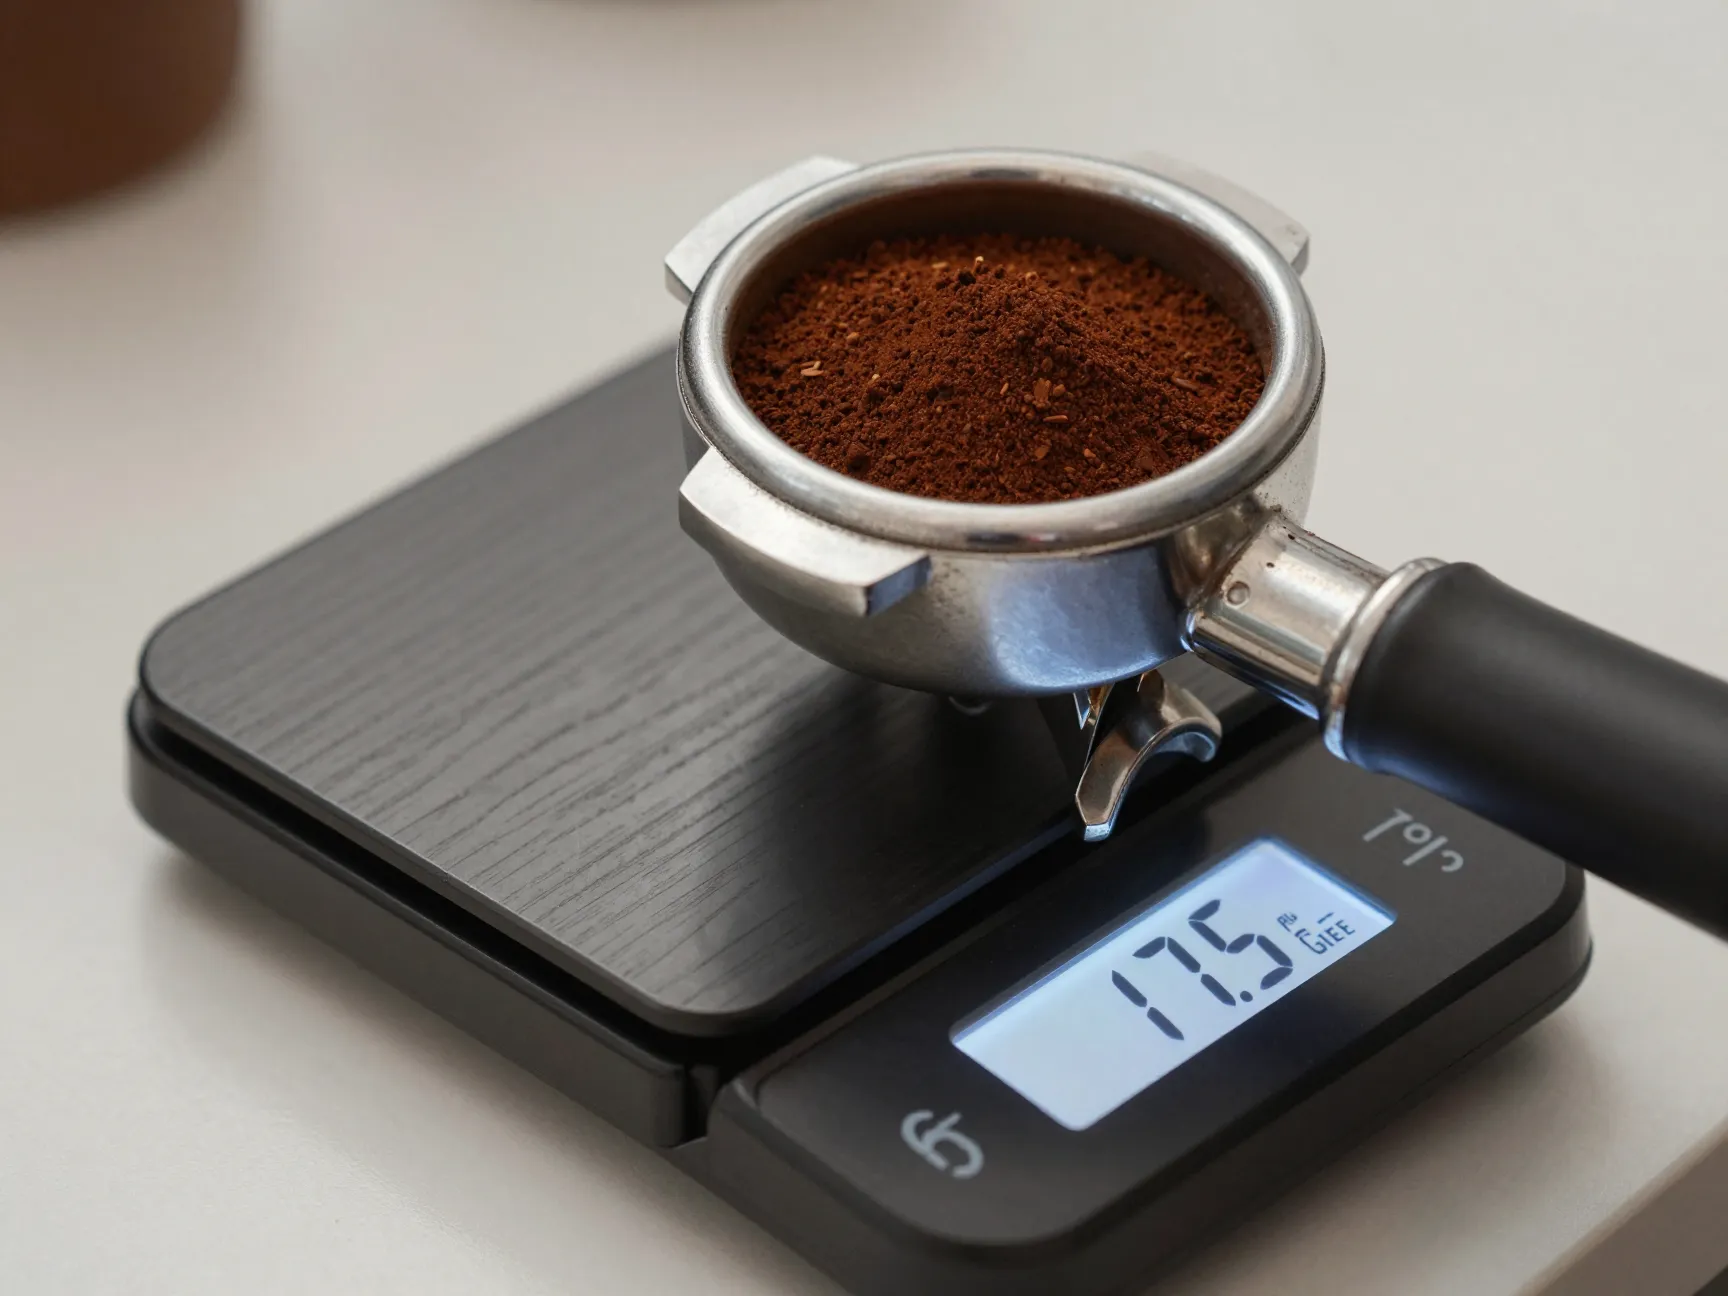
Now that your beans are ground correctly, it’s time to measure your dose. For a standard double shot (the most common espresso serving), use 16–18 grams of ground coffee, with 17.5 grams as a reliable starting point [1][3].
Place your portafilter basket on your digital scale and zero it out. Grind directly into the basket or use a dosing cup, then transfer and level off.
📌 Key insight: A consistent dose is the foundation of a repeatable shot. Even a 1-gram variation can noticeably change your extraction time and flavor.
Standard dose reference:
- Single shot: 7–9 grams
- Double shot: 16–18 grams (start at 17.5g) [1][3]
- Ristretto (short double): 14–16 grams
Once dosed, gently distribute the grounds evenly in the basket using your finger or a distribution tool. Uneven distribution leads to channeling — where water finds the path of least resistance and extracts unevenly.
6. Tamp with Consistent Pressure
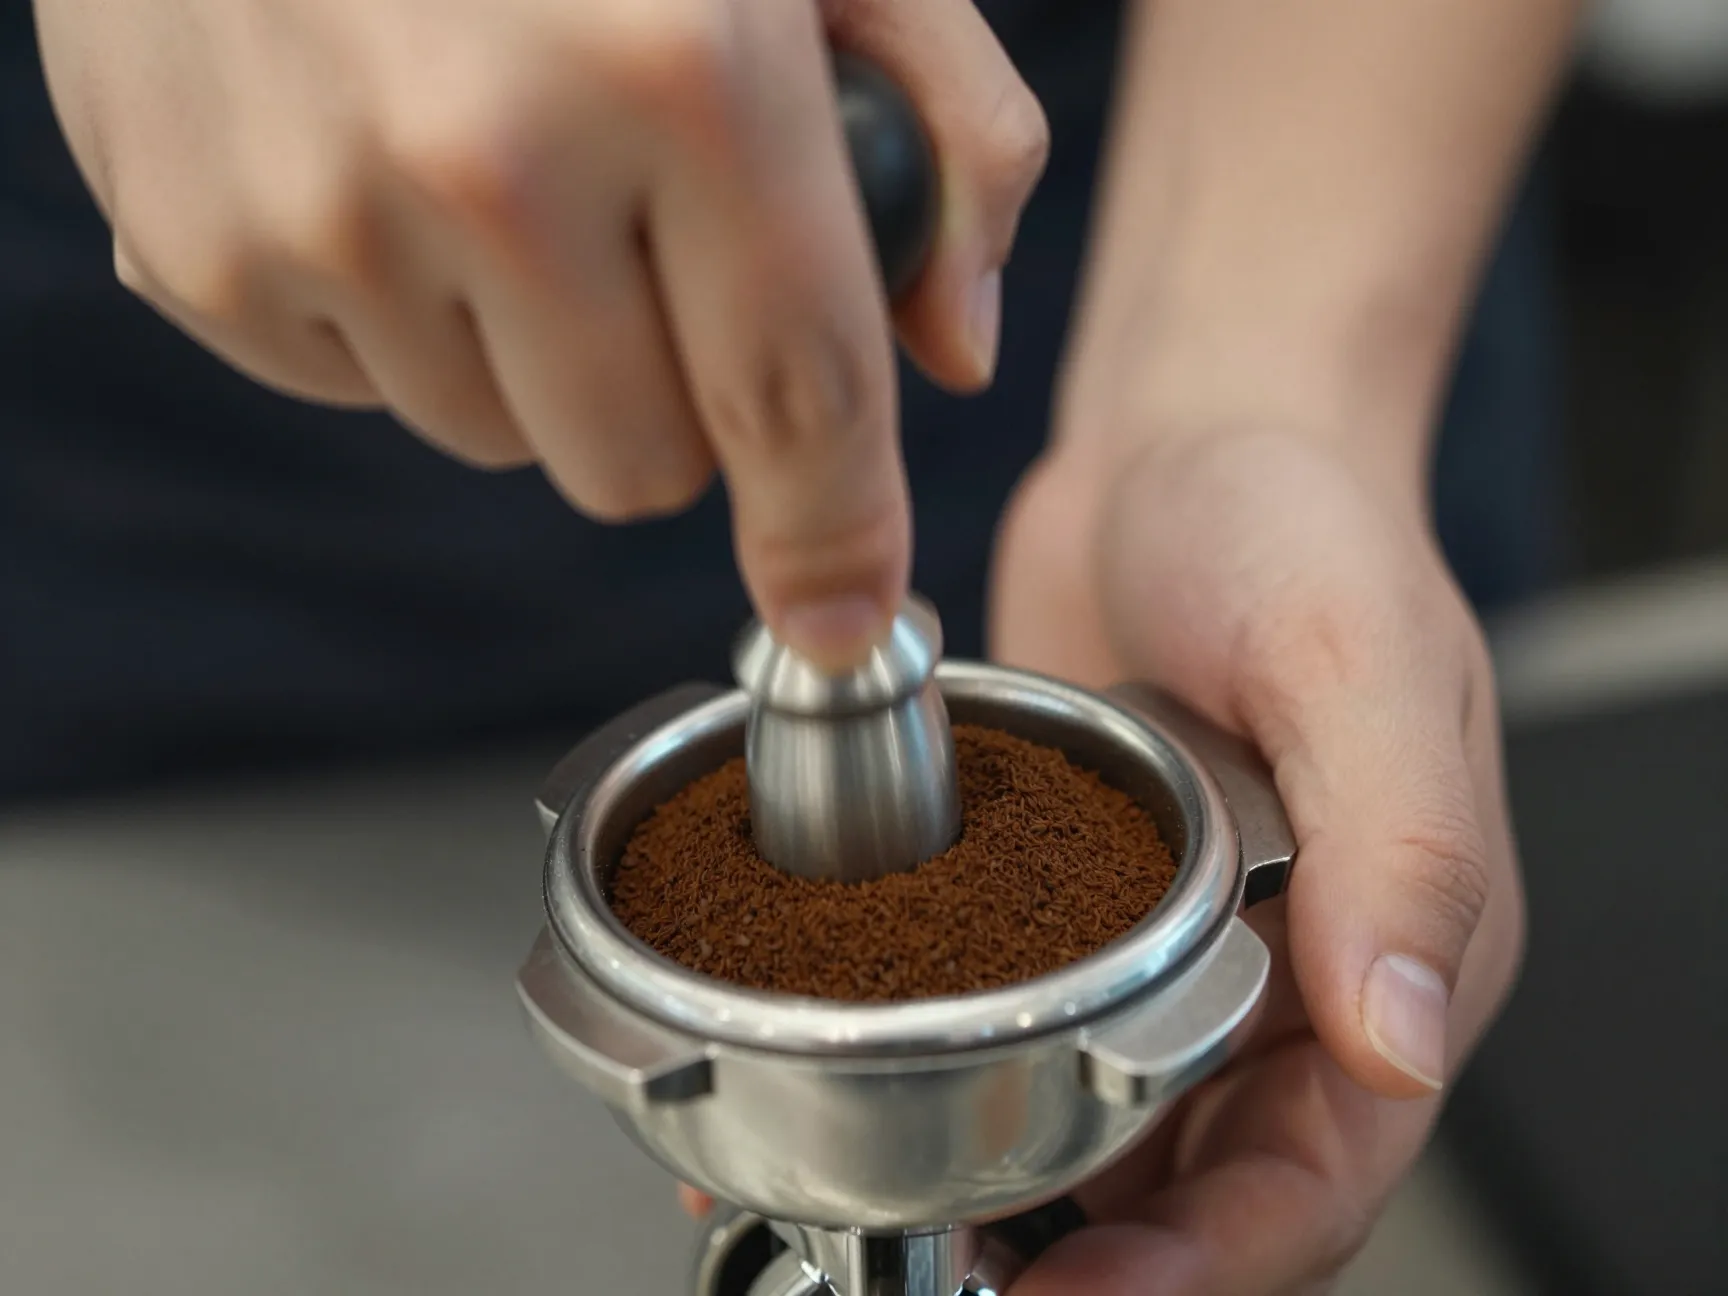
Tamping compresses your coffee grounds into a firm, even puck that water must push through uniformly. This step is where many home baristas go wrong — either tamping too lightly, unevenly, or with inconsistent force.
Apply approximately 30 pounds of consistent, downward pressure with a level, even surface [1][3]. The goal is a flat, polished puck with no gaps or cracks along the edges.
Tamping checklist:
- ✅ Hold the tamper like a doorknob — straight, not angled
- ✅ Apply firm, even pressure straight down
- ✅ Polish with a slight twist at the end
- ✅ Check that the puck surface is level before locking in
- ❌ Don’t tamp at an angle — this creates channeling
- ❌ Don’t tap the portafilter after tamping — it cracks the puck
💬 “Channeling is the silent killer of . A single crack in your puck can ruin an otherwise perfect extraction.” — A principle every barista learns early.
7. Set Your Machine Temperature and Pressure
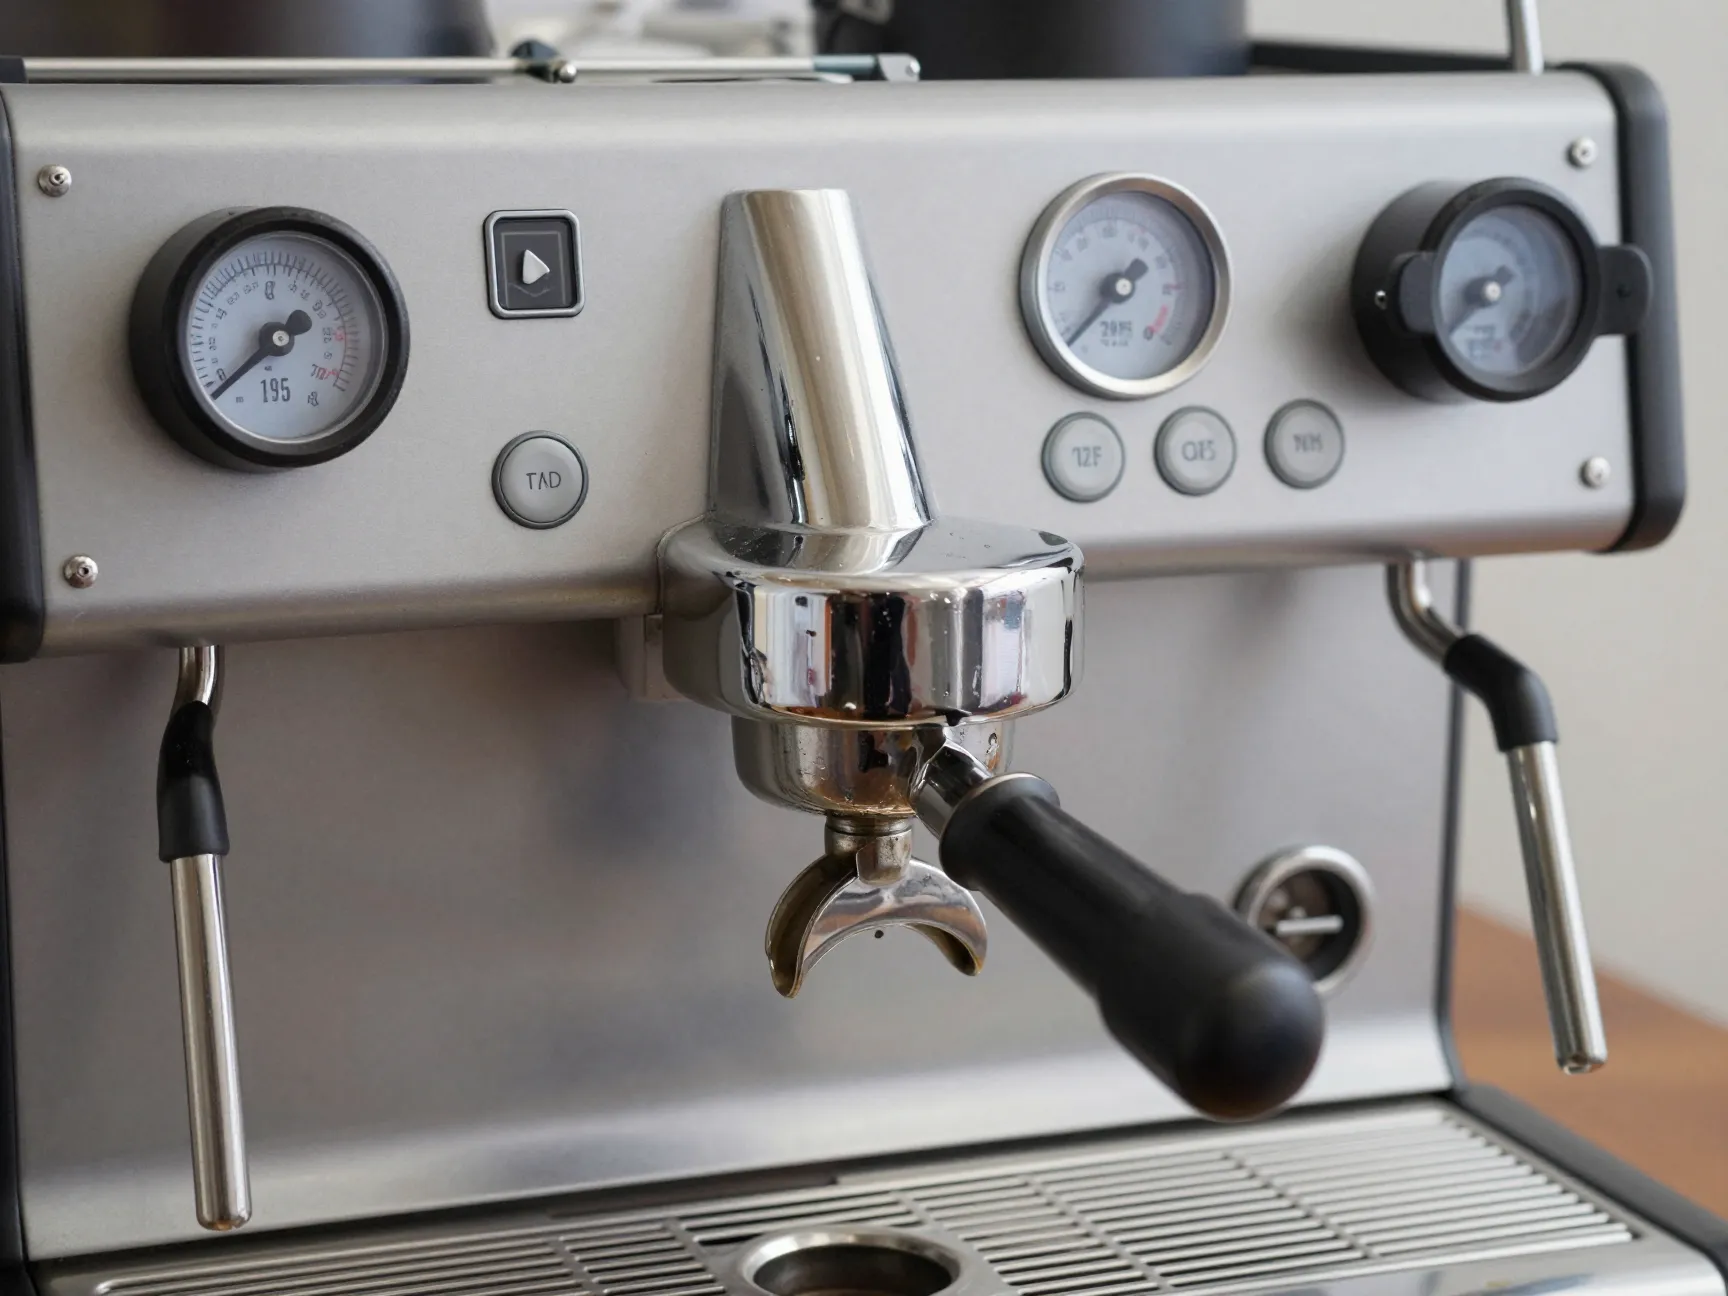
With your portafilter loaded and locked in, it’s time to set your machine parameters. Two variables matter most here: water temperature and pressure.
Water Temperature:
Maintain a between 190–196°F (88–91°C) for optimal extraction and CO₂ release [1][5]. Some sources recommend a slightly higher range of 198–201°F for darker roasts. Lighter roasts generally benefit from slightly lower temperatures.
Machine Pressure:
Your machine must deliver a minimum of 9 bars of pressure at the group head [3][4]. This is what forces water through the compacted puck, emulsifies the coffee oils, and creates that signature crema layer.
Temperature quick guide by roast:
| Roast Level | Recommended Temp |
|---|---|
| Light roast | 198–201°F (92–94°C) |
| Medium roast | 195–198°F (91–92°C) |
| Dark roast | 190–196°F (88–91°C) |
Always run a blank shot (flush) before locking in your portafilter. This stabilizes the group head temperature and removes any stale water from the previous shot.
8. Pull the Shot and Time Your Extraction

This is the moment everything comes together. Lock your portafilter firmly into the group head, place your preheated cup underneath, and start your shot — and your timer — simultaneously.
A well-pulled double shot should flow for 25–30 seconds from the moment you start the pump [3][5]. The stream should start as a slow drip, build into a thin “mouse tail” stream, then flow steadily.
What to watch for during extraction:
- First 5–8 seconds: Slow drip as the puck saturates (pre-infusion)
- 8–20 seconds: Thin, steady stream — should be honey-golden to dark brown
- 20–30 seconds: Flow thickens slightly as extraction completes
- After 30 seconds: Stop the shot — you risk over-extraction
Shot volume target: A standard double shot yields approximately 36–40 grams of liquid espresso (using a 1:2 coffee-to-water ratio).
9. Read Your Crema and Dial In Your Shot
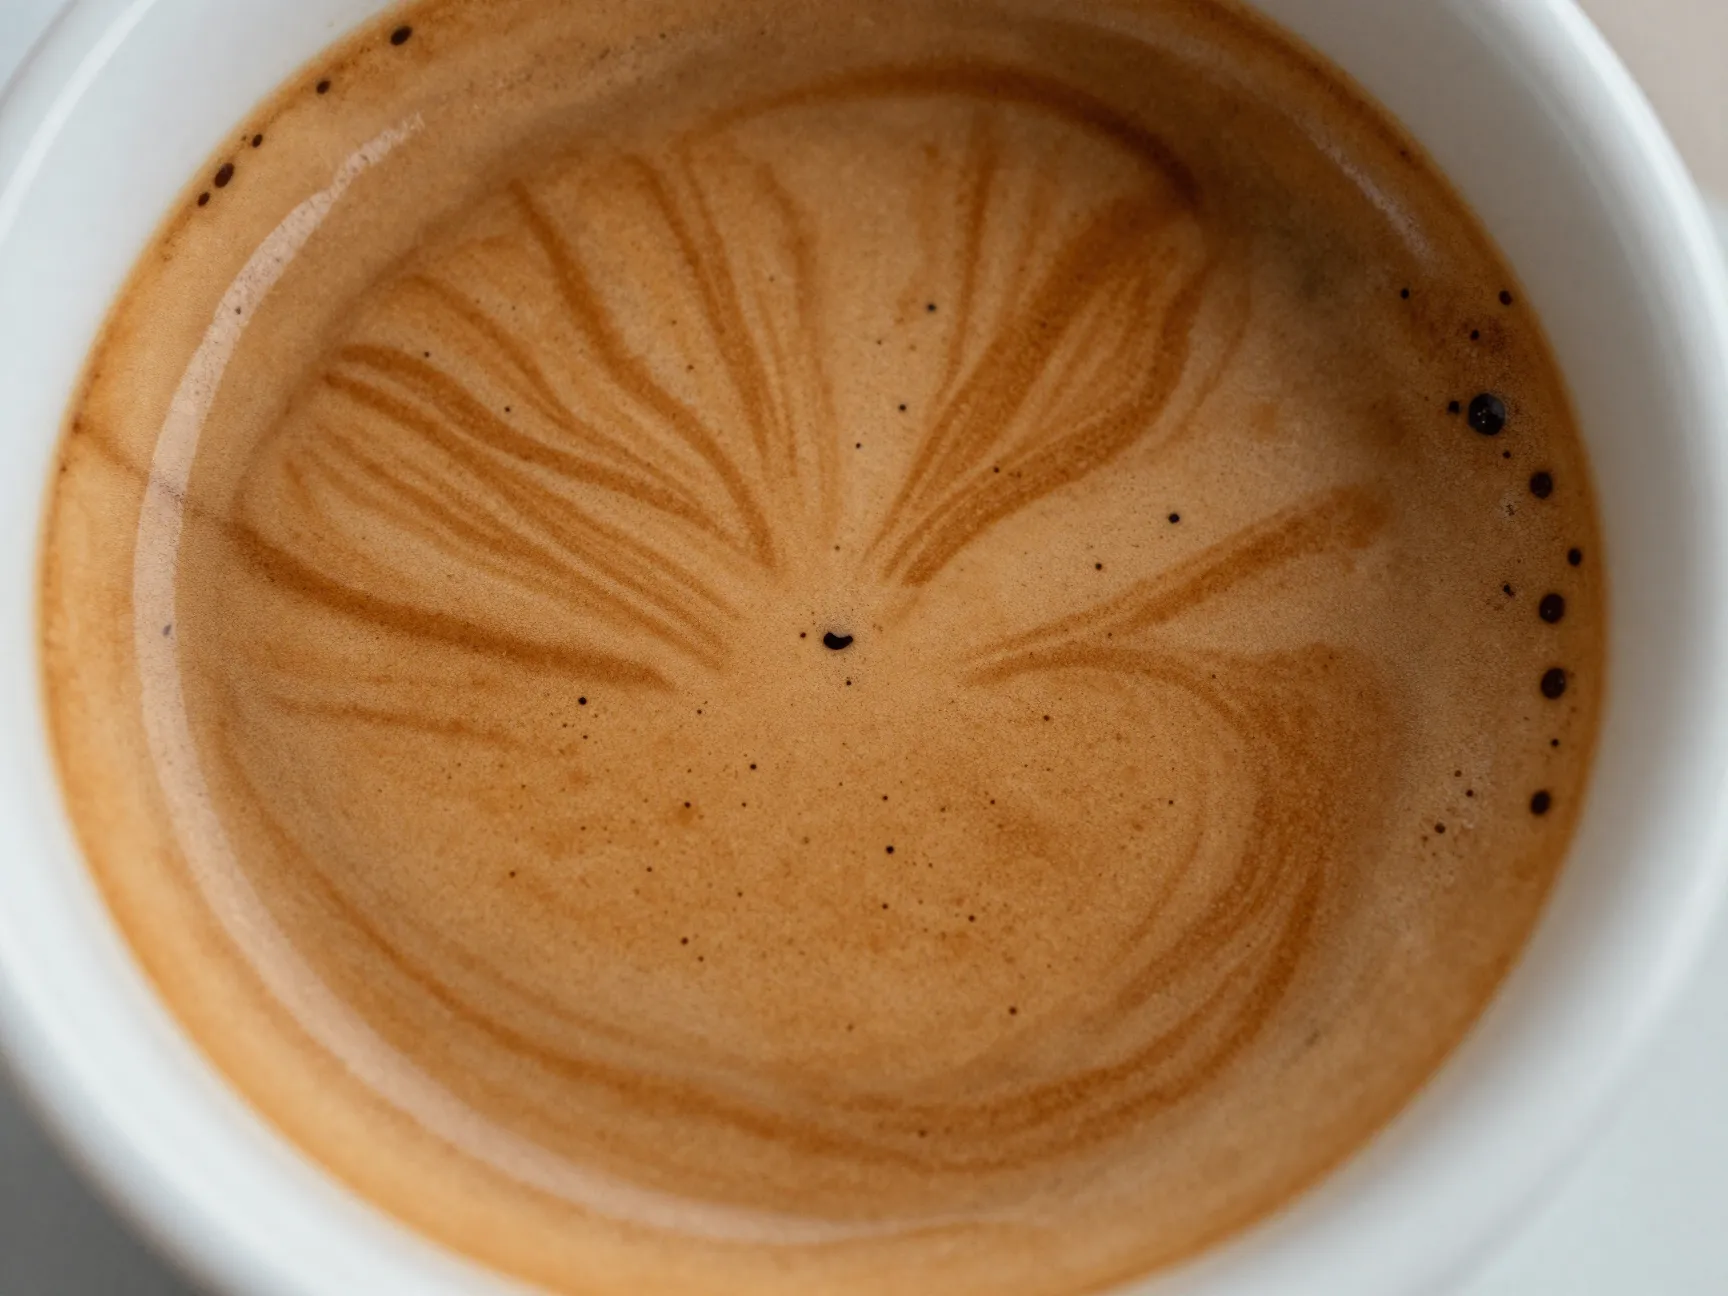
The crema is your report card. Once your shot is pulled, spend 10 seconds reading what it tells you before you drink it.
Crema color and texture guide:
| Crema Appearance | What It Means | Fix |
|---|---|---|
| 🟤 Thick, hazel-brown, tiger-striped | Perfect extraction | Nothing — enjoy! |
| ⬜ Pale, thin, disappears fast | Under-extracted or old beans | Grind finer or use fresher beans [1][2] |
| ⬛ Very dark, almost black | Over-extracted | Grind coarser [5] |
| 🫧 Large bubbles, foamy | Beans too fresh (under 5 days) | Wait a few more days |
Flavor-based troubleshooting [5]:
- Sour or flat taste → Under-extraction → Grind finer to slow the shot down
- Bitter, harsh, lingering → Over-extraction → Grind coarser to speed the shot up
- Balanced, sweet, complex → You’re dialed in ✅
Use the timing-based dial-in method: if your shot runs faster than 25 seconds, grind finer; if it runs slower than 30 seconds, grind coarser [5]. Adjust in small increments — half a step at a time on your grinder.
How to Make Espresso Coffee: 9 Steps from Bean to Perfect Crema — Quick Reference Summary
Here’s the complete process at a glance:
| Step | Action | Key Target |
|---|---|---|
| 1 | Choose fresh beans | Roasted 2–4 weeks ago |
| 2 | Store beans properly | Airtight, dark, room temp |
| 3 | Gather tools | Burr grinder, scale, 9-bar machine, tamper |
| 4 | Grind correctly | Slightly finer than table salt |
| 5 | Dose precisely | 17.5g starting point (16–18g range) |
| 6 | Tamp evenly | ~30 lbs, level surface |
| 7 | Set temperature & pressure | 190–196°F, 9 bars minimum |
| 8 | Pull and time the shot | 25–30 seconds |
| 9 | Read crema & adjust | Hazel-brown, thick, tiger-striped |
Common Espresso Mistakes to Avoid in 2026
Even experienced home baristas make these errors regularly:
❌ Using pre-ground coffee — CO₂ escapes within minutes of grinding. Always grind fresh [2].
❌ Skipping the digital scale — Eyeballing your dose creates inconsistency. A $15 scale eliminates this entirely [3].
❌ Not flushing the group head — Temperature stability matters. Always run a blank shot first.
❌ Tamping at an angle — Creates uneven resistance and channeling [1][3].
❌ Using filtered or distilled water — Distilled water lacks the minerals needed for proper extraction. Use filtered tap water with moderate mineral content.
❌ Ignoring — Backflush your machine weekly and descale monthly. Mineral buildup affects both temperature stability and pressure.
Conclusion: Your Path to Consistent, Café-Quality Espresso
Mastering How to Make Espresso Coffee: 9 Steps from Bean to Perfect Crema is genuinely achievable at home — it just requires treating each variable with intention. The nine steps outlined here aren’t arbitrary rituals. Each one directly impacts the chemistry happening inside your portafilter.
Your actionable next steps:
- Check your beans today — Are they within the 2–4 week roast window? If not, order fresh.
- Weigh your next shot — If you haven’t been using a scale, start now. Aim for 17.5 grams.
- Time your extraction — Pull your next shot with a timer running. Is it hitting 25–30 seconds?
- Read the crema — Use the color and texture guide above to identify what needs adjusting.
- Change one variable at a time — Adjust only grind size, dose, or temperature in isolation so you can identify what’s working.
Espresso rewards patience and precision. The first time you pull a shot with a perfect hazel-brown, tiger-striped crema that holds for two minutes — you’ll understand why baristas obsess over every gram and every second. That shot is entirely within your reach. ☕
References
[1] Crema Formation Premium Coffee Guide – https://www.787coffee.com/blog/crema-formation-premium-coffee-guide
[2] Espresso Top Tips How To Make Perfect Espresso At Home – https://9barista.com/blogs/the-ninth-bar/espresso-top-tips-how-to-make-perfect-espresso-at-home
[3] 22 Perfect Espresso At Home Step By Step Guide – https://www.espressocoffeeshopusa.com/blog/post/22-perfect-espresso-at-home-step-by-step-guide
[4] The Secret To Perfect Espresso Crema – https://www.breville.com/us/en/blog/coffee-and-espresso/the-secret-to-perfect-espresso-crema.html
[5] Espresso Brewing Guide – https://crema-coffee.com/pages/espresso-brewing-guide
[6] 9 Steps To Make The Perfect Espresso – https://stagartisancoffee.com/f/9-steps-to-make-the-perfect-espresso
[7] How To Make The Perfect Espresso A Guide To Crafting A Bold And Balanced Shot – https://www.catholiccoffee.com/blogs/catholic-coffee-blog/how-to-make-the-perfect-espresso-a-guide-to-crafting-a-bold-and-balanced-shot