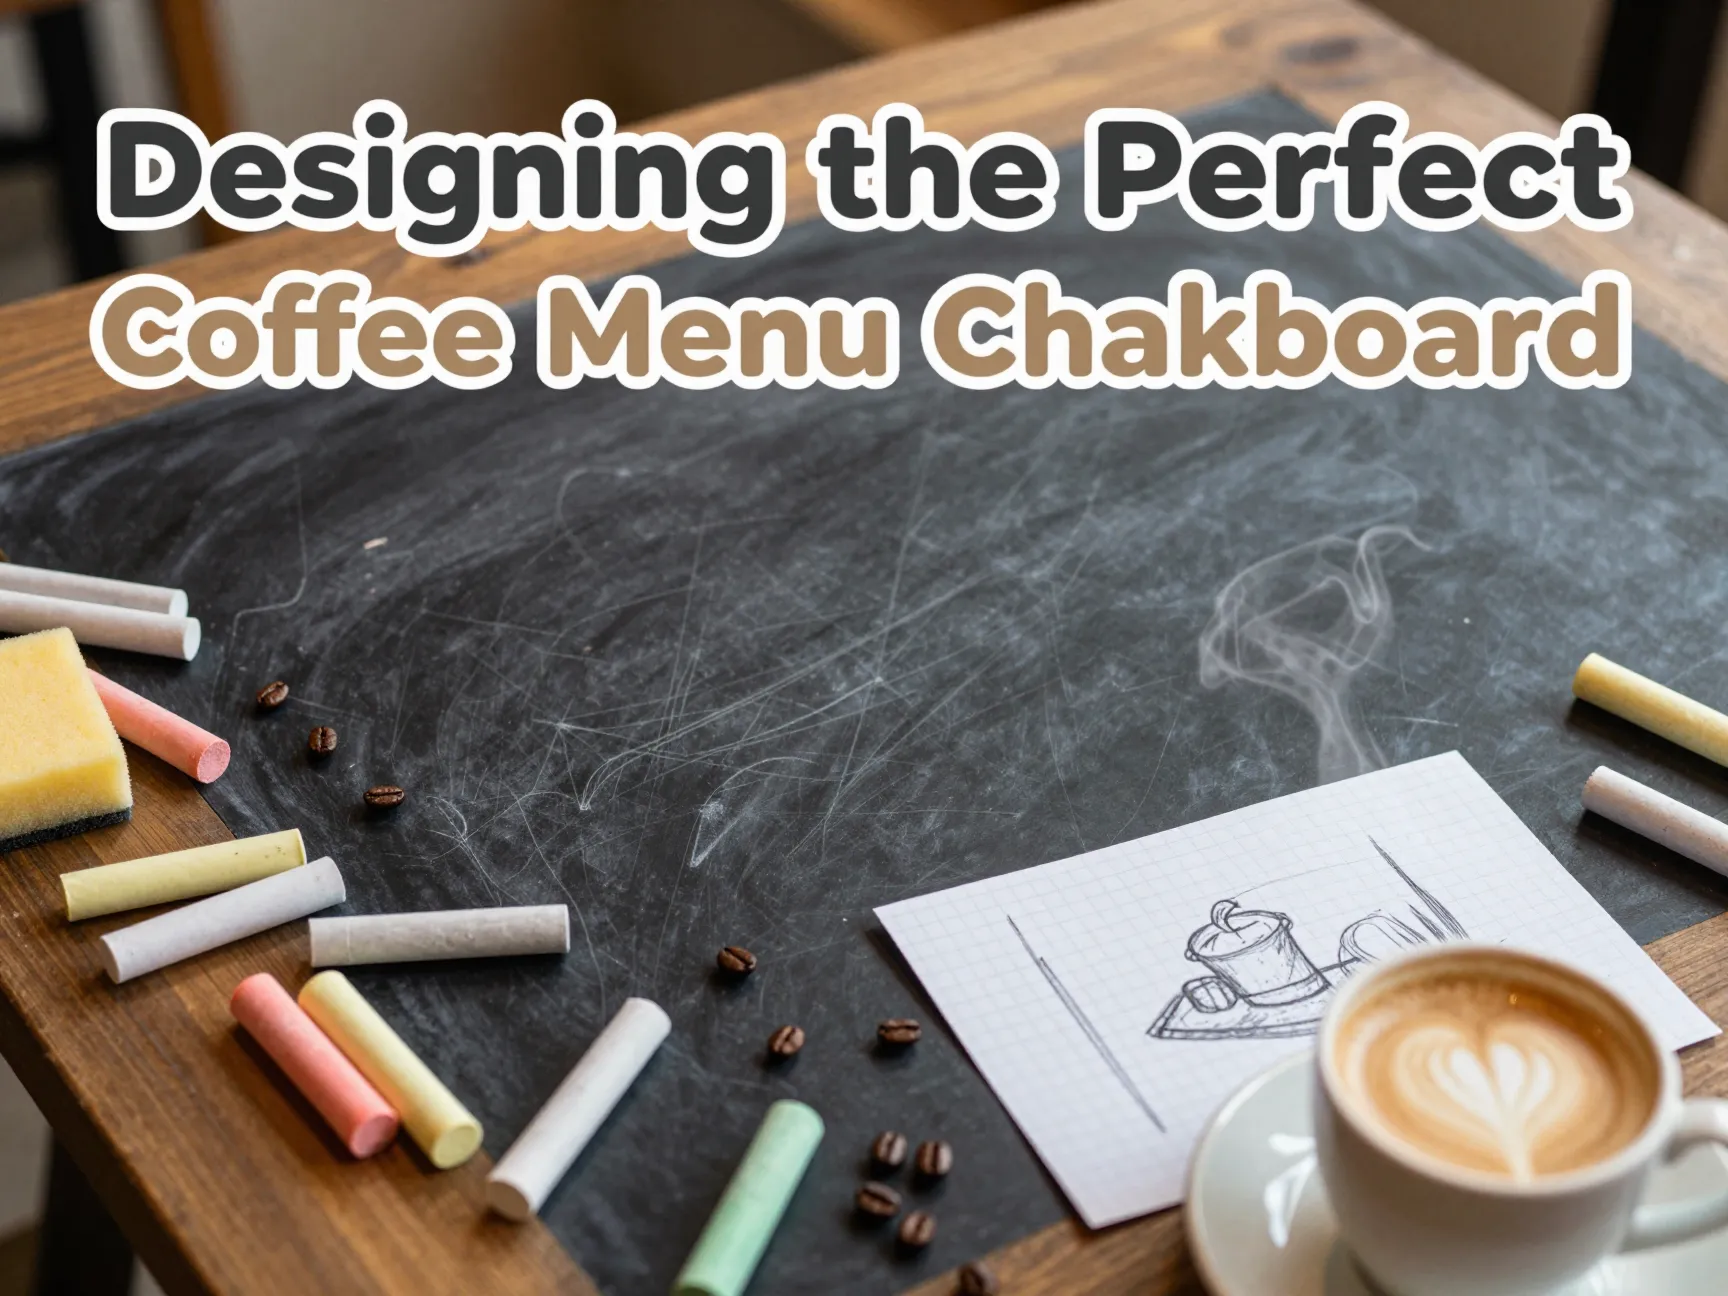
8 Steps to Designing the Perfect Coffee Menu Chalkboard
A well-designed chalkboard menu can increase a coffee shop’s average order value by up to 30% — simply by guiding the customer’s eye to the right items at the right moment. That single fact is why so many café owners invest serious time and thought into their boards. If you’ve been staring at a blank black surface wondering where to start, this guide on the 8 Steps to Designing the Perfect Chalkboard will walk you through every decision, from layout planning to final flourishes, so your board works as hard as your baristas do.
Disclosure: This post contains affiliate links. As an Amazon Associate, we earn from qualifying purchases, and at no extra cost to you.
Key Takeaways
- 📐 Plan your layout first — a clear structure prevents cluttered, hard-to-read boards.
- 🎨 Use colored chalk strategically to create visual hierarchy and highlight specials [2].
- ✍️ Mix typography styles — bold headers with decorative script descriptions keep things readable and attractive [2].
- 🖼️ Hand-drawn illustrations add personality and make your brand memorable [2].
- 🔄 Chalkboards are flexible — update them easily as your menu or seasons change [2].
Why Your Coffee Menu Chalkboard Matters More Than You Think
Before diving into the 8 steps to designing the perfect coffee menu chalkboard, it’s worth understanding why this surface is one of your most powerful marketing tools.
Your chalkboard is often the first thing a new customer reads after walking through the door. It sets the tone for your brand, communicates your prices, and — if done well — nudges customers toward your highest-margin items. Unlike a printed menu, a chalkboard is dynamic. It can be wiped clean and redrawn to reflect , daily specials, or a sudden price change, all without a single trip to the printer [2].
“Your chalkboard isn’t just a menu — it’s a silent salesperson working every hour you’re open.”
The challenge is that most café owners underestimate the design complexity involved. A great coffee menu chalkboard balances readability, aesthetics, branding, and merchandising — all at once. Let’s break it down step by step.
The 8 Steps to Designing the Perfect Coffee Menu Chalkboard
1. Define Your Layout and Zones Before You Touch the Chalk
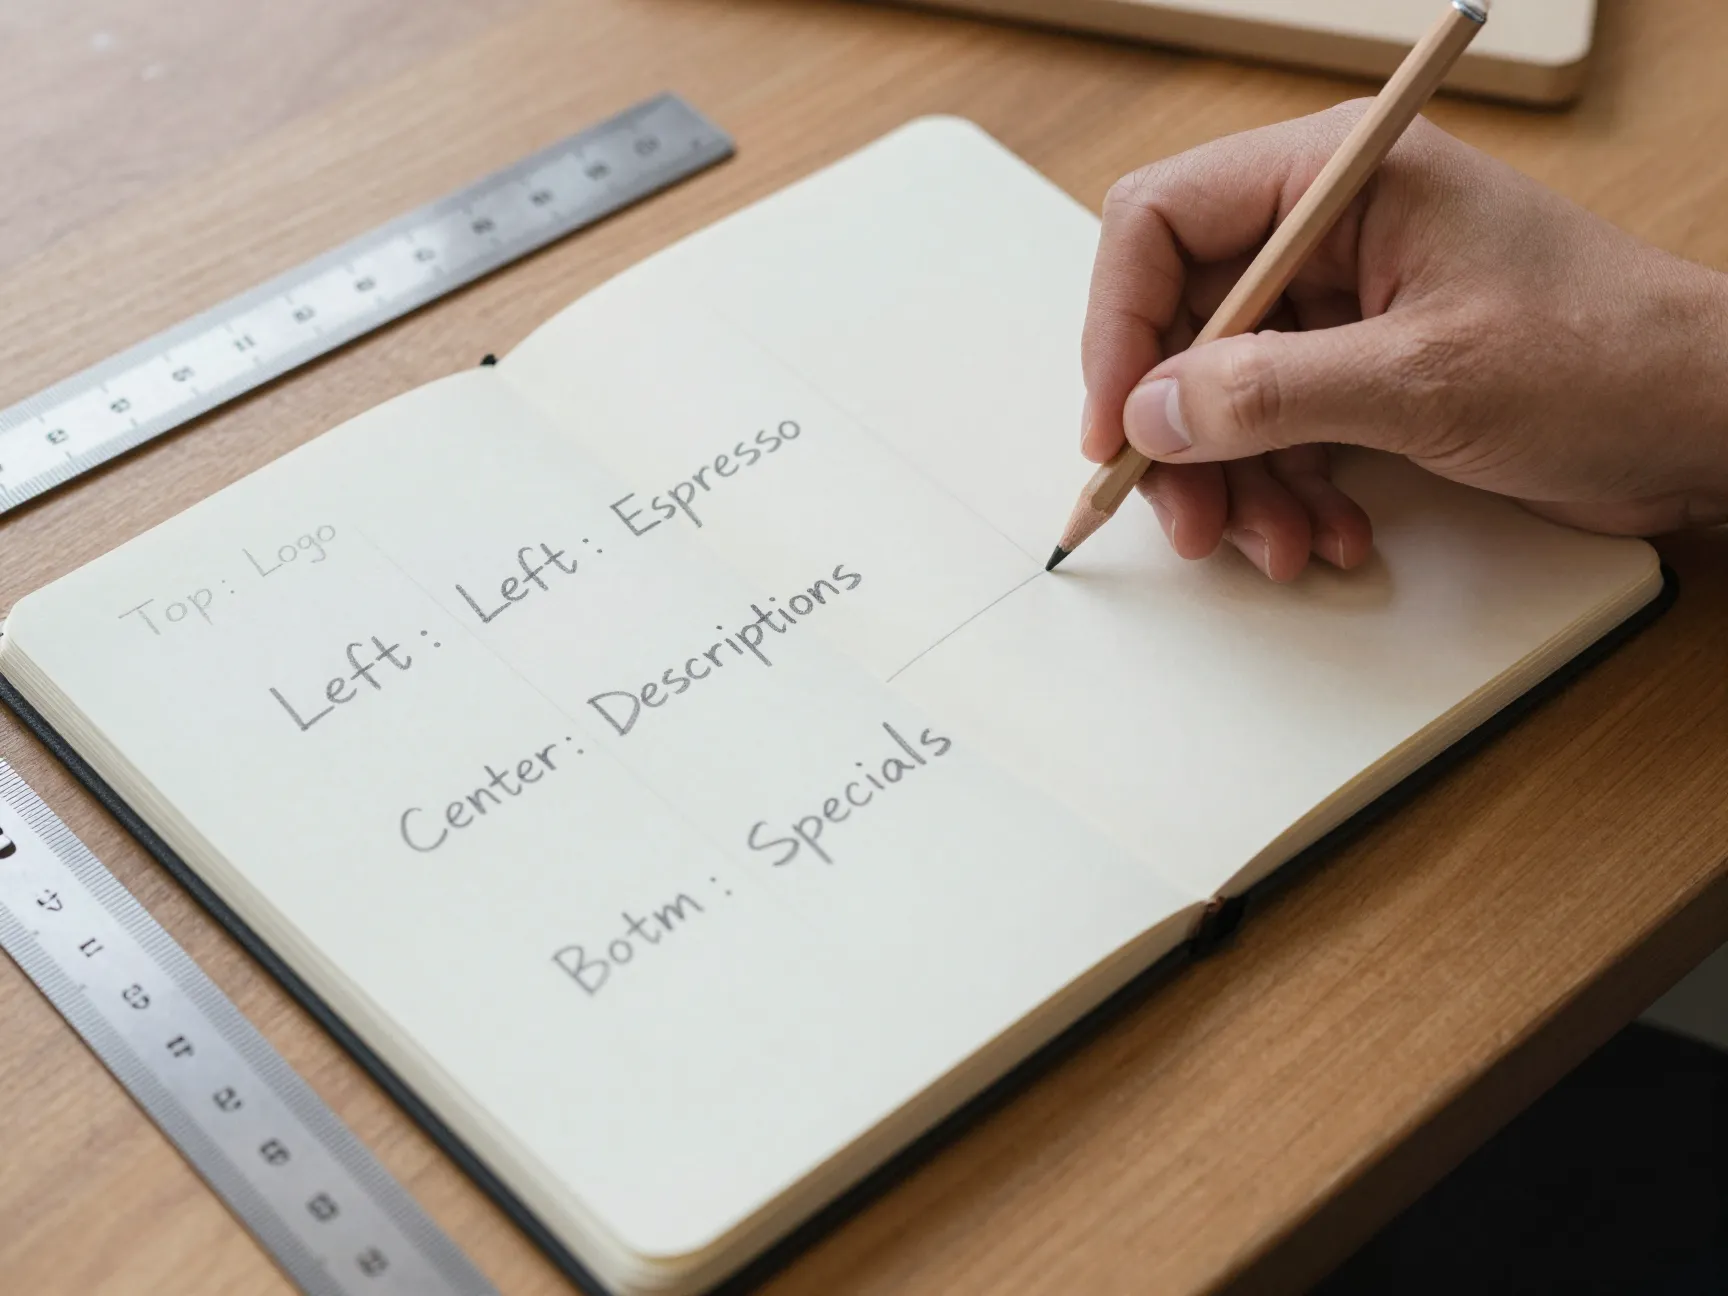
The single biggest mistake café owners make is picking up a piece of chalk without a plan. Before anything else, sketch your layout on paper or a digital tool like Canva or Procreate.
Think in zones:
- Top zone: Your café name, logo, or a bold tagline.
- Middle zone: Core menu categories (, cold brew, teas, pastries).
- Side zones or bottom strip: Daily specials, seasonal features, or promotional callouts.
A clear zone structure prevents the most common chalkboard problem: a crowded, chaotic board where nothing stands out. Use a ruler or chalk lines to mark your sections lightly before committing to any lettering.
Quick Layout Checklist:
| Zone | Purpose | Priority Level |
|---|---|---|
| Top center | High | |
| Upper left/right | Main categories | High |
| Center | Drink descriptions & prices | High |
| Bottom strip | Daily specials | Medium |
| Borders/corners | Decorative elements | Low |
2. Choose the Right Chalkboard Surface and Tools
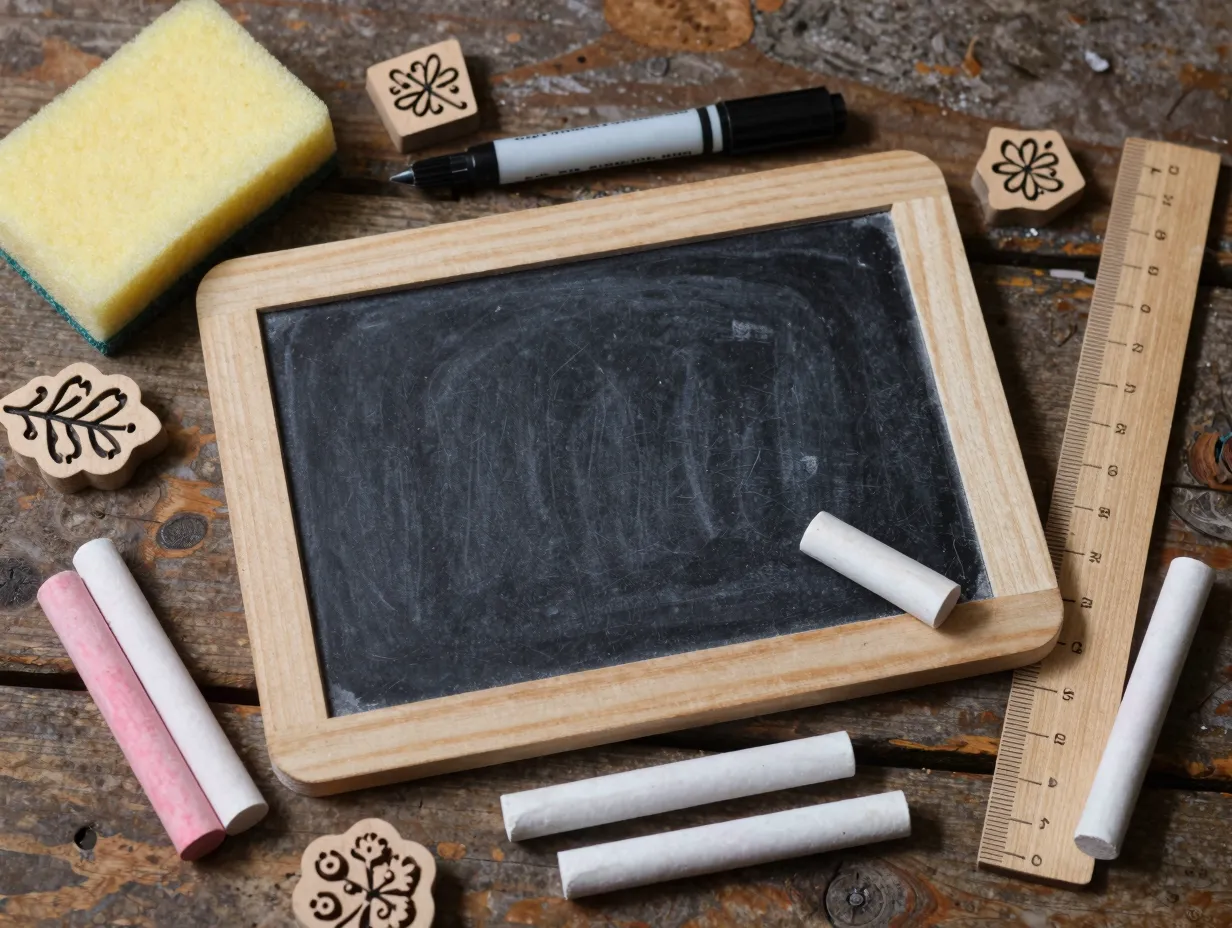
Not all chalkboards are created equal. The surface you choose affects how your chalk looks, how easy it is to erase, and how long your design lasts.
Surface options to consider:
- Traditional slate boards: Rich texture, excellent chalk adhesion, but heavy and expensive.
- MDF chalkboard panels: Lightweight, affordable, and widely available. Great for most cafés.
- Chalkboard paint on walls: Seamless and dramatic, but harder to erase cleanly.
- Portable A-frame boards: Ideal for specials or outdoor signage.
Essential tools to gather:
- Chalk markers (for crisp, permanent-looking lines that don’t smudge)
- Soft chalk sticks (for blending and shading)
- Colored chalk in at least 4–6 colors [2]
- A damp sponge for erasing and corrections
- A ruler or chalk line for straight guidelines
- Small brushes or stamps for decorative leaf and floral accents [1]
💡 Pro tip: Before drawing your final design, “season” a new chalkboard by rubbing the side of a chalk stick over the entire surface and then wiping it off. This prevents ghost images from showing through after you erase.
3. Plan Your Typography Hierarchy
Typography is where most amateur chalkboard designers struggle. The goal is to create a clear reading order so customers instantly know what they’re looking at.
The three-level typography system:
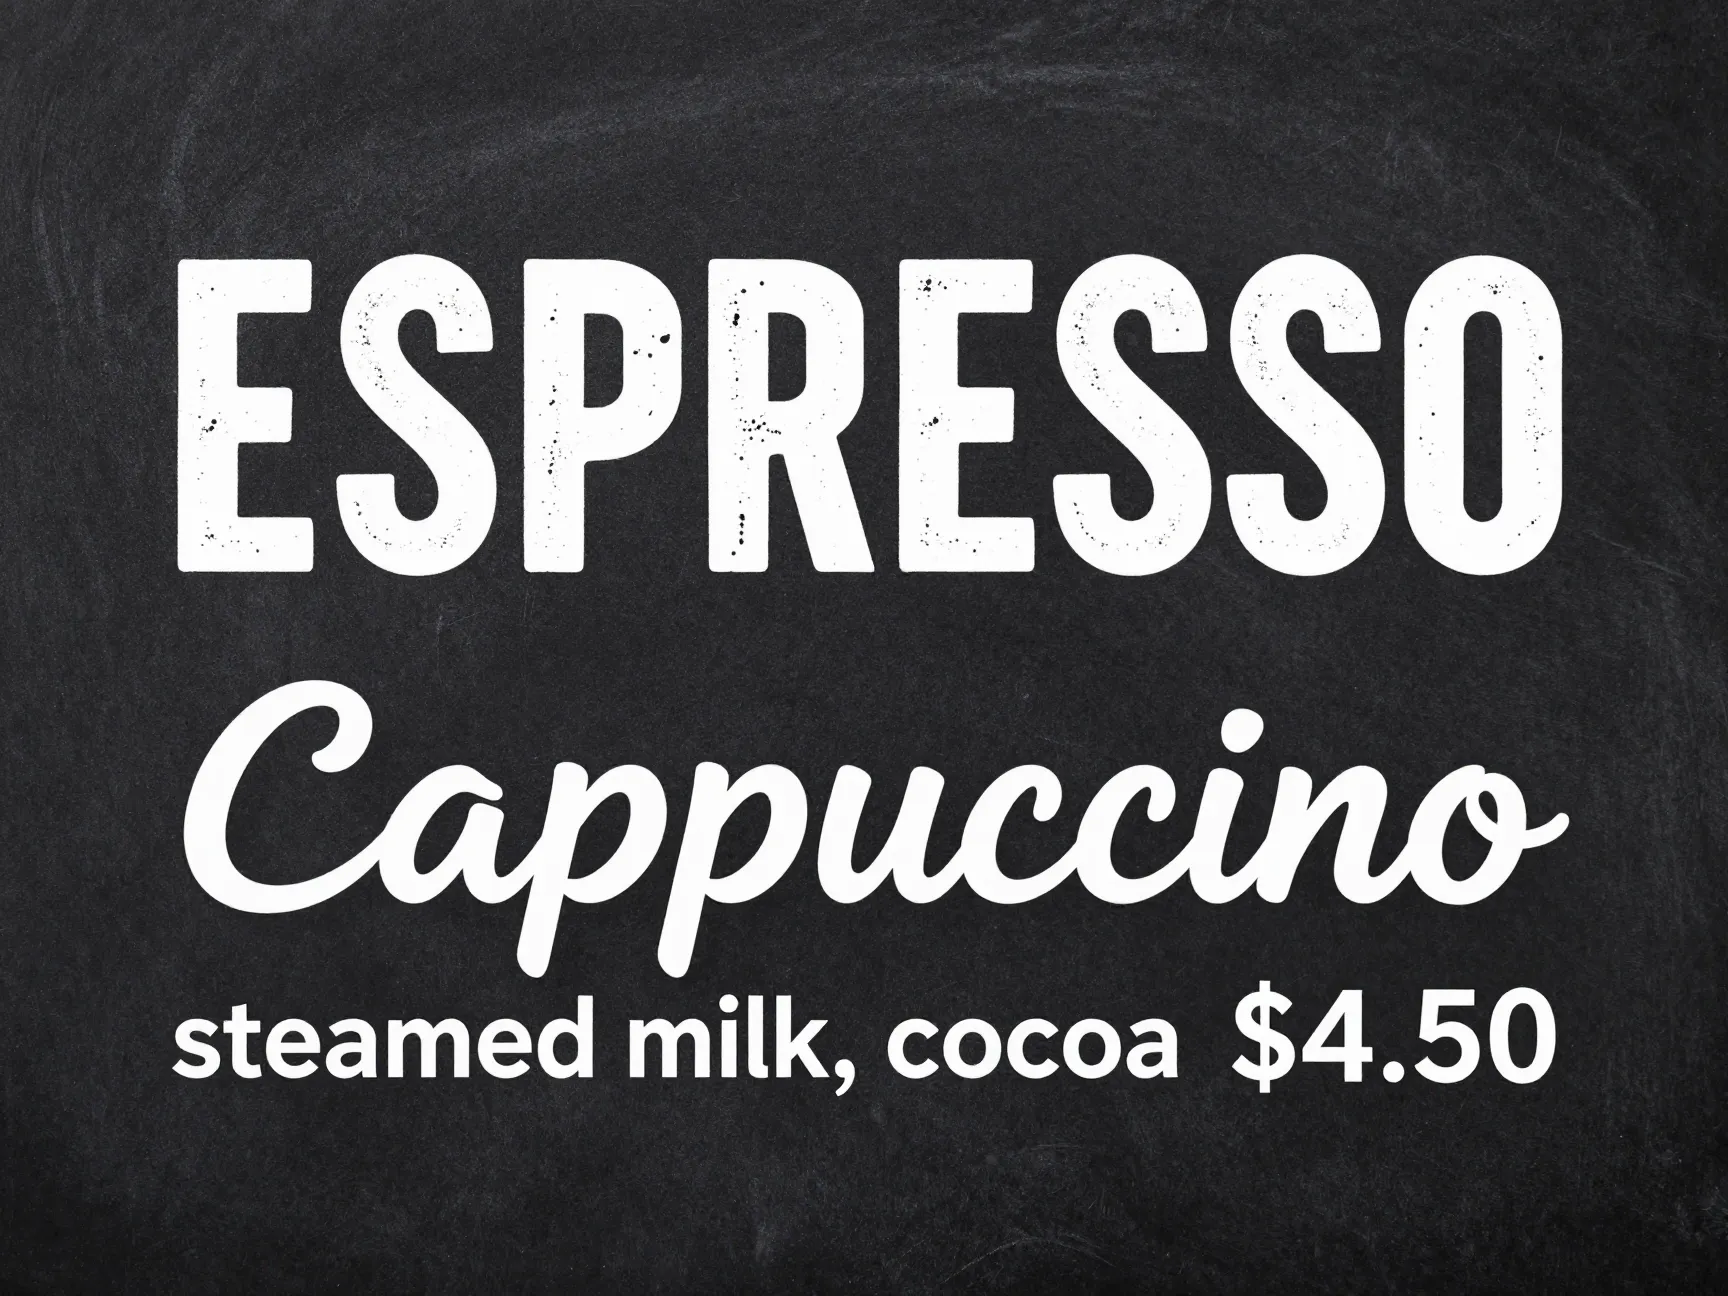
Level 1 — Section Headers: Use thick, bold block letters or chunky serif fonts. These should be the largest text on the board and visible from across the room. Examples: “ESPRESSO,” “COLD BREW,” “SEASONAL PICKS.”
Level 2 — Drink Names: Use a clean, medium-weight script or print lettering. Slightly smaller than headers, but still easy to read at arm’s length.
Level 3 — Descriptions and Prices: Use small, neat print lettering. Keep it simple — a short flavor note and the price is enough [2].
Typography Do’s and Don’ts:
| ✅ Do | ❌ Don’t |
|---|---|
| Mix two or three font styles | Use more than three different lettering styles |
| Keep prices consistent in size | Scatter prices randomly |
| Use ALL CAPS for headers | Write entire descriptions in capitals |
| Leave breathing room between lines | Cram text into every available space |
Apply creative typography by combining thick, large letters for section headers with decorative lettering for drink descriptions — this contrast is what creates visual interest and guides the eye naturally [2].
4. Select and Apply Your Color Strategy

Color is one of the most powerful tools in your chalkboard design arsenal. A monochrome board in plain white chalk is functional, but it’s forgettable. Incorporating colored chalk transforms a flat board into a dynamic, attention-grabbing display [2].
A practical color strategy:
- White: Primary text — drink names, descriptions, prices.
- Yellow or gold: Highlight section headers or star items.
- Coral or red: Daily specials, limited-time offers, or “new” labels.
- Green: Seasonal items, plant-based options, or fresh ingredient callouts.
- Blue or purple: Decorative accents, borders, or background shading.
Use color to underscore different menu sections, highlight special offers, and showcase [2]. The key is restraint — limit yourself to three or four colors per board to avoid visual chaos.
Color psychology quick reference:
- 🟡 Yellow/Gold → Premium, warm, inviting
- 🔴 Red/Coral → Urgency, excitement, “don’t miss this”
- 🟢 Green → Fresh, natural, healthy
- ⚪ White → Clean, classic, readable
5. Add Hand-Drawn Illustrations

This is where your chalkboard goes from functional to unforgettable. Hand-drawn illustrations such as , beans, and pastries make the board more attractive and personalized [2]. They communicate your café’s character in a way that no font ever could.
Illustration ideas that work well on coffee menu chalkboards:
- Steaming coffee cups in profile or top-down view
- Coffee beans scattered between sections
- Croissants, muffins, or pastry sketches near the food section
- Leaves and botanical elements for tea or herbal drink sections
- Small maps or arrows pointing to your specials section
- Tiny milk jugs, pour-over drippers, or espresso machines
You don’t need to be a professional artist. Simple line drawings with consistent stroke weight look charming and intentional. Practice your key illustrations on paper first, then transfer them to the board using a light chalk sketch before committing with a chalk marker.
🎨 “The imperfection of hand-drawn art is exactly what makes customers feel a human being made this — and that’s worth more than any digital print.”
If illustration feels too daunting, consider using chalk stamps for repeating elements like leaves, stars, and borders [1]. These create a polished look with minimal artistic skill required.
6. Incorporate Decorative Elements and Visual Hierarchy Enhancers

Beyond illustrations, decorative elements are the finishing touches that elevate a good chalkboard into a great one. Think of these as the punctuation marks of your visual language.
Effective decorative elements to add:
- Ornamental swirls and flourishes around section headers to frame them elegantly [1]
- Stars and sparkles near featured drinks or new additions [1]
- Dividing lines and borders between menu sections to create clear separation
- Dotted or dashed underlines beneath drink names for emphasis
- Leaf stamps repeated along borders or around illustrations [1]
- Chalkboard “badges” — circular or banner shapes enclosing “NEW,” “POPULAR,” or “SEASONAL”
These elements serve a functional purpose: they create visual hierarchy. When a customer glances at your board, their eye should travel in a predictable path — from your most important information to your secondary details — without getting lost [1].
Visual hierarchy checklist:
- [ ] Largest element = most important information
- [ ] Brightest color = item you most want to sell
- [ ] Decorative borders = section boundaries
- [ ] White space = breathing room between sections
- [ ] Illustrations = draw the eye to specific areas
7. Feature Daily Specials and Seasonal Items Prominently

One of the greatest advantages of a chalkboard menu is how easily it can be updated [2]. Use that flexibility deliberately by dedicating a consistent, prominent zone to daily specials and seasonal offerings.
Feature daily specials using vibrant colors and artistic designs to draw attention and encourage customers to try new items [3]. A special that’s buried in small text at the bottom of your board will be ignored. A special framed in a bold banner, written in coral chalk, and surrounded by stars will sell [3].
Best practices for featuring specials:
- Assign a fixed location for specials — customers learn where to look.
- Use a contrasting color that doesn’t appear elsewhere on the board.
- Include a brief, enticing description — not just the name and price.
- Add a small illustration specific to the special (a pumpkin for fall lattes, a snowflake for ).
- Write the date or day to signal freshness and urgency.
Seasonal update schedule suggestion:
| Season | Update Focus | Suggested Chalk Color Accent |
|---|---|---|
| Spring | Floral lattes, cold brew launch | Lavender, mint green |
| Summer | Iced drinks, fruit teas | Coral, sky blue |
| Autumn | Pumpkin spice, warm spiced drinks | Orange, deep red |
| Winter | Hot chocolate, festive specials | Gold, deep green |
Because chalkboards are simple to wipe clean, you can change specials daily or weekly without reprinting or redesigning your entire menu [2]. This keeps your board — and your offerings — feeling fresh.
8. Review, Refine, and Maintain Your Board Regularly

The final step in the 8 steps to designing the perfect coffee menu chalkboard is the one most people skip: ongoing maintenance and refinement.
A chalkboard that looked stunning on opening day can become smudged, faded, and outdated within weeks if it isn’t maintained. Regular upkeep protects your investment of time and effort.
Maintenance routine:
- Daily: Wipe away any accidental smudges with a barely damp cloth.
- Weekly: Check for faded sections and re-chalk as needed.
- Monthly: Step back and evaluate the overall design. Is anything unclear? Is the special still relevant?
- Seasonally: Do a full redesign to refresh the look and update seasonal items.
Refinement tips:
- Photograph your board after each major update. Build a reference library of what worked.
- Ask your staff which items customers ask about most — if they’re asking, the board isn’t communicating clearly enough.
- Watch where customers look when they walk in. If their eyes don’t go to your chalkboard, reposition it or increase the size of your top-zone text.
- Test one change at a time — move a special, change a color, add an illustration — and track whether it affects sales.
- Seal finished boards with a light mist of hairspray or chalkboard sealant if you want a design to last longer without smudging.
🔄 “A chalkboard menu is never truly finished — it’s a living piece of your café’s identity.”
Common Mistakes to Avoid
Even with the best intentions, it’s easy to fall into these traps:
- Overloading the board: More items don’t mean more sales. Edit ruthlessly.
- Ignoring contrast: Dark chalk on a dark board is unreadable. Always check legibility from 6–8 feet away.
- Inconsistent pricing format: Pick a format ($4.50 or 4.50) and stick to it throughout.
- Skipping the draft: Never start on the final board without a paper sketch.
- Neglecting the top third: Eye-tracking research consistently shows people look at the top-center of a display first. Don’t waste that space.
Quick Reference: The 8 Steps at a Glance
| Step | Action | Key Outcome |
|---|---|---|
| 1 | Define layout and zones | Organized, readable structure |
| 2 | Choose surface and tools | Right foundation for your design |
| 3 | Plan typography hierarchy | Clear reading order |
| 4 | Select color strategy | Visual interest and emphasis |
| 5 | Add hand-drawn illustrations | Personality and |
| 6 | Add decorative elements | Visual hierarchy and polish |
| 7 | Feature specials prominently | Increased special item sales |
| 8 | Review and maintain | Lasting quality and relevance |
Conclusion
Designing a coffee menu chalkboard that genuinely works — one that guides customers, sells your best items, and reflects your café’s personality — is equal parts strategy and craft. By following the 8 steps to designing the perfect coffee menu chalkboard laid out in this guide, you’ll move from a blank black surface to a powerful, dynamic marketing tool that earns its place on your wall every single day.
Your actionable next steps for 2026:
- Sketch your layout today — even a rough pencil sketch on paper counts.
- Invest in a basic chalk toolkit — at minimum, get white chalk markers and three colored chalks.
- Practice your lettering on a small test board before committing to your main display.
- Photograph your current board (if you have one) and identify one specific improvement from this guide to implement this week.
- Set a seasonal redesign reminder in your calendar — quarterly updates keep your board fresh and your customers curious.
Your chalkboard is one of the few marketing tools in your café that costs almost nothing to update and has a direct, immediate impact on what customers order. Start with Step 1, move through the process deliberately, and watch your board — and your sales — transform.
References
[1] Watch – https://www.youtube.com/watch?v=qeIAFK9dQeE
[2] Shop Menu Board Ideas To Enhance Customer Experience – https://nento.com/creative-coffee-shop-menu-board-ideas-to-enhance-customer-experience/
[3] Chalk It Up 10 Captivating Ideas To Draw Customers Into Your Restaurant Or Coffee Shop – https://blog.bi-office.com/chalk-it-up-10-captivating-ideas-to-draw-customers-into-your-restaurant-or-coffee-shop/