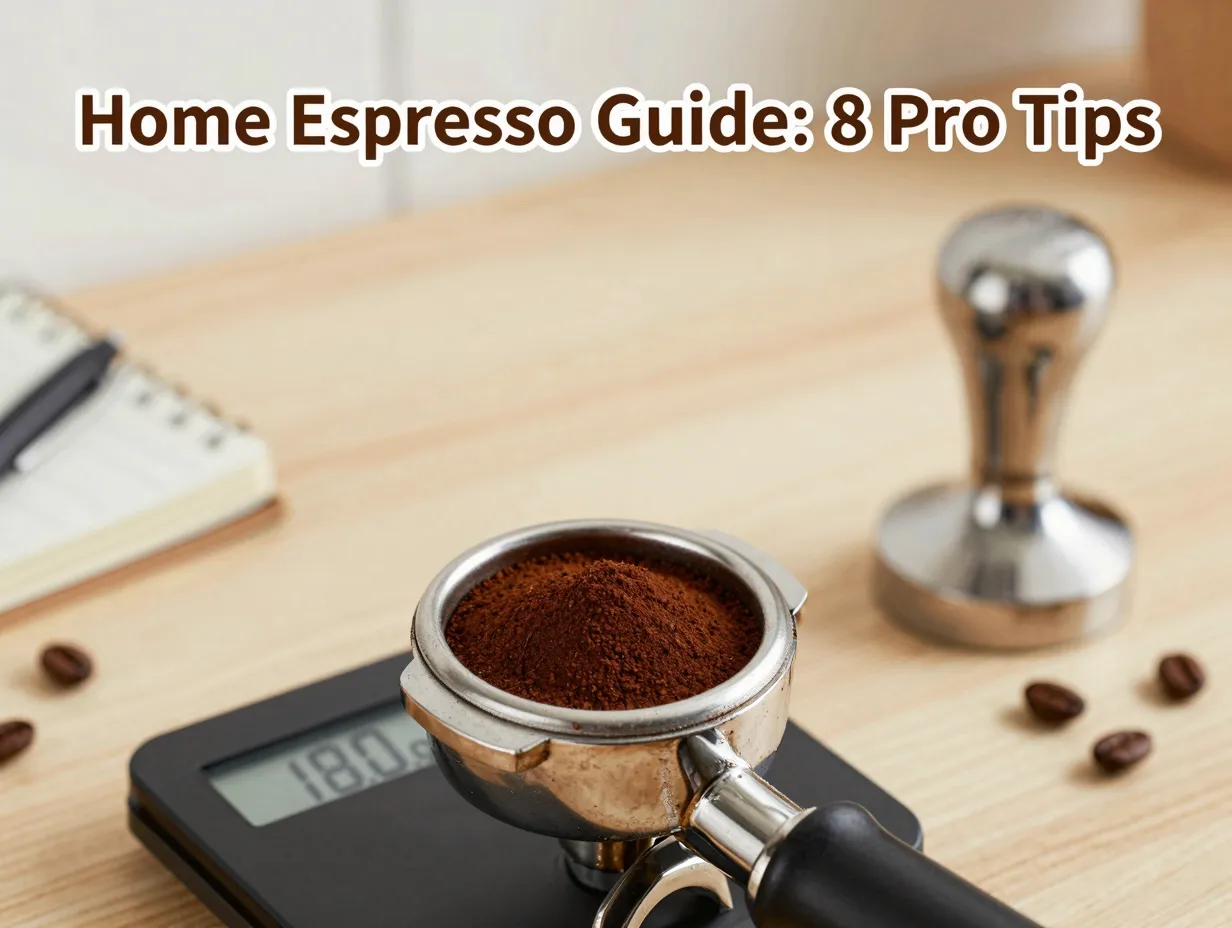
Espresso From Home: 8 Pro Tips for Pulling the Perfect Shot
Only 11% of attempts produce a shot that a trained barista would consider properly extracted — yet the variables that separate a mediocre cup from a café-quality one are entirely learnable. If you’ve been frustrated by bitter, sour, or watery results, you’re not alone. Espresso From Home: 8 Pro Tips for Pulling the Perfect Shot is your practical roadmap to closing that gap, whether you’ve owned a machine for a week or a decade.
Disclosure: This post contains affiliate links. As an Amazon Associate, we earn from qualifying purchases, and at no extra cost to you.
Pulling great espresso at home isn’t about luck or expensive equipment alone. It’s about understanding eight specific, controllable variables — and adjusting them systematically until every shot lands in the sweet spot. In this guide, I’ll walk you through each one with clear targets, common mistakes, and actionable fixes.
Key Takeaways 📌
- Freshness matters most: Use beans roasted within the last two weeks and grind immediately before brewing.
- is your primary dial: Small adjustments to grind fineness have the biggest impact on shot quality.
- Dose, tamp, and ratio work together: Aim for 14–18g of coffee, a level tamp at ~30 lbs, and a 1:1.5 coffee-to-liquid ratio.
- Temperature and time are your guardrails: Brew at ~200°F (93°C) and target a 18–30 second extraction window.
- Consistency beats perfection: Repeatable technique produces better results than chasing a single great shot.
Why Home Espresso Is Harder Than It Looks — And How to Fix It
Espresso is the most unforgiving brewing method in coffee. Unlike drip or French press, where variables are forgiving and wide-ranging, espresso operates in a narrow window. Water at high pressure (typically 9 bars) passes through a tightly packed coffee puck in under 30 seconds. Every variable — grind size, dose, tamp pressure, water temperature, extraction time — must align precisely.
The good news? Once you understand the system, you can diagnose problems quickly and fix them with targeted adjustments. The tips below are organized in the order you’ll encounter them during your workflow, making Espresso From Home: 8 Pro Tips for Pulling the Perfect Shot a practical checklist you can follow every morning.
The 8 Pro Tips: Espresso From Home Done Right
1. Start With Fresh, High-Quality Beans
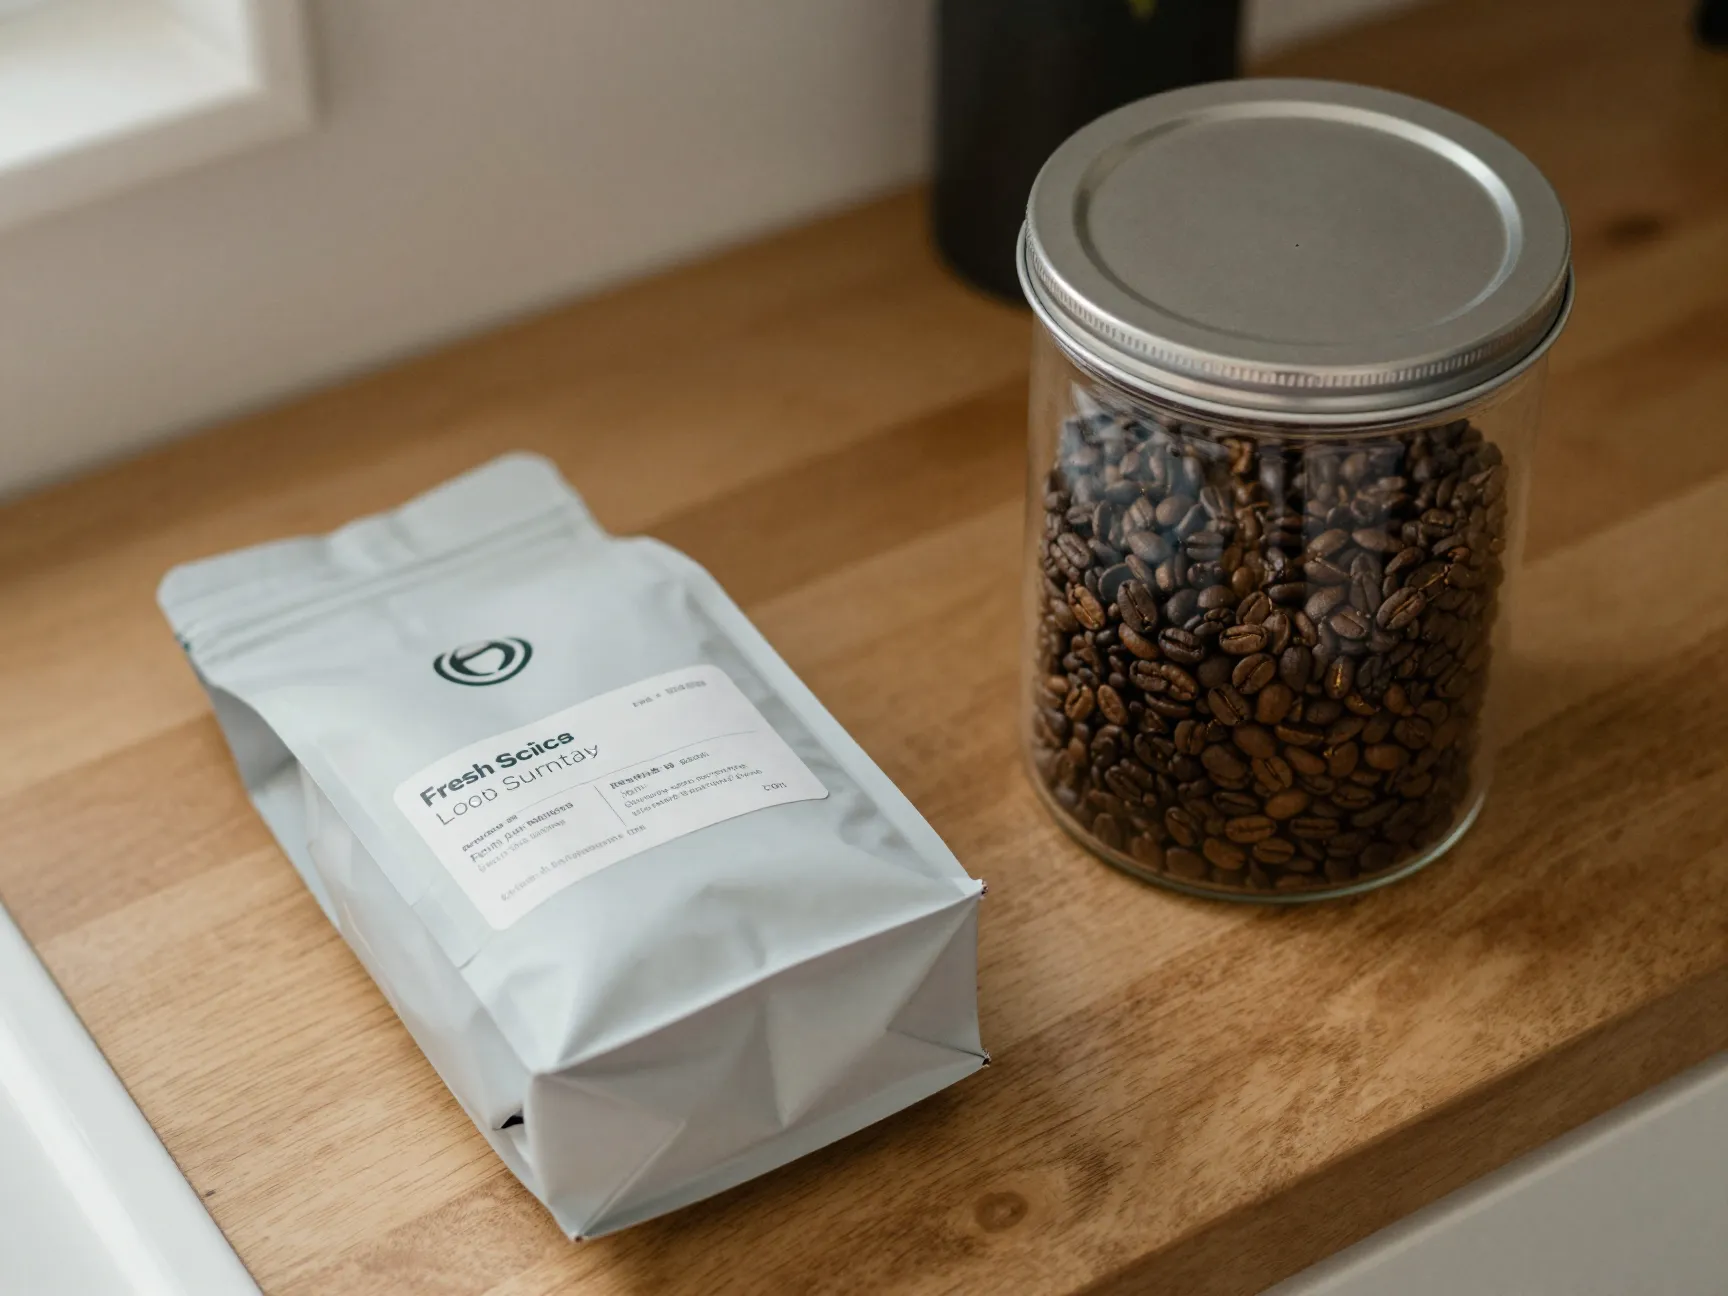
The single most overlooked variable in home espresso is bean freshness. Coffee is an agricultural product, and its volatile aromatic compounds begin degrading the moment roasting ends.
The target: Use beans roasted within the past two weeks. [1]
💡 “Fresh beans aren’t just about flavor — they’re about crema. Stale coffee produces flat, thin shots with little to no golden foam, regardless of how perfect your technique is.”
Here’s what to look for when buying beans:
- A roast date printed on the bag (not just a “best by” date)
- Beans sourced from a specialty roaster or local coffee shop
- A one-way valve on the bag, indicating the roaster cares about freshness
What to avoid:
- Pre-ground coffee (loses freshness within hours)
- Supermarket beans with no roast date
- Beans stored in clear containers exposed to light
Invest in an airtight, opaque canister and store beans at room temperature — not in the freezer unless you’re storing a large batch long-term. [4]
2. Dial In Your Grind Size
If bean freshness is the foundation, grind size is the most powerful lever you have for controlling espresso flavor. It determines how fast water flows through the puck and how much flavor is extracted.
The target: A fine grind — roughly the texture of fine sand or powdered sugar. [2][3]
| Grind Too Coarse | Grind Too Fine |
|---|---|
| Water flows too fast | Water flows too slow |
| Under-extracted shot | Over-extracted shot |
| Weak, sour, watery flavor | Bitter, burnt, harsh flavor |
| Shot pulls in under 18 seconds | Shot pulls in over 30 seconds |
The fix: Adjust your grinder in small increments — one notch at a time. After each adjustment, pull a shot and evaluate the taste and extraction time before making another change.
⚠️ Important: As your beans age past the two-week mark, they off-gas CO₂ and become less dense. This means shots will pull faster over time. You’ll need to grind slightly finer as the week progresses to compensate. [3]
A (not a blade grinder) is non-negotiable for espresso. Blade grinders produce uneven particle sizes that cause inconsistent extraction — some grounds over-extract while others under-extract in the same shot. [1]
3. Dose Accurately Every Single Time
Dosing refers to how much ground coffee you put in the portafilter basket. Inconsistent dosing is one of the most common reasons home vary wildly from one pull to the next.
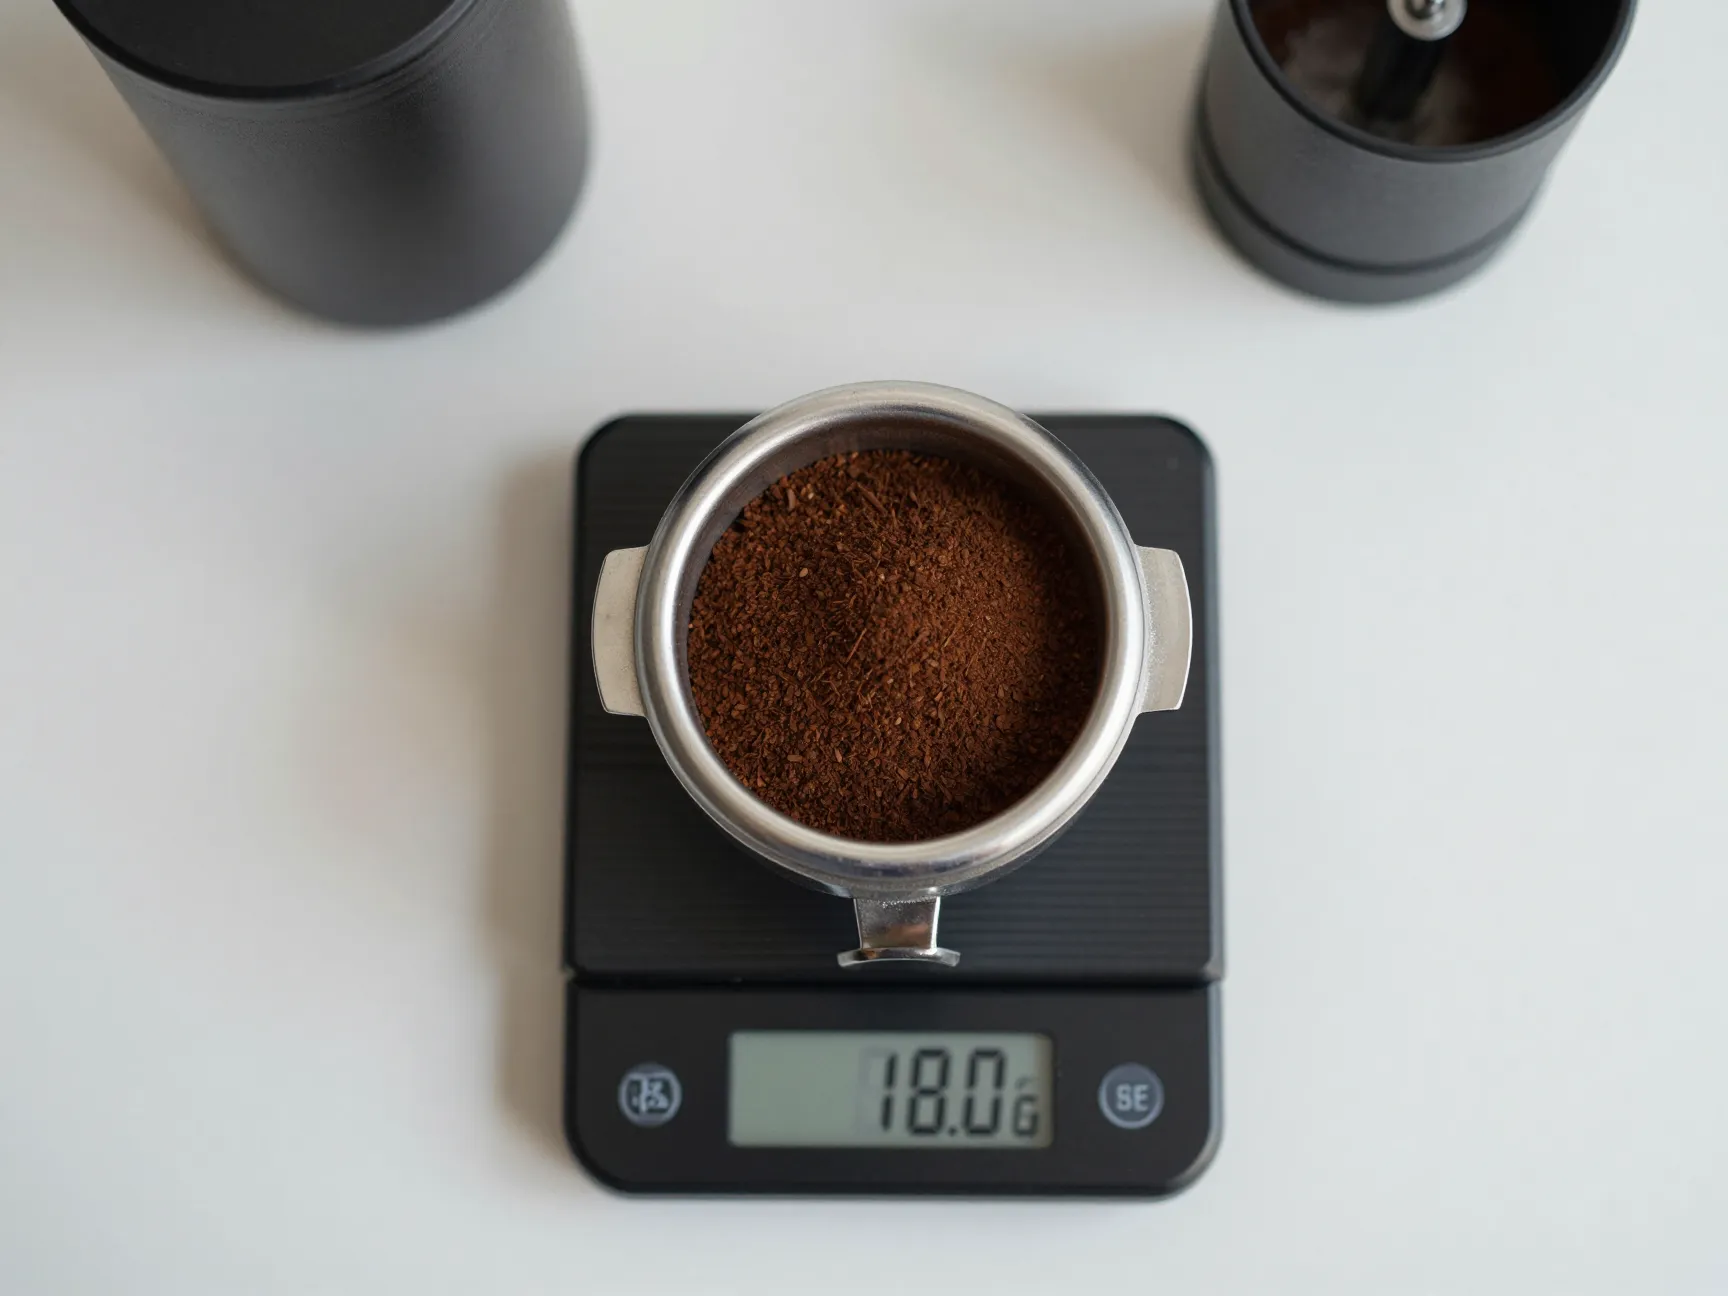
The target: 14–18 grams for a standard double shot (approximately 2 oz of liquid output). Some baristas prefer starting at 18–20 grams for a fuller-bodied shot. [2][1]
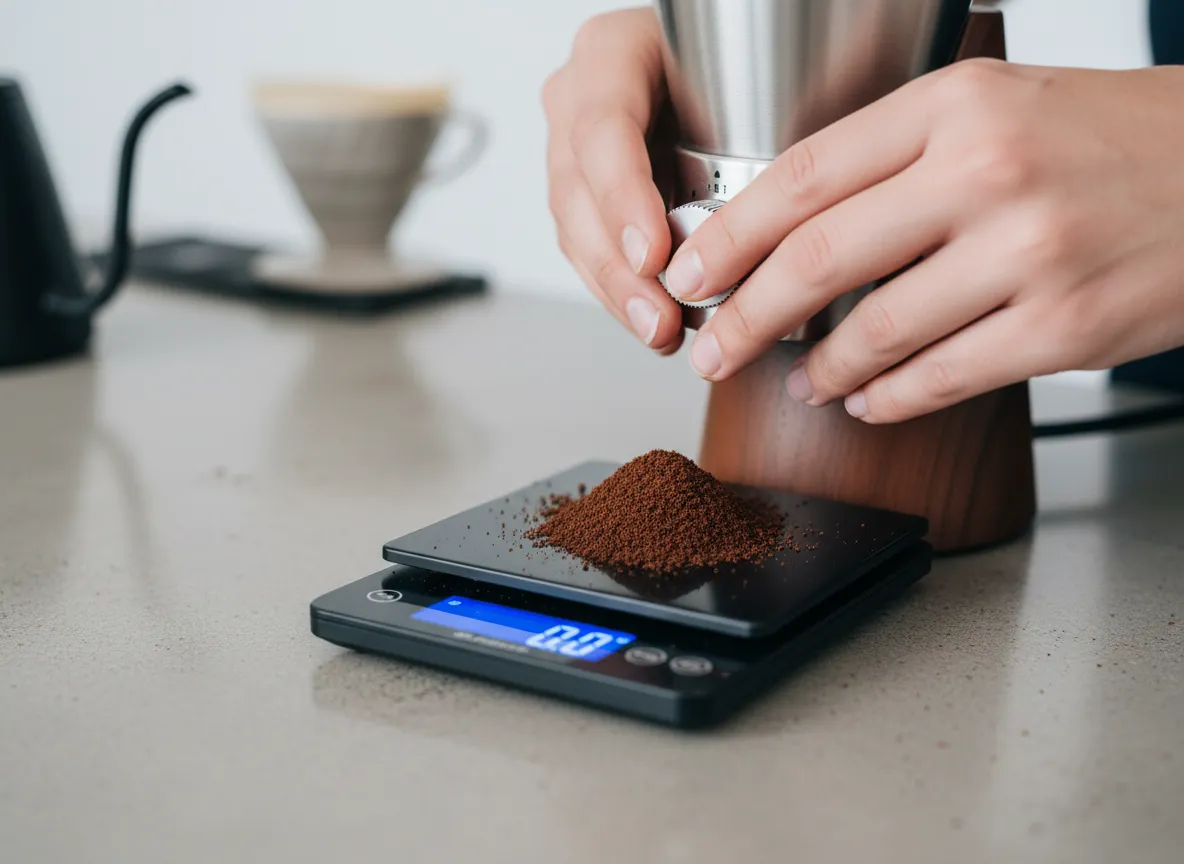
🔑 Use a digital scale. Eyeballing your dose introduces too much variation. A scale accurate to 0.1 grams costs under $20 and immediately improves consistency.
Dosing quick reference:
- Single shot basket: 7–9g
- Double shot basket: 14–18g
- Large/competition basket: 18–22g
Always distribute the grounds evenly in the basket before tamping. Use a finger or a distribution tool to level the surface — this prevents channeling, where water finds the path of least resistance through uneven grounds and produces an uneven extraction. [4]
4. Tamp With Even, Consistent Pressure
Tamping compresses the coffee grounds into a firm, even puck. The goal is to create a uniform surface so water distributes evenly across the entire puck during extraction.
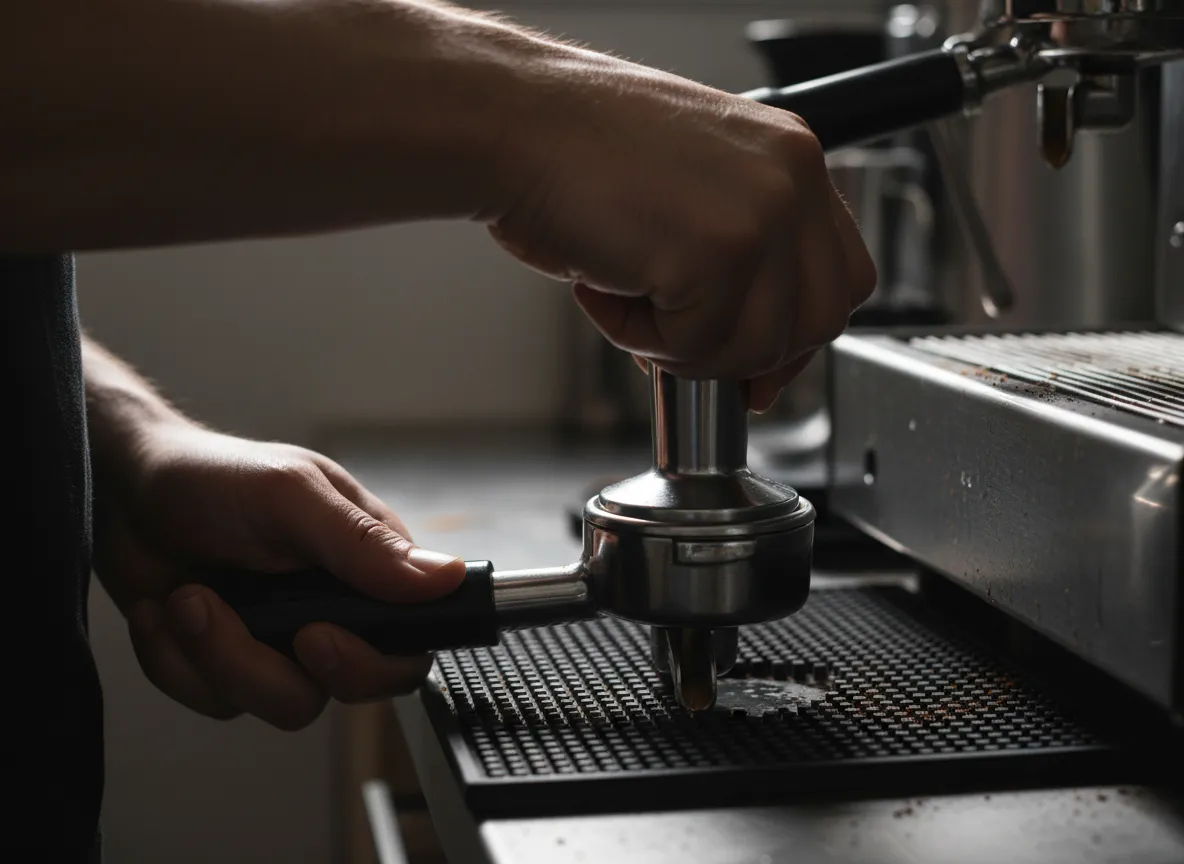
The target: Approximately 30 lbs (14 kg) of pressure, applied perfectly level. [1]
Most people either tamp too lightly (leaving a loose, uneven puck) or obsess over hitting an exact pressure number. Here’s the truth: levelness matters more than the exact pressure figure. A slightly tilted tamp creates a thicker wall of coffee on one side, causing water to channel through the thinner side — ruining the shot.
How to tamp correctly:
- Place the portafilter on a flat, stable surface (a tamping mat helps)
- Hold the tamper like a doorknob — thumb and index finger at the base
- Press straight down with your elbow directly above the tamper
- Apply firm, even pressure until you feel resistance
- Give a slight polish (a gentle twist) to smooth the surface
- Check that the puck surface is perfectly level before inserting
💡 “If your shots taste different every morning with the same beans and grind setting, inconsistent tamping is usually the culprit.”
5. Warm Up Your Machine and Flush the Group Head
This tip is frequently skipped by home baristas, and it’s a significant source of inconsistency. Temperature stability is critical to — even a few degrees off can shift the flavor profile noticeably.
The target: Allow your machine to warm up for at least 15–20 minutes before pulling a shot. Then flush the group head with a few seconds of hot water immediately before inserting the portafilter. [3][4]
Why this matters:
- The group head (the part the portafilter locks into) absorbs heat from the machine. If it’s cold, it will drop the water temperature as the shot pulls, leading to under-extraction.
- Flushing removes any residual coffee oils or grounds from the previous shot.
- It brings the group head to the correct brewing temperature. [3]
Machine warm-up times by type:
| Machine Type | Minimum Warm-Up Time |
|---|---|
| Entry-level thermoblock | 5–10 minutes |
| Mid-range heat exchanger | 15–20 minutes |
| Dual boiler / PID-controlled | 20–30 minutes |
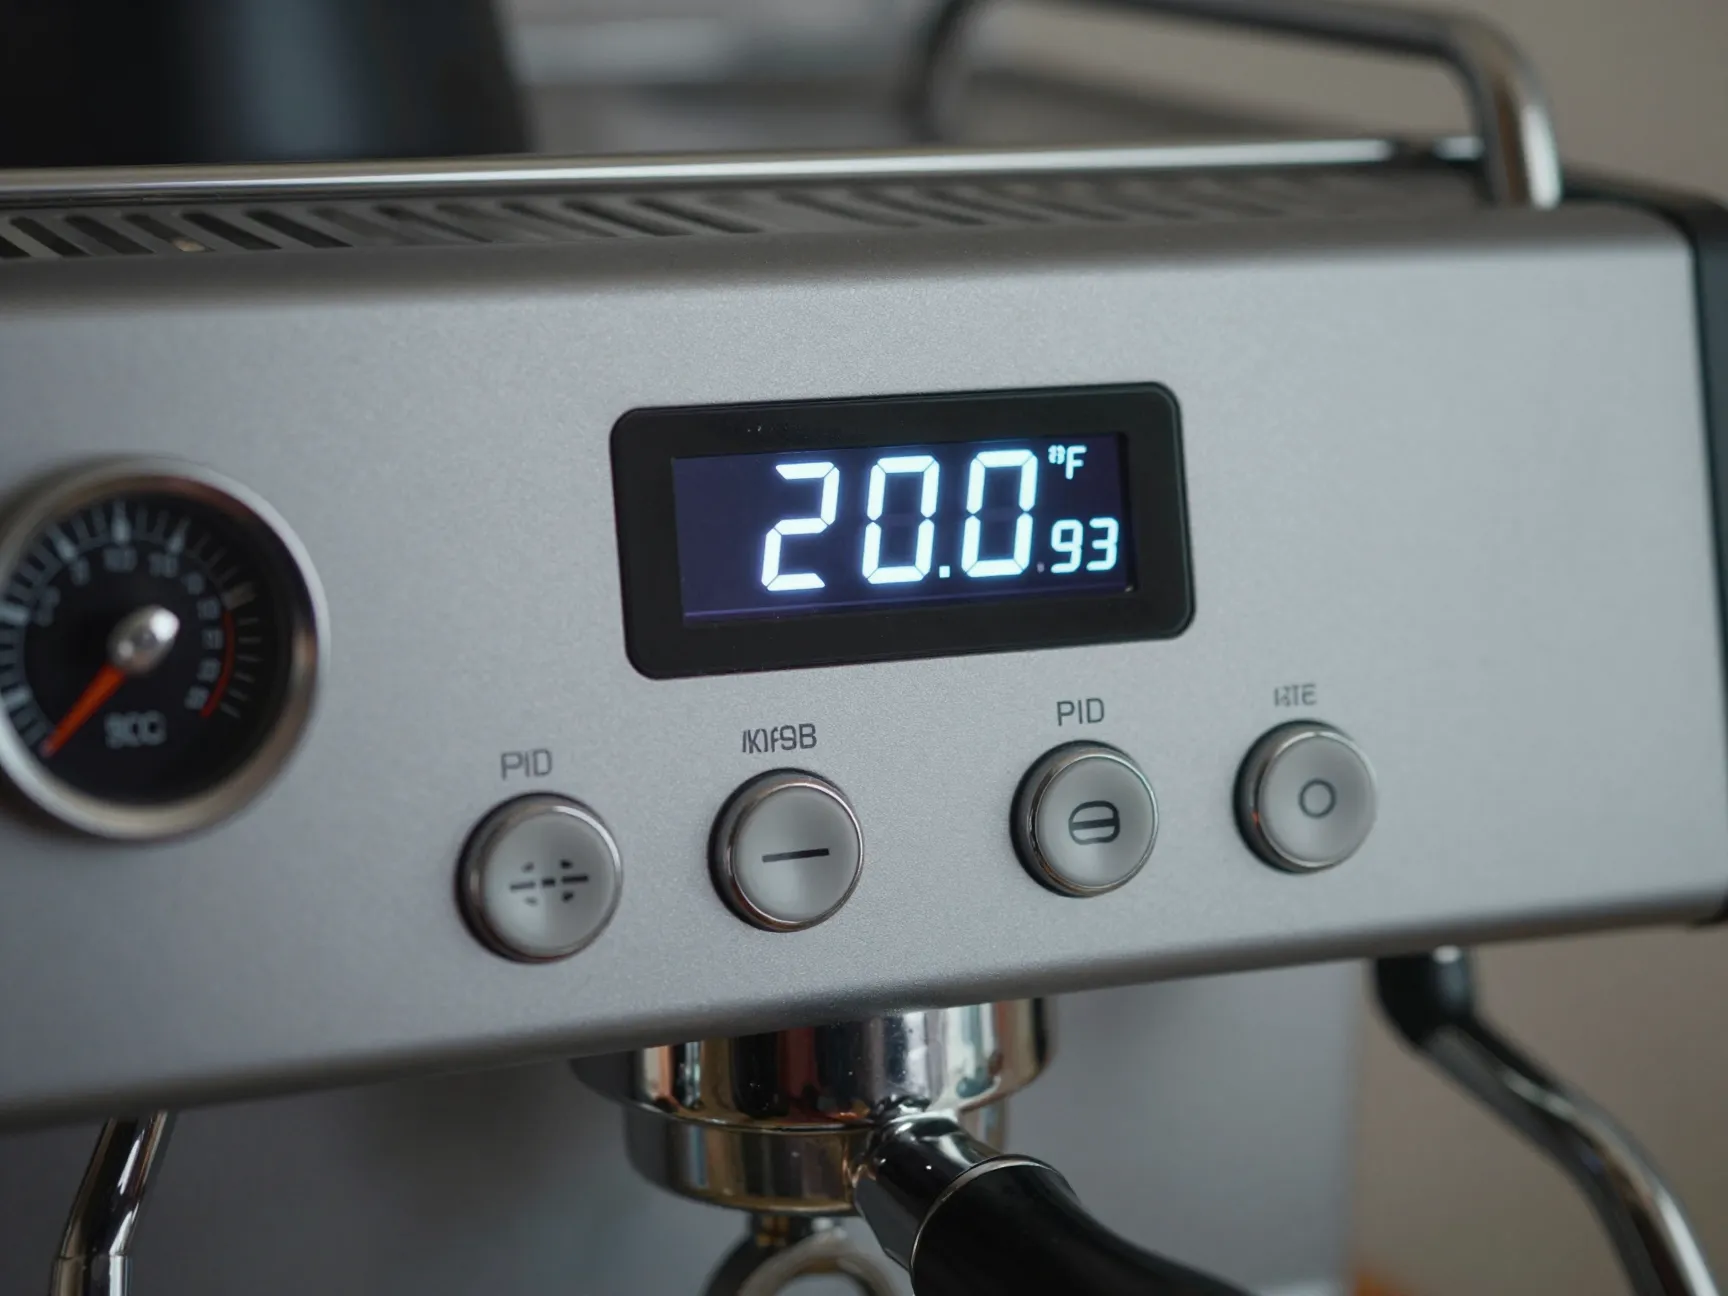
Higher-end machines with PID controllers maintain water temperature within ±1°F of your target, which is a meaningful upgrade for serious home baristas. [1]
6. Brew at the Right Water Temperature
Water temperature is the variable most home baristas have the least direct control over — but it’s worth understanding so you can choose and set up your machine wisely.
The target: 200°F (93°C), which is approximately 30 seconds off a full boil. [1]
Temperature and flavor:
- Too hot (above 205°F / 96°C): Scorches the grounds, producing harsh, bitter flavors
- Too cold (below 195°F / 90°C): Under-develops the flavors, producing sour, weak shots
- Sweet spot (198–202°F / 92–94°C): Extracts the full complexity of the bean — sweetness, acidity, and body in balance
Water quality also matters. [4] Use filtered water if your tap water is heavily chlorinated or very hard. Mineral-rich water (moderate hardness) actually helps with extraction, but scale buildup from hard water will damage your machine over time. A simple Brita-style filter or a dedicated filter is a worthwhile investment.
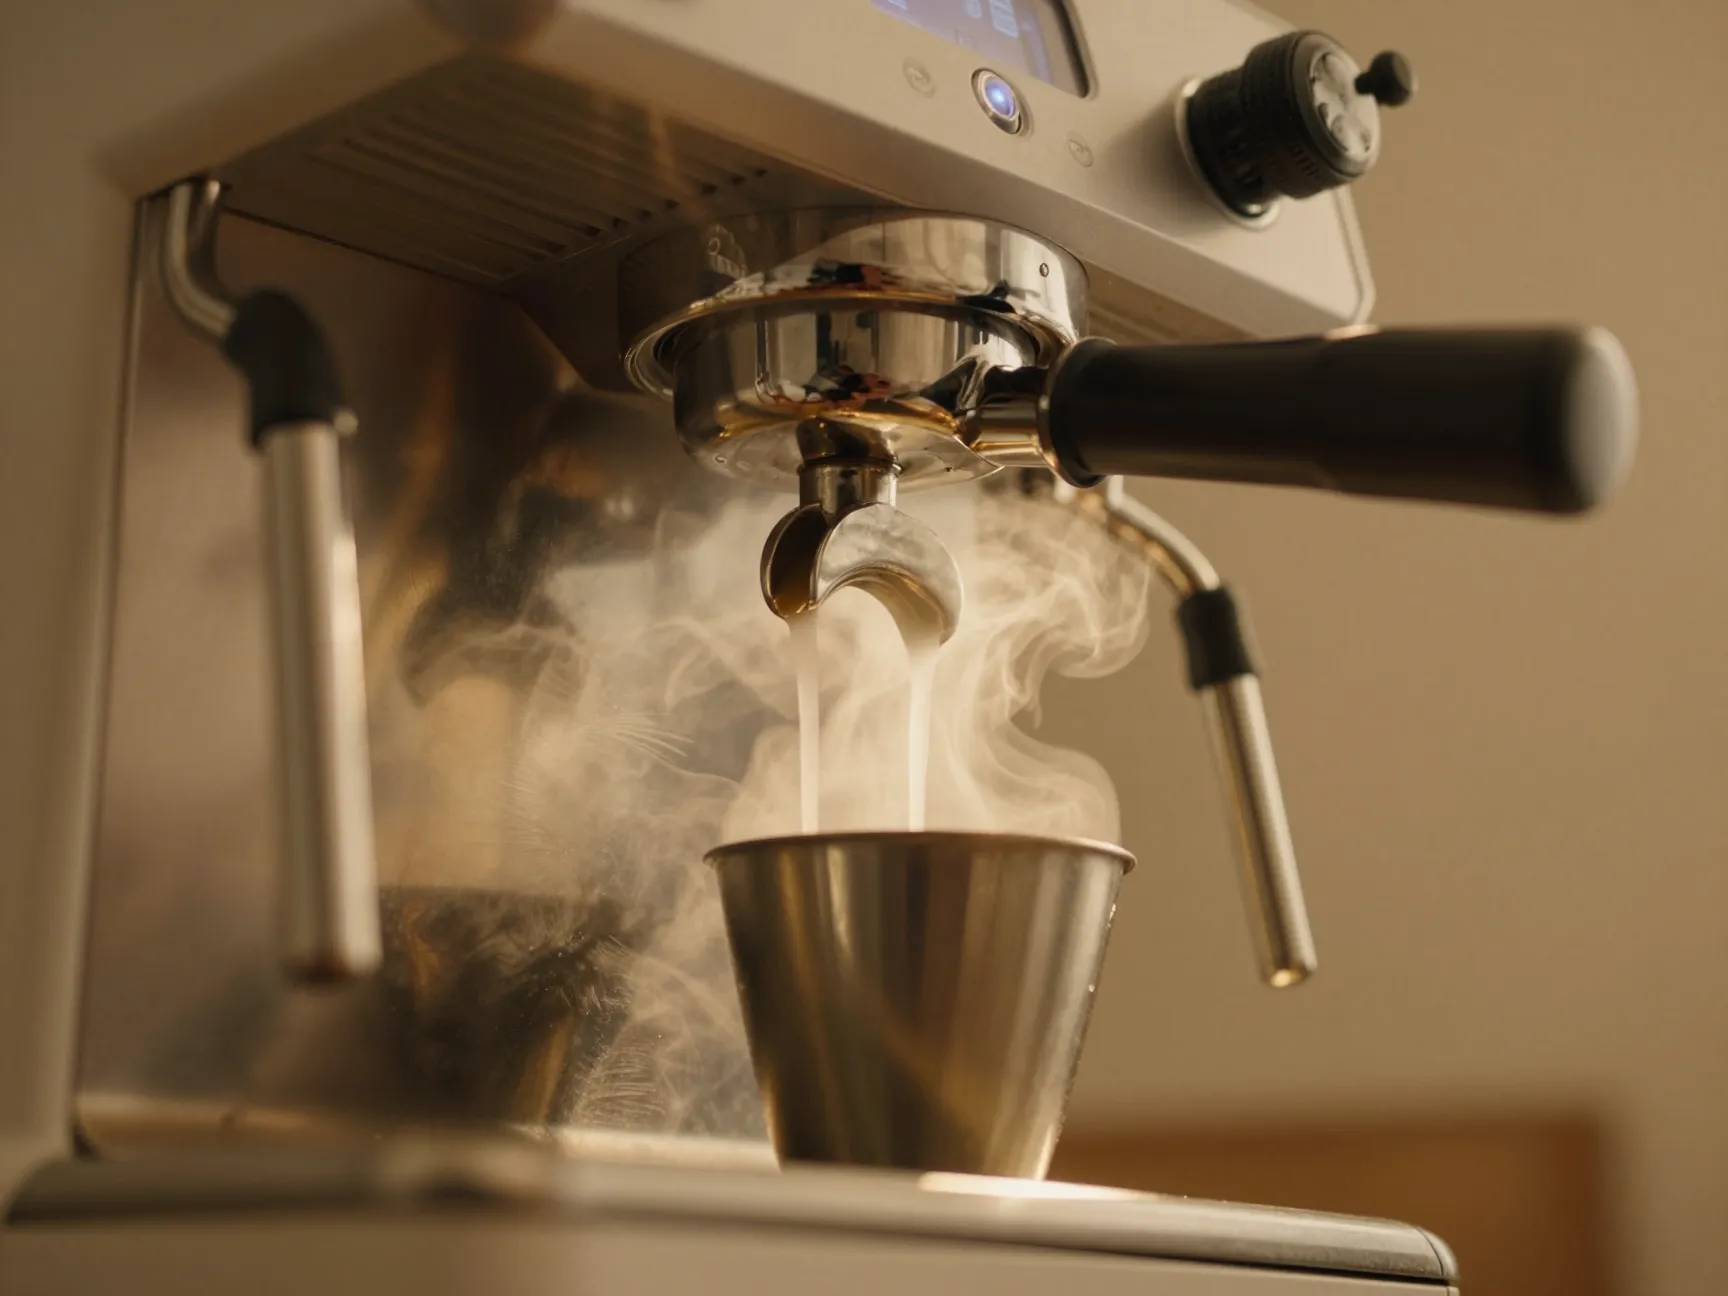
7. Time Your Extraction and Hit the Ratio
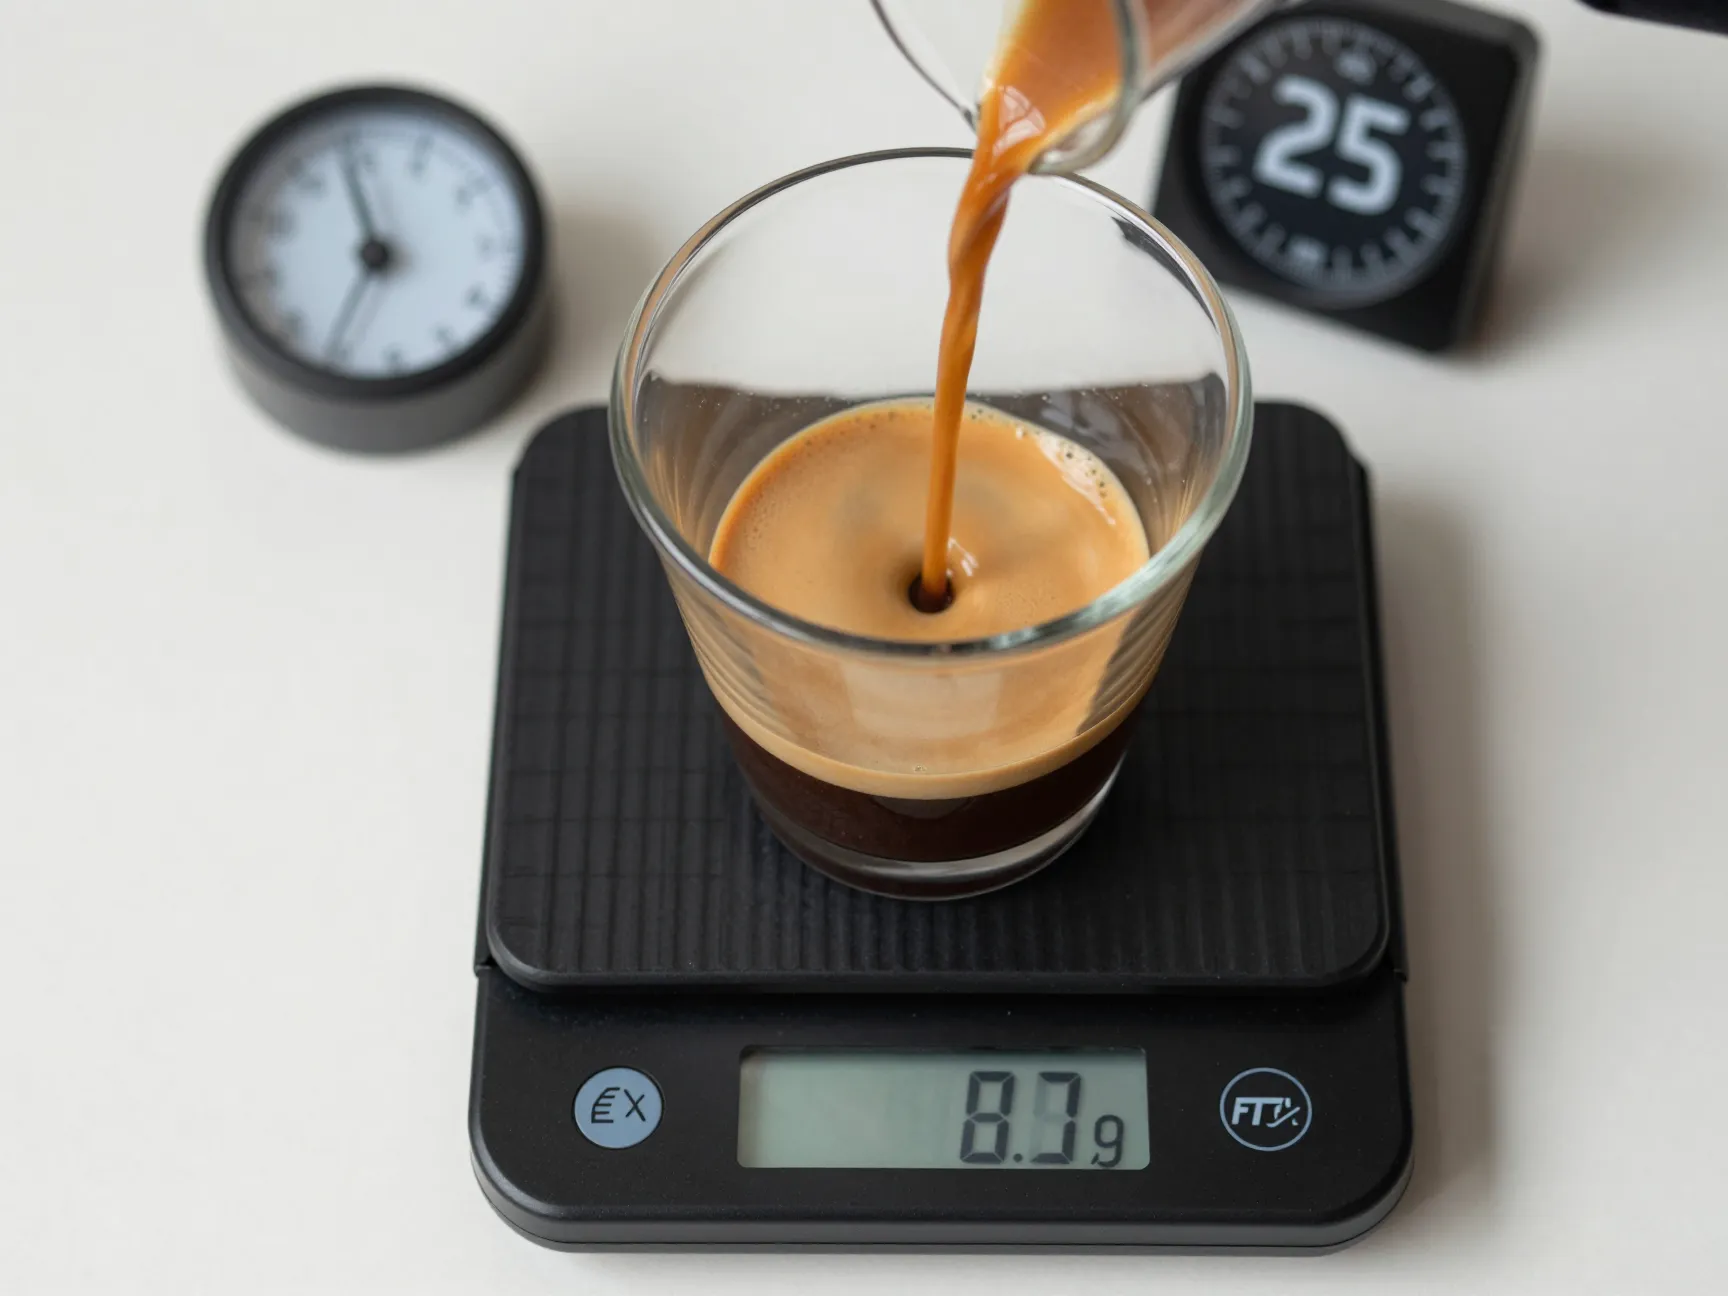
This is where all your preparation pays off — or reveals its weaknesses. Extraction time and are the two measurable outputs that tell you whether your shot is on track.
The targets:
- Extraction time: 18–30 seconds for a double shot [1][2]
- Brew ratio: 1:1.5 (coffee in to liquid out) — so 18g of coffee should yield approximately 27g of espresso [3]
How to use these numbers:
- If your shot pulls too fast (under 18 seconds): Grind finer, increase your dose, or tamp harder
- If your shot pulls too slow (over 30 seconds): Grind coarser, reduce your dose, or tamp lighter
- If your ratio is too high (too much liquid): You’re over-extracting or under-dosing
- If your ratio is too low (too little liquid): You’re under-extracting or over-dosing
📊 The 1:1.5 ratio creates espresso’s signature intensity and thick body. Adjust it to 1:2 for a slightly longer, lighter “lungo” style, or 1:1 for a concentrated “ristretto.”
Use a scale under your cup during extraction to monitor output in real time. This is the single biggest upgrade most home baristas can make to their workflow — it transforms guesswork into data. [2]
8. Read the Crema and Taste Critically
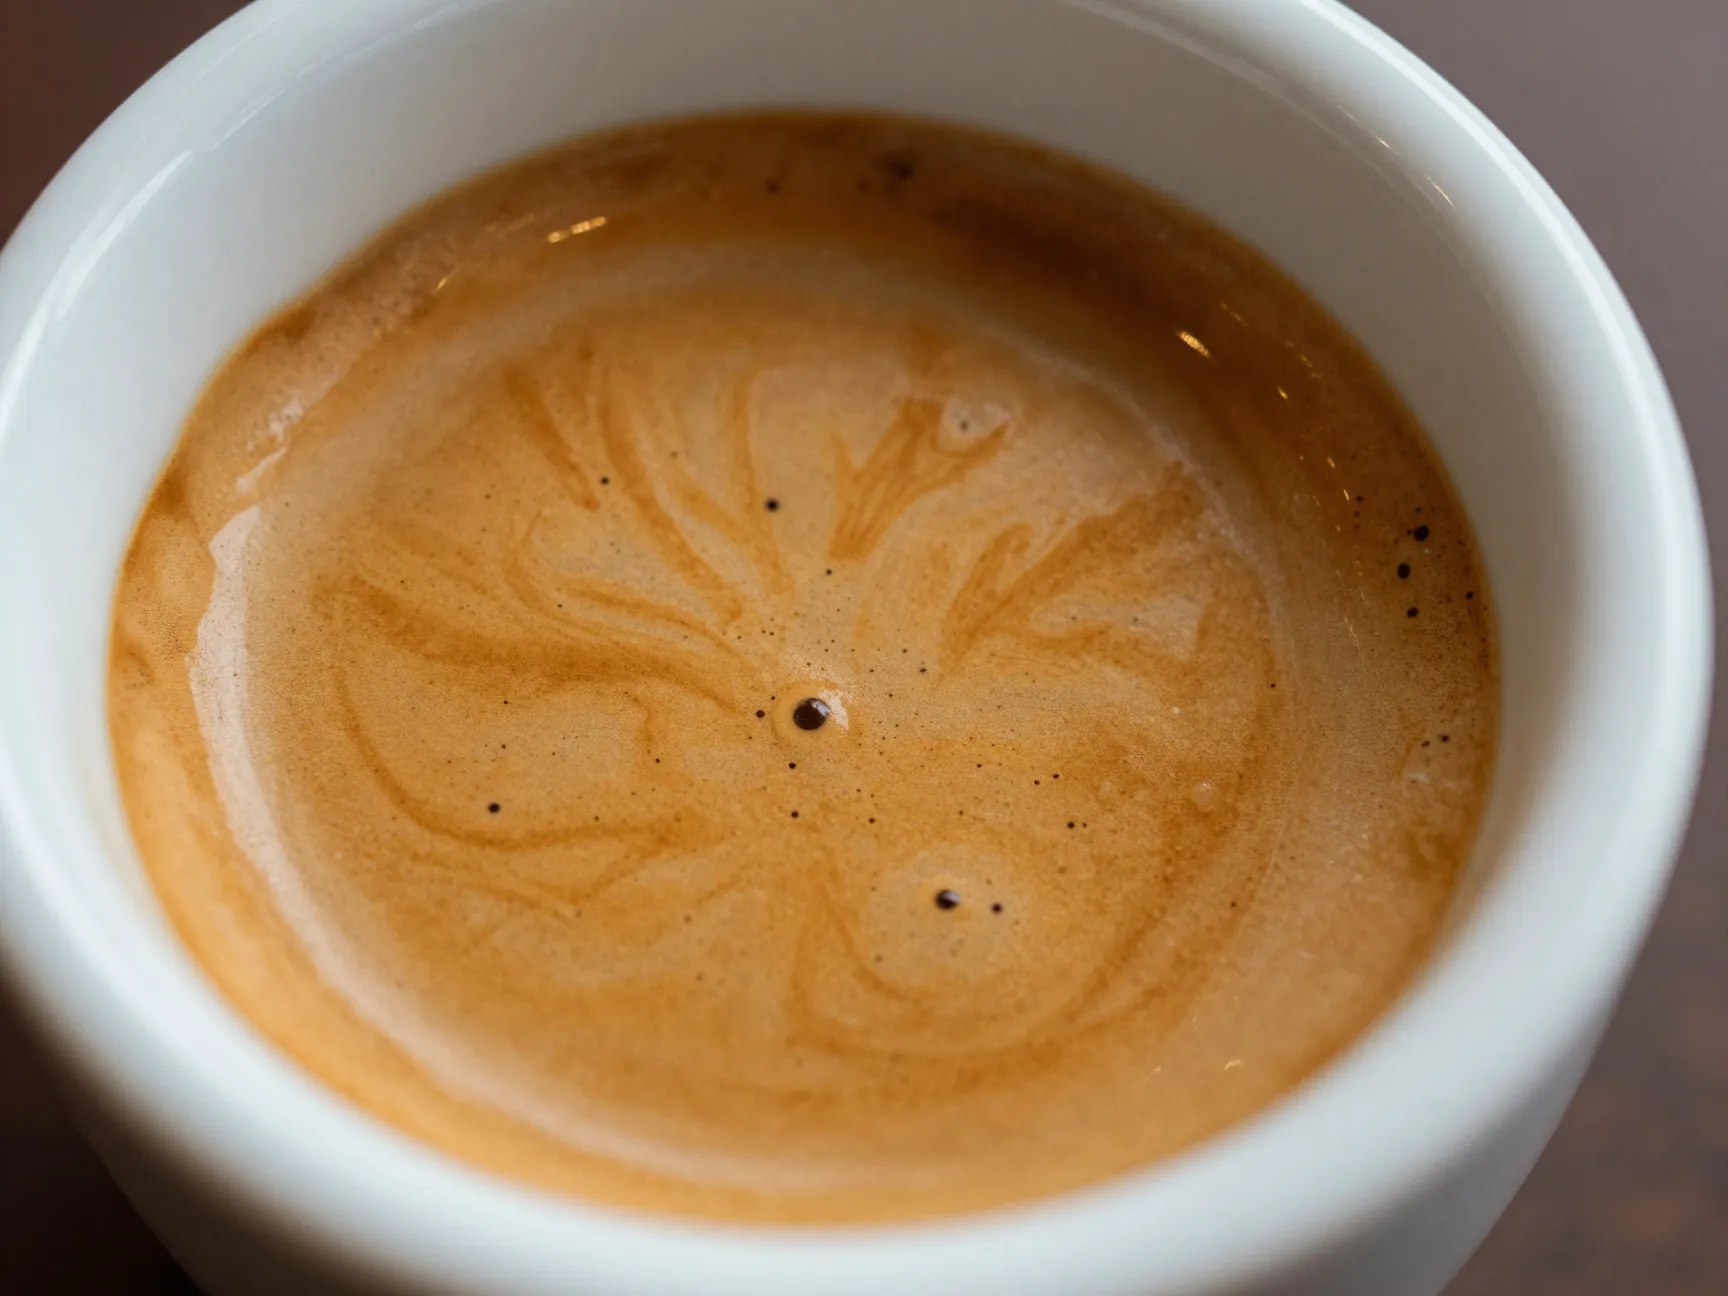
The final tip is about evaluation — developing the ability to read your shot and make intelligent adjustments. This is what separates a who improves quickly from one who pulls shots for years without getting better.
What great crema looks like: [1]
- Color: Rich golden-brown to hazel, with a slight reddish tinge
- Texture: Velvety and thick, not thin or bubbly
- Persistence: Holds for at least 1–2 minutes before dissipating
- Coverage: Covers the entire surface of the shot
What crema tells you:
| Crema Appearance | Likely Cause |
|---|---|
| Very pale, thin, disappears quickly | Stale beans or under-extraction |
| Very dark, almost black | Over-extraction or beans too fresh (within 3 days of roast) |
| Large bubbles, foamy | Grind too coarse or channeling |
| Tiger striping (light/dark streaks) | Good sign — indicates proper extraction |
Taste evaluation checklist:
✅ Balanced sweetness — not flat, not cloying
✅ Bright acidity — lively, not sharp or sour
✅ Full body — thick, coating mouthfeel
✅ Clean finish — no lingering bitterness or astringency
Keep a simple shot log — just a note on your phone recording grind setting, dose, yield, time, and your taste notes. Even three or four data points will reveal patterns and help you dial in faster. [4]
Putting It All Together: Your Pre-Shot Checklist
Here’s a quick-reference workflow you can follow every morning to apply Espresso From Home: 8 Pro Tips for Pulling the Perfect Shot consistently:
- ☑️ Turn on machine — allow full warm-up time
- ☑️ Check bean roast date — within two weeks?
- ☑️ Weigh dose — 14–18g on a digital scale
- ☑️ Grind immediately before brewing
- ☑️ Distribute grounds evenly in the basket
- ☑️ Tamp level with ~30 lbs of pressure
- ☑️ Flush group head for 3–5 seconds
- ☑️ Lock in portafilter and start extraction
- ☑️ Monitor time (target: 18–30 seconds) and yield (target: 1:1.5 ratio)
- ☑️ Evaluate crema and taste — log your notes
Common Espresso Problems and Quick Fixes
| Problem | Most Likely Cause | Fix |
|---|---|---|
| Sour, weak shot | Under-extraction | Grind finer or increase dose |
| Bitter, harsh shot | Over-extraction | Grind coarser or reduce dose |
| No crema | Stale beans | Buy fresher beans |
| Channeling (uneven extraction) | Uneven tamp or distribution | Redistribute grounds, re-tamp level |
| Shot pulls too fast | Grind too coarse | Adjust grinder finer |
| Shot pulls too slow | Grind too fine | Adjust grinder coarser |
| Inconsistent shots | Varying dose or tamp | Use a scale; standardize technique |
Conclusion: Your Path to Café-Quality Espresso at Home
Pulling great espresso at home in 2026 is more achievable than ever — machines are better, information is more accessible, and specialty coffee culture has raised the bar for what home baristas expect from their cup. But the fundamentals haven’t changed.
The eight tips in this guide — Espresso From Home: 8 Pro Tips for Pulling the Perfect Shot — give you a complete, actionable system:
- Use fresh beans (roasted within two weeks)
- Dial in your grind size to fine sand texture
- Dose accurately with a digital scale (14–18g)
- Tamp level with consistent pressure (~30 lbs)
- Warm up your machine and flush the group head
- Brew at the right temperature (~200°F / 93°C)
- Time your extraction and hit the 1:1.5 ratio
- Read the crema and taste critically — then adjust
Your next steps:
- This week: Start keeping a shot log. Even basic notes accelerate your learning dramatically.
- This month: If you don’t have a digital scale, get one. It’s the highest-ROI upgrade available.
- Long-term: Invest in a quality burr grinder before upgrading your machine. Grind quality has more impact on shot quality than almost any other equipment variable.
Great espresso is a skill. Every shot you pull — good or bad — teaches you something. The baristas who improve fastest aren’t the ones with the most expensive equipment; they’re the ones who pay attention, keep notes, and make one adjustment at a time.
References
[1] How To Pull The Perfect Shot Of Espresso A Step By Step Guide For Beginners – https://www.povertybay.com/coffee-blog/how-to-pull-the-perfect-shot-of-espresso-a-step-by-step-guide-for-beginners/
[2] Espresso Brewing Guide Tips – https://outin.com/blogs/news/espresso-brewing-guide-tips
[3] How To Make Great Espresso – http://clivecoffee.com/blogs/learn/how-to-make-great-espresso
[4] The Top 19 Tips To Make Better Espresso At Home – https://coffeebros.com/blogs/coffee/the-top-19-tips-to-make-better-espresso-at-home