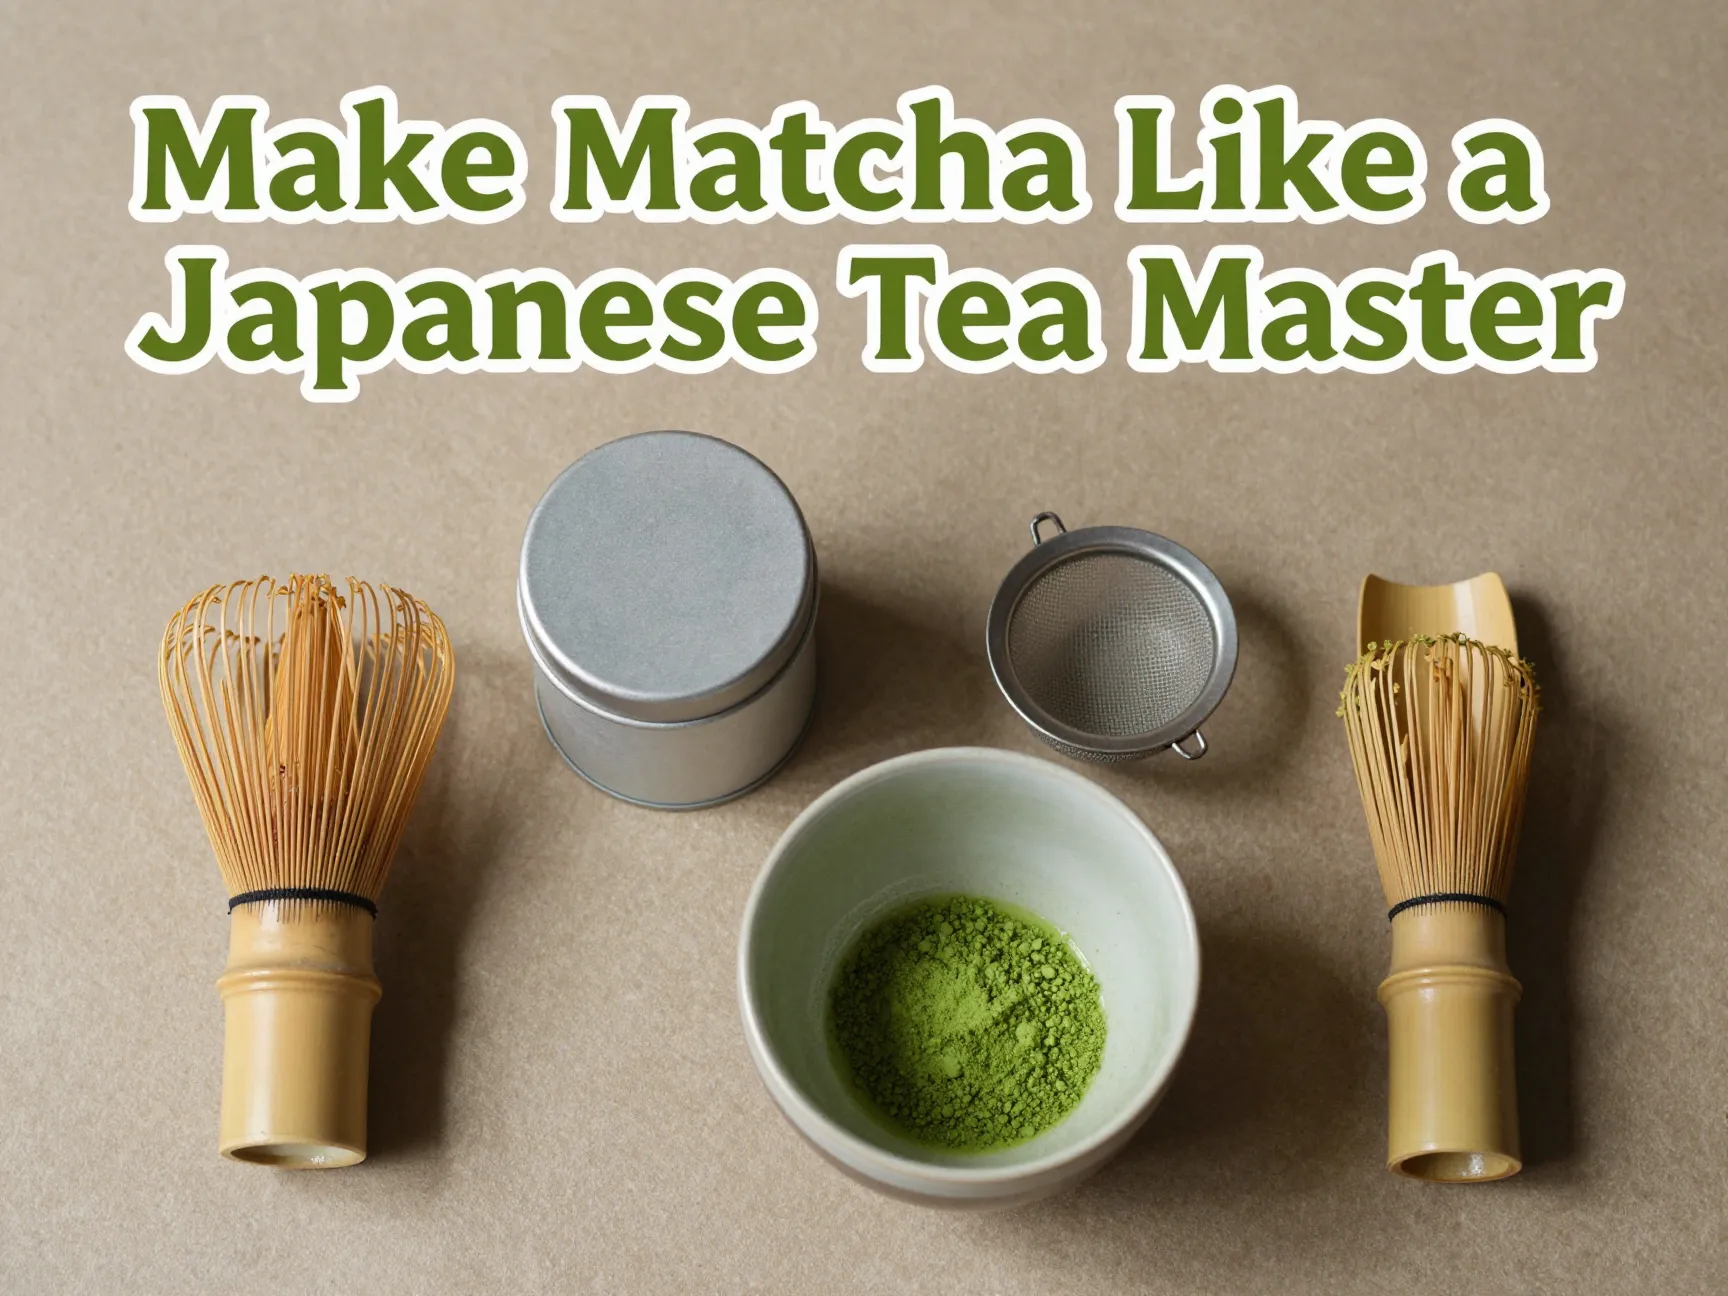
9 Steps for How to Make Matcha at Home Like a Japanese Tea Master
Only 1 in 3 matcha drinkers outside Japan prepares their cup correctly — and that gap between a bitter, clumpy mess and a silky, frothy bowl of ceremonial-grade comes down to a handful of precise, learnable steps. The good news? Following the 9 Steps for How to at Home Like a Japanese Tea Master does not require years of training or a trip to Kyoto. It requires the right tools, the right technique, and a few minutes of focused attention.
Disclosure: This post contains affiliate links. As an Amazon Associate, we earn from qualifying purchases, and at no extra cost to you.
This guide walks you through every step — from choosing the correct grade of powder to achieving that signature creamy froth — so your next cup rivals anything served in a traditional Japanese tea house.
Key Takeaways
- 🍵 Water temperature is everything: Never use boiling water. Keep it at 170–180°F (80°C) to protect the tea’s delicate flavor compounds [1][2]
- 🌿 Grade matters: Only ceremonial-grade matcha is suitable for drinking straight; culinary grade is for baking and cooking [1]
- 🎋 Tools make a difference: A chawan, chasen, and chashaku are not optional extras — they directly affect the quality of your cup [1]
- ⚡ Technique over time: The W-shaped whisking motion creates micro-foam in 15–30 seconds; circular stirring does not [1][2]
- 📏 Precision pays off: Using 1–2 grams of powder and 60–80 ml of water for the initial pour sets the foundation for a balanced, smooth bowl [2][3]
Why Most Home Matcha Falls Short (And How to Fix It)
Most people who try making matcha at home encounter one of three problems: a bitter taste, visible clumps floating in the bowl, or a flat, watery texture with no froth. Each of these problems has a direct cause — and a direct fix.
Bitterness almost always comes from water that is too hot. Boiling water (212°F/100°C) scorches the in matcha, particularly L-theanine, which is responsible for the tea’s characteristic smooth, umami-forward sweetness [2][3].
Clumping happens when powder is added directly to water without sifting, or when the water is poured all at once before the powder has a chance to partially dissolve [1][4].
Flat texture results from the wrong whisking motion. Stirring in circles compresses the liquid rather than aerating it. The W or M-shaped motion used in traditional Japanese tea ceremony is specifically designed to introduce air into the bowl and create micro-bubbles [1][2].
Understanding these failure points makes the 9 steps below feel less like a recipe and more like a logical sequence. Every step exists for a reason.
The Complete 9 Steps for How to Make Matcha at Home Like a Japanese Tea Master
What You Will Need Before You Start
Before diving into the steps, gather your equipment and ingredients. Preparation is part of the Japanese tea ceremony philosophy — having everything in place before you begin creates a calm, intentional experience.
Essential Equipment:
| Tool | Japanese Name | Purpose |
|---|---|---|
| Tea bowl | Chawan | Wide bowl allows proper whisking |
| Bamboo whisk | Chasen | Creates froth and dissolves powder |
| Bamboo scoop | Chashaku | Measures the correct amount of powder |
| Fine mesh sifter | Furui | Removes clumps from the powder |
| Thermometer | — | Ensures correct water temperature |
Ingredients:
- Ceremonial-grade matcha powder (1–2 grams per serving)
- Filtered water, heated to 170–180°F (80°C)
- Optional: steamed milk for a variation
💡 Pro Tip: If you do not own a thermometer, bring water to a full boil and let it cool for 3–4 minutes. This typically brings the temperature down to the 170–180°F range.
1. Choose the Right Grade of Matcha
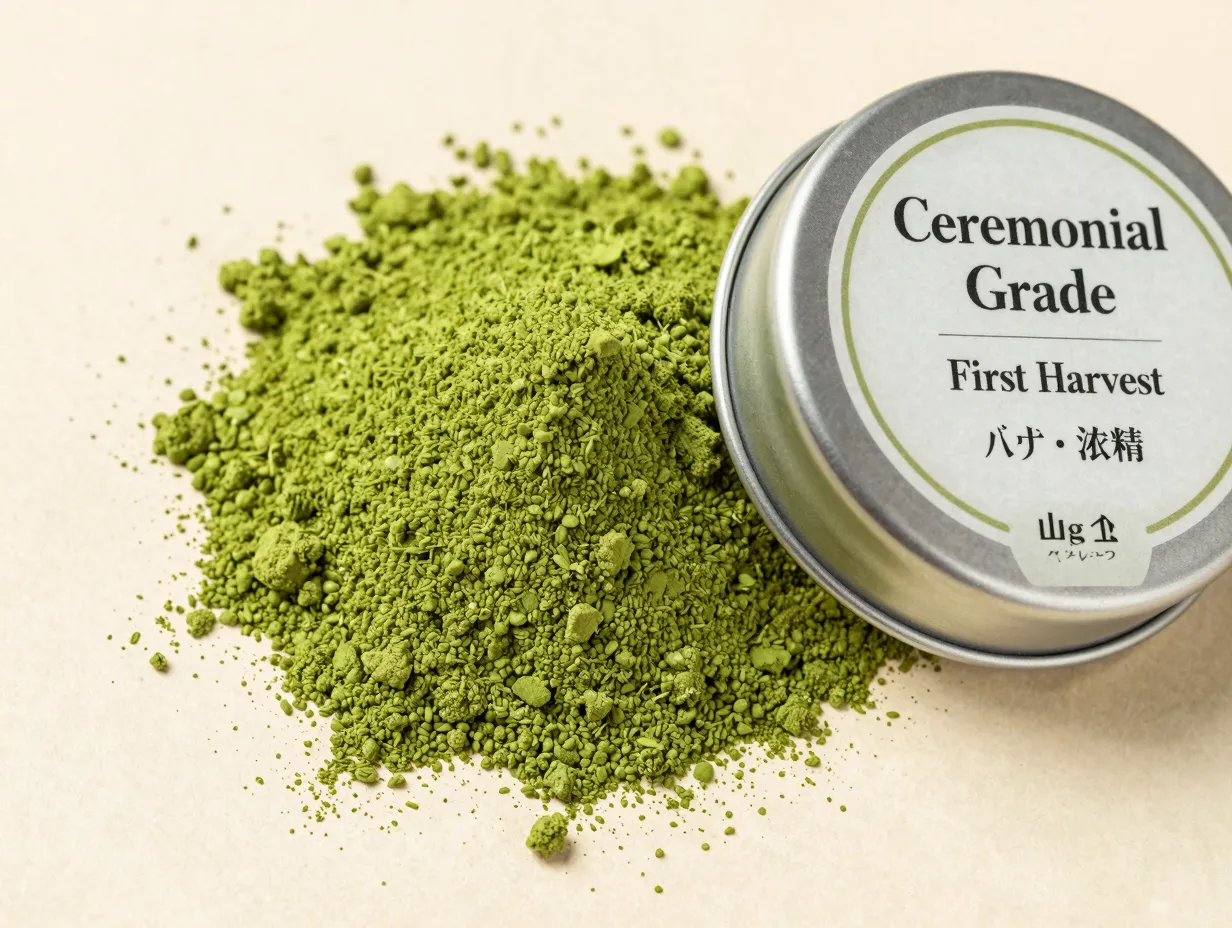
The single most important decision you make happens before you even touch a whisk. Ceremonial-grade matcha is the only appropriate choice for drinking straight [1]. This grade is made from the youngest tea leaves, shade-grown for three to four weeks before harvest to boost chlorophyll and amino acid content. The result is a vibrant, emerald-green powder with a naturally sweet, umami-rich flavor.
Culinary-grade matcha, by contrast, uses older leaves and often has a more astringent, grassy taste. It is perfectly fine for smoothies, baked goods, and lattes where other ingredients balance the bitterness — but it will not produce the smooth, complex cup you are aiming for here [1][4].
What to look for when buying:
- A bright, vivid green color (dull or yellowish powder signals lower quality or age)
- The label “ceremonial grade” or “first harvest”
- Origin from Japan, ideally Uji, Nishio, or Kyushu regions
- Packaging in an airtight, opaque tin to protect from light and oxidation
2. Gather Your Traditional Tools
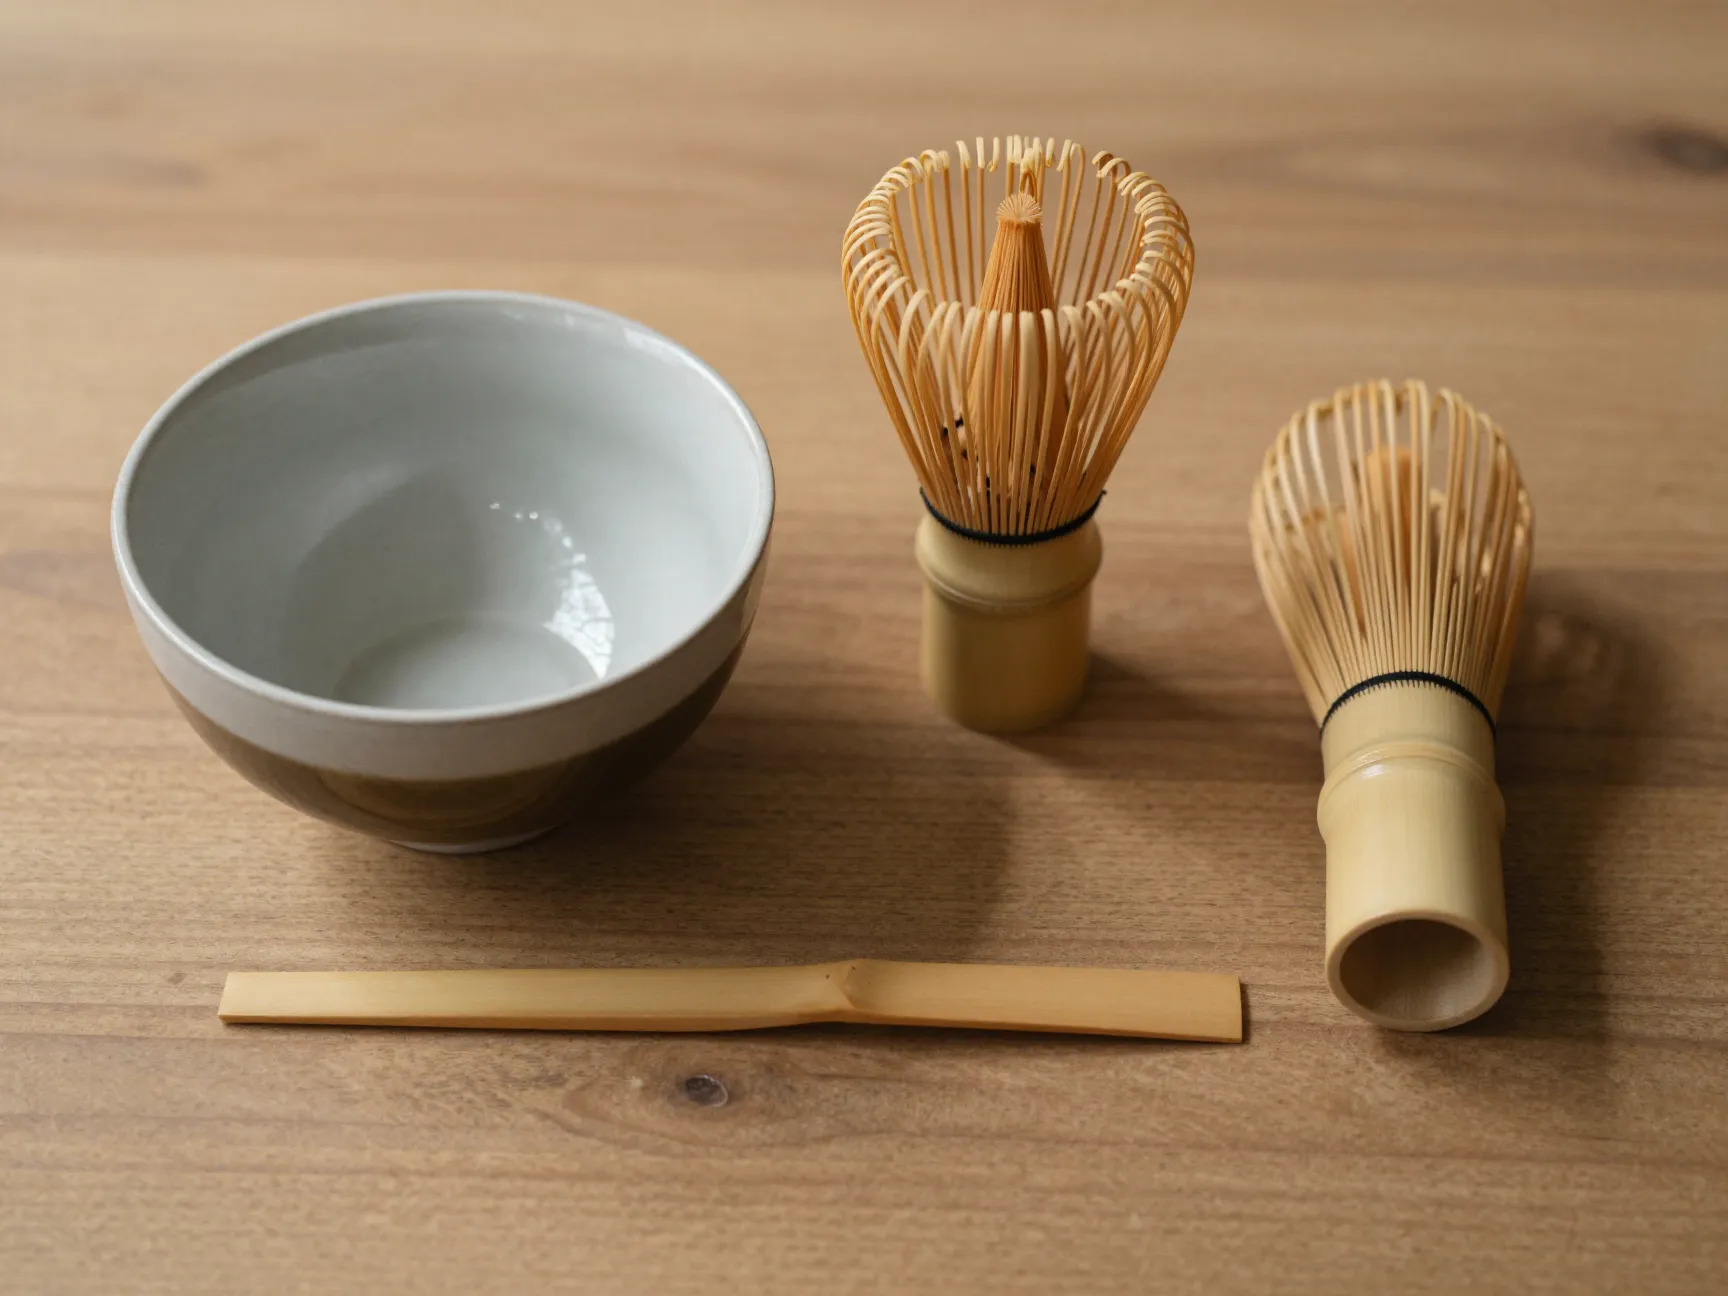
Using the right tools is not about tradition for tradition’s sake — it is about function [1]. A chawan (tea bowl) is wider and shallower than a standard mug, giving your chasen room to move freely. A chasen (bamboo whisk) has between 80 and 120 fine tines that create the micro-foam you are aiming for; a regular kitchen whisk or fork simply cannot replicate this [1].
The chashaku (bamboo scoop) holds approximately 1 gram of matcha per scoop, making measurement consistent without needing a kitchen scale every time [1][3].
If you are just starting out and do not yet own these tools, a small fine-mesh kitchen sieve, a handheld , and a wide cereal bowl can serve as substitutes. But if you plan to make matcha regularly, investing in a proper chasen will noticeably improve your results within the first use.
3. Preheat Your Chawan
This step is often skipped by beginners, but it matters more than most people realize. Pouring hot water into a cold ceramic bowl drops the water temperature immediately, which affects the way the powder dissolves and the froth develops.
How to do it:
- Pour a small amount of hot water (about 30–40 ml) into your chawan
- Swirl it gently to warm the entire interior surface
- Discard the water and dry the bowl with a clean cloth before proceeding
This also softens the tines of your chasen if you dip it in the warm water for 30 seconds — a practice that extends the life of the bamboo and makes whisking smoother [1][4].
4. Sift the Matcha Powder
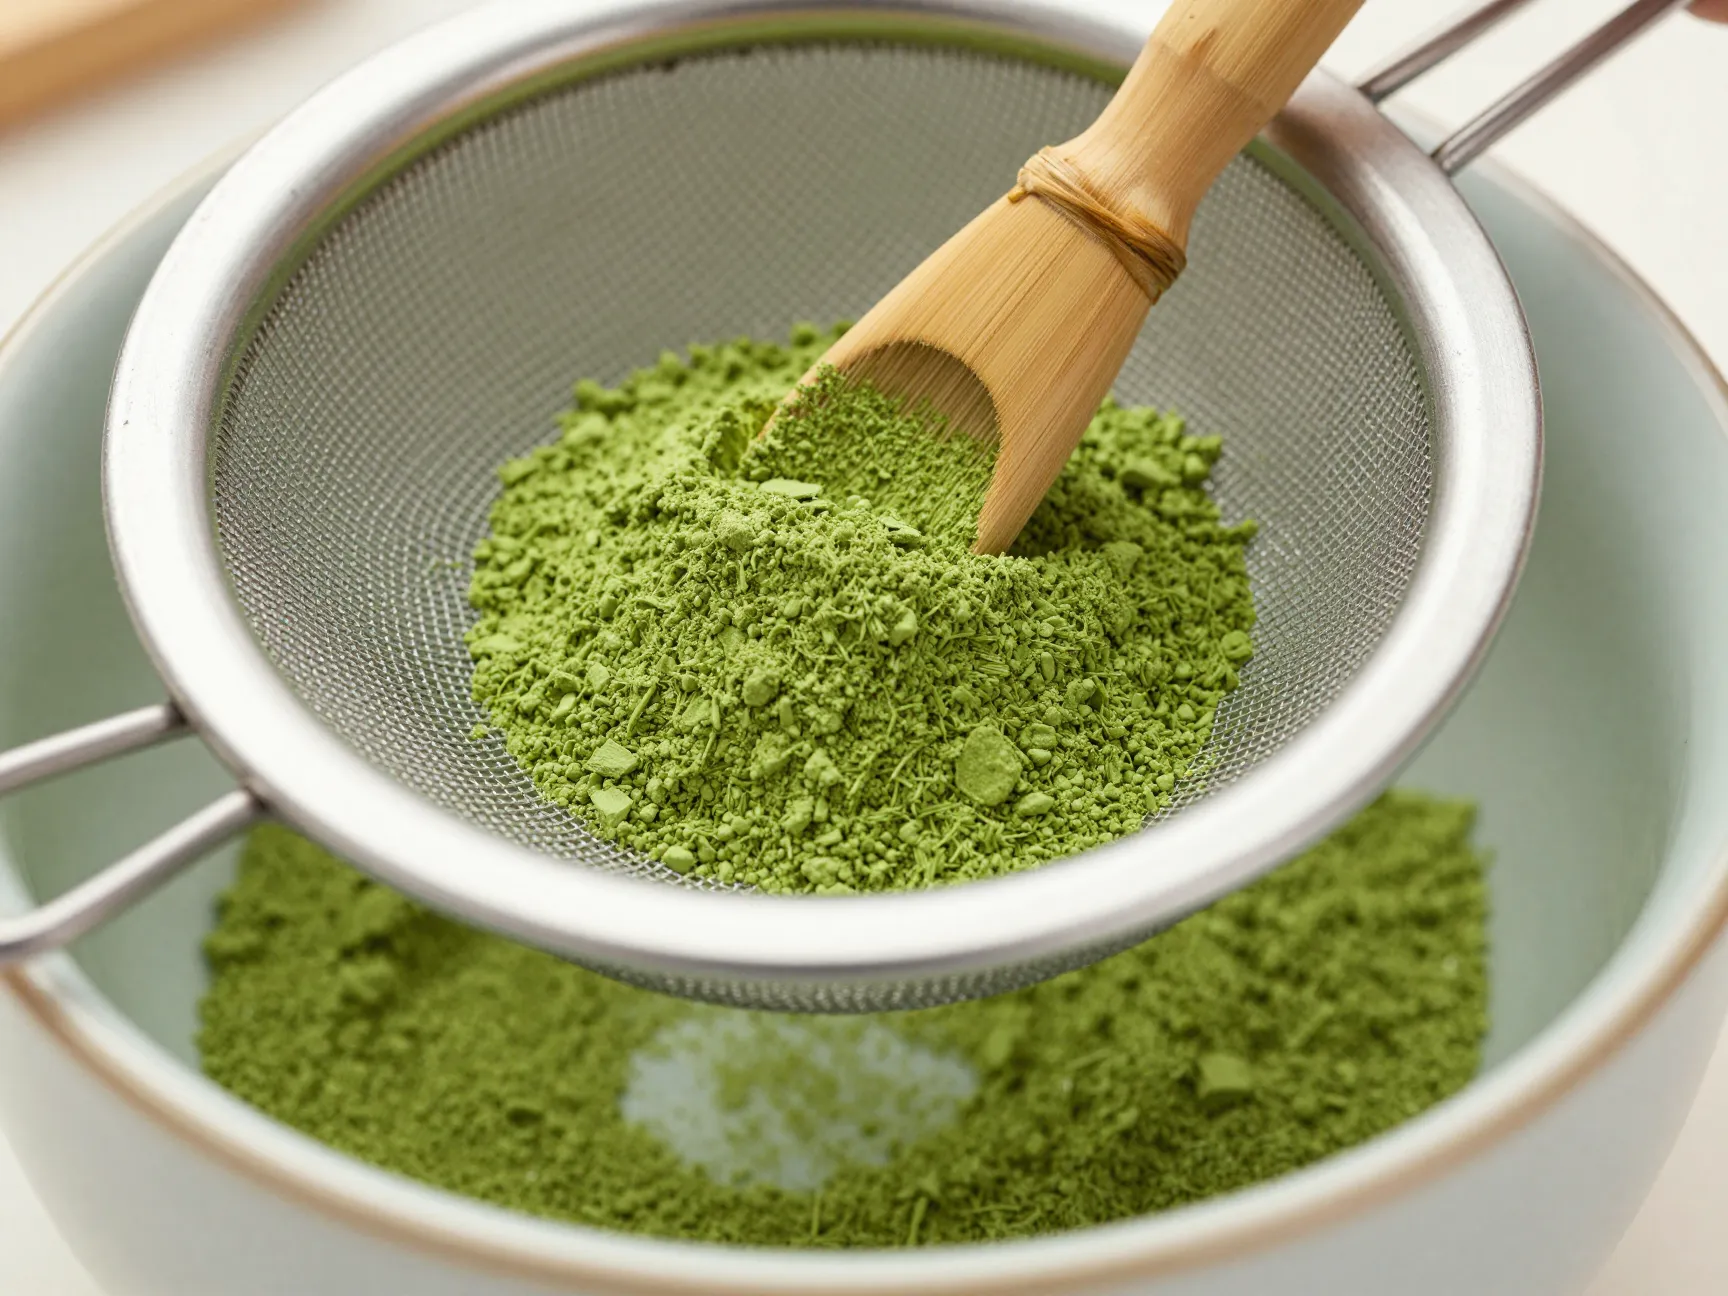
Sifting is listed as optional in some guides, but it is one of the easiest ways to guarantee a lump-free, silky result [1][4]. Matcha powder is extremely fine — finer than most baking flours — and it clumps easily, especially in humid environments or after the tin has been opened multiple times.
How to sift:
- Place your fine-mesh sifter over the chawan
- Add 1–2 grams (roughly 1–2 chashaku scoops, or ½–1 teaspoon) of matcha to the sifter [1][3]
- Use the back of a spoon or the chashaku to gently press the powder through the mesh
- The result should be a fine, even layer of powder sitting at the bottom of the bowl
🌿 Why this works: Breaking up clumps at this stage means the powder will dissolve evenly when water is added, rather than forming stubborn lumps that no amount of whisking will fully eliminate.
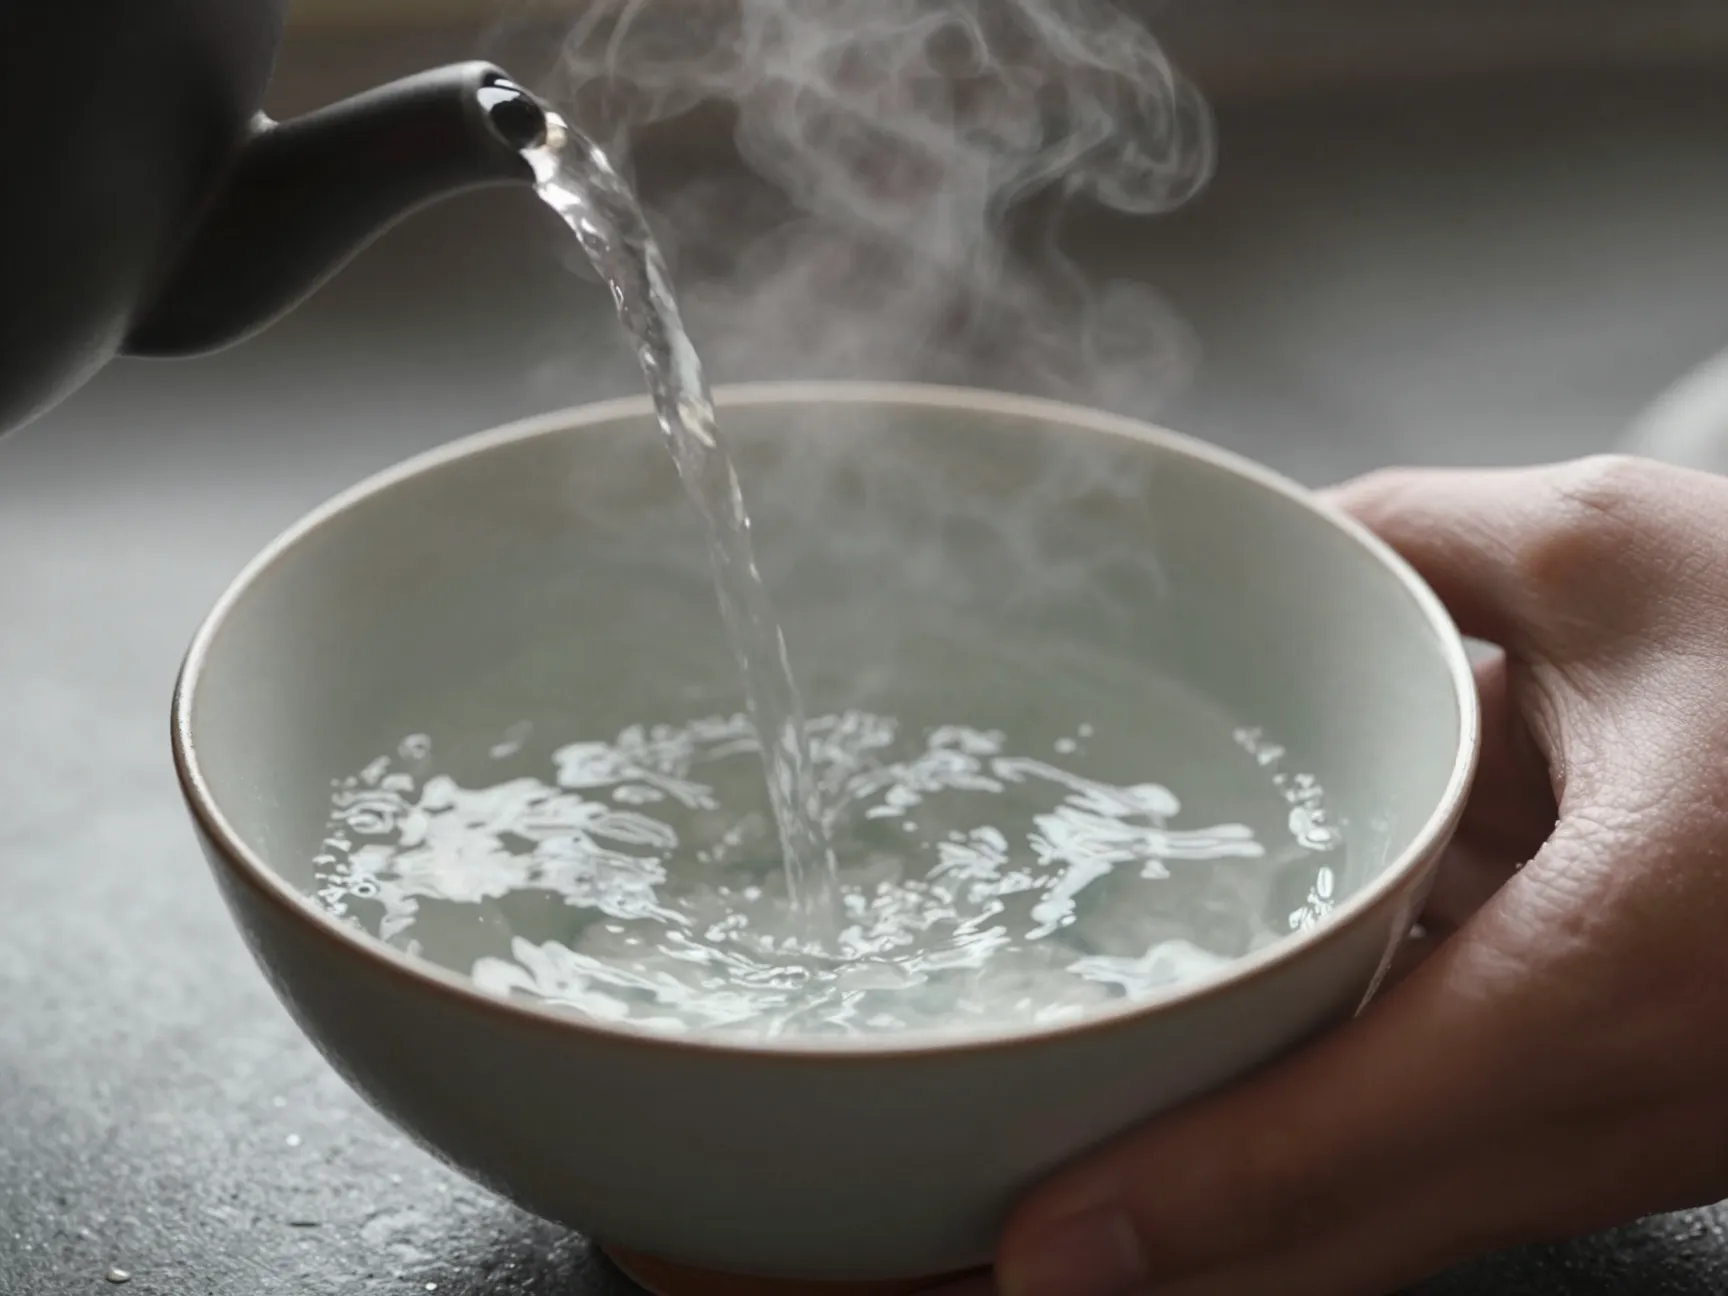
5. Heat Water to the Correct Temperature
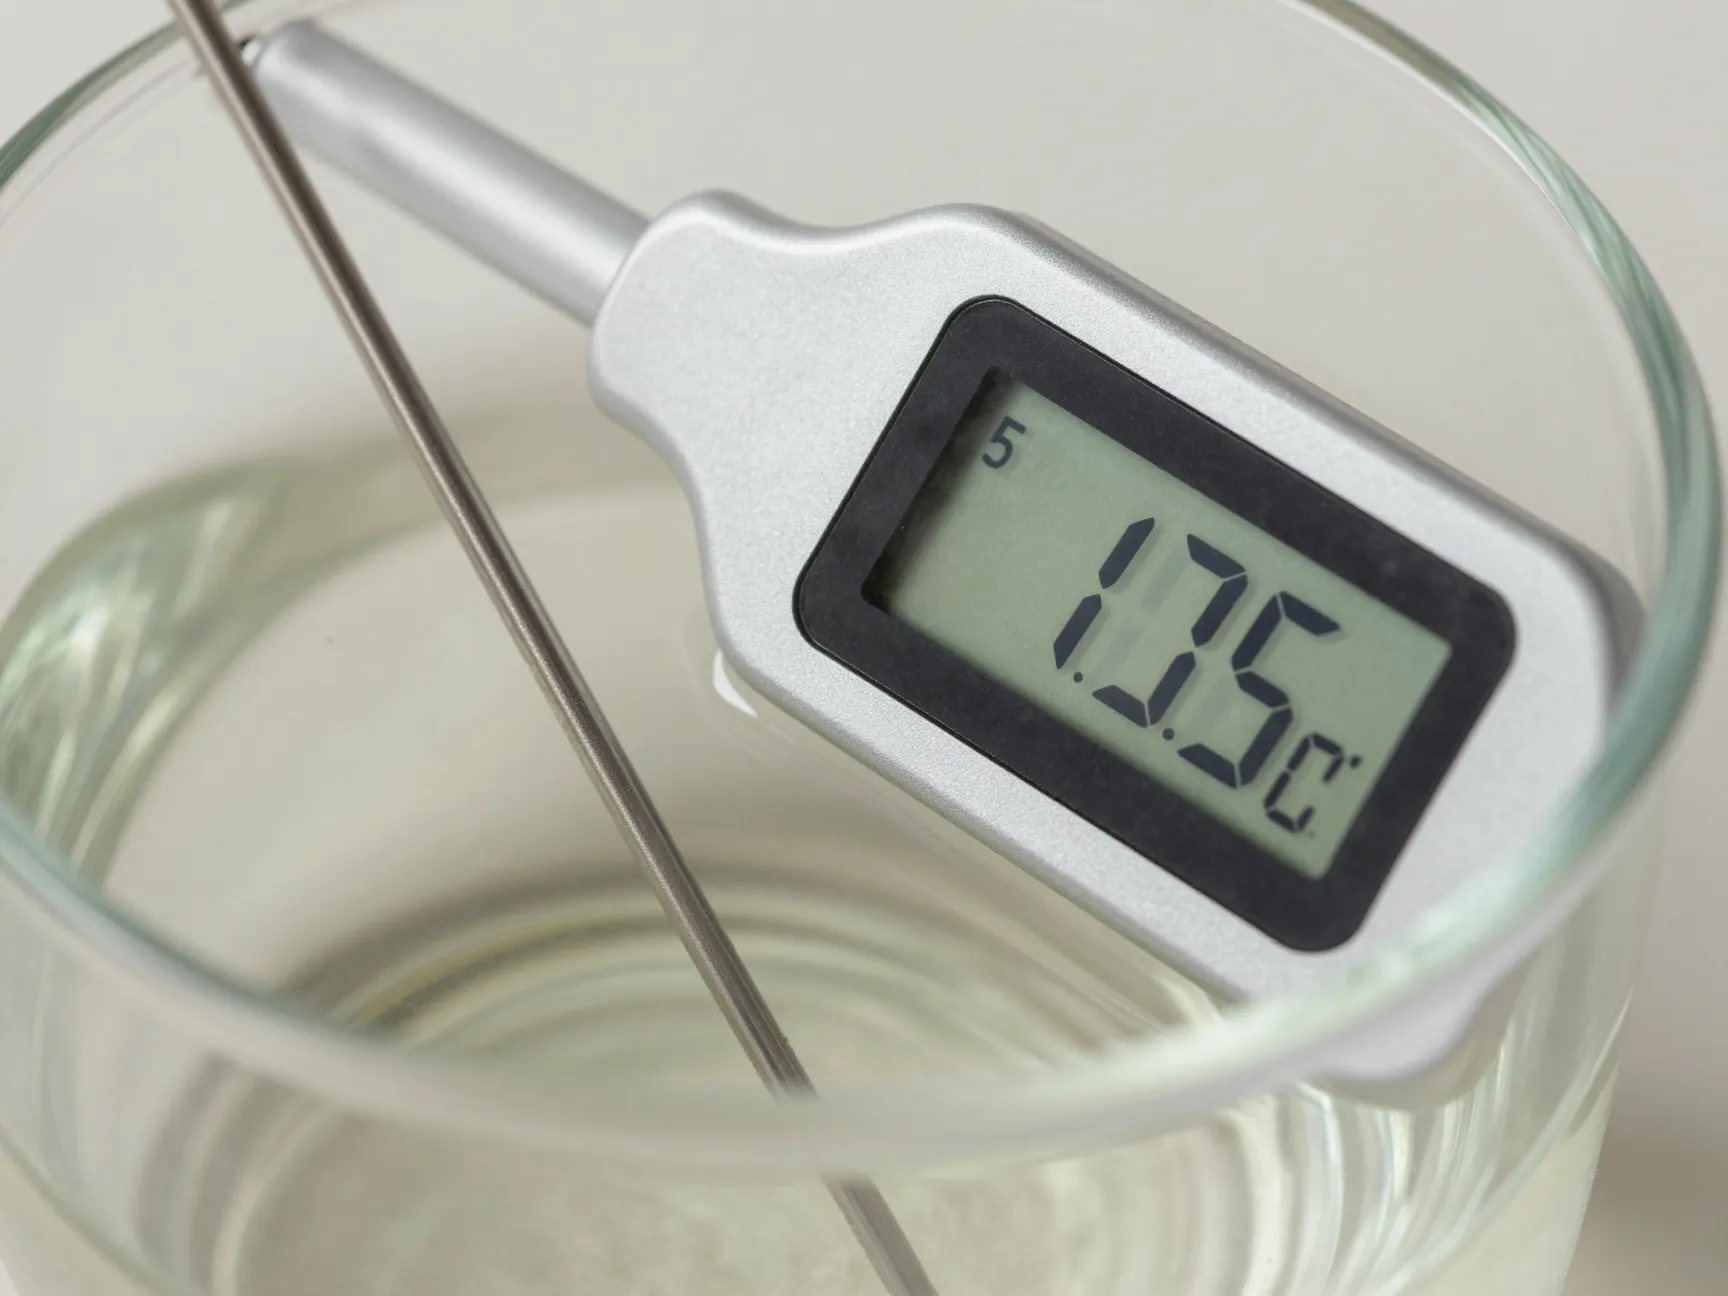
This is the step where most home brewers make their biggest mistake [2][3]. Do not use boiling water. The target range is 170–180°F (76–82°C). At this temperature, the water is hot enough to dissolve the powder and develop the tea’s flavor, but cool enough to preserve the delicate amino acids that give ceremonial matcha its sweetness and depth [1][2].
Temperature guide:
| Water Temperature | Result |
|---|---|
| Below 160°F (71°C) | Powder does not dissolve fully; flat taste |
| 170–180°F (76–82°C) | ✅ Ideal: smooth, sweet, umami-forward |
| Above 190°F (88°C) | Bitter, astringent, scorched flavor |
| 212°F / Boiling | Destroys L-theanine; very bitter |
If you use an electric kettle with temperature control, set it to 175°F for a reliable result every time. If not, the boil-and-wait method (3–4 minutes of cooling after a full boil) works well [3].
6. Add the Initial Water Pour
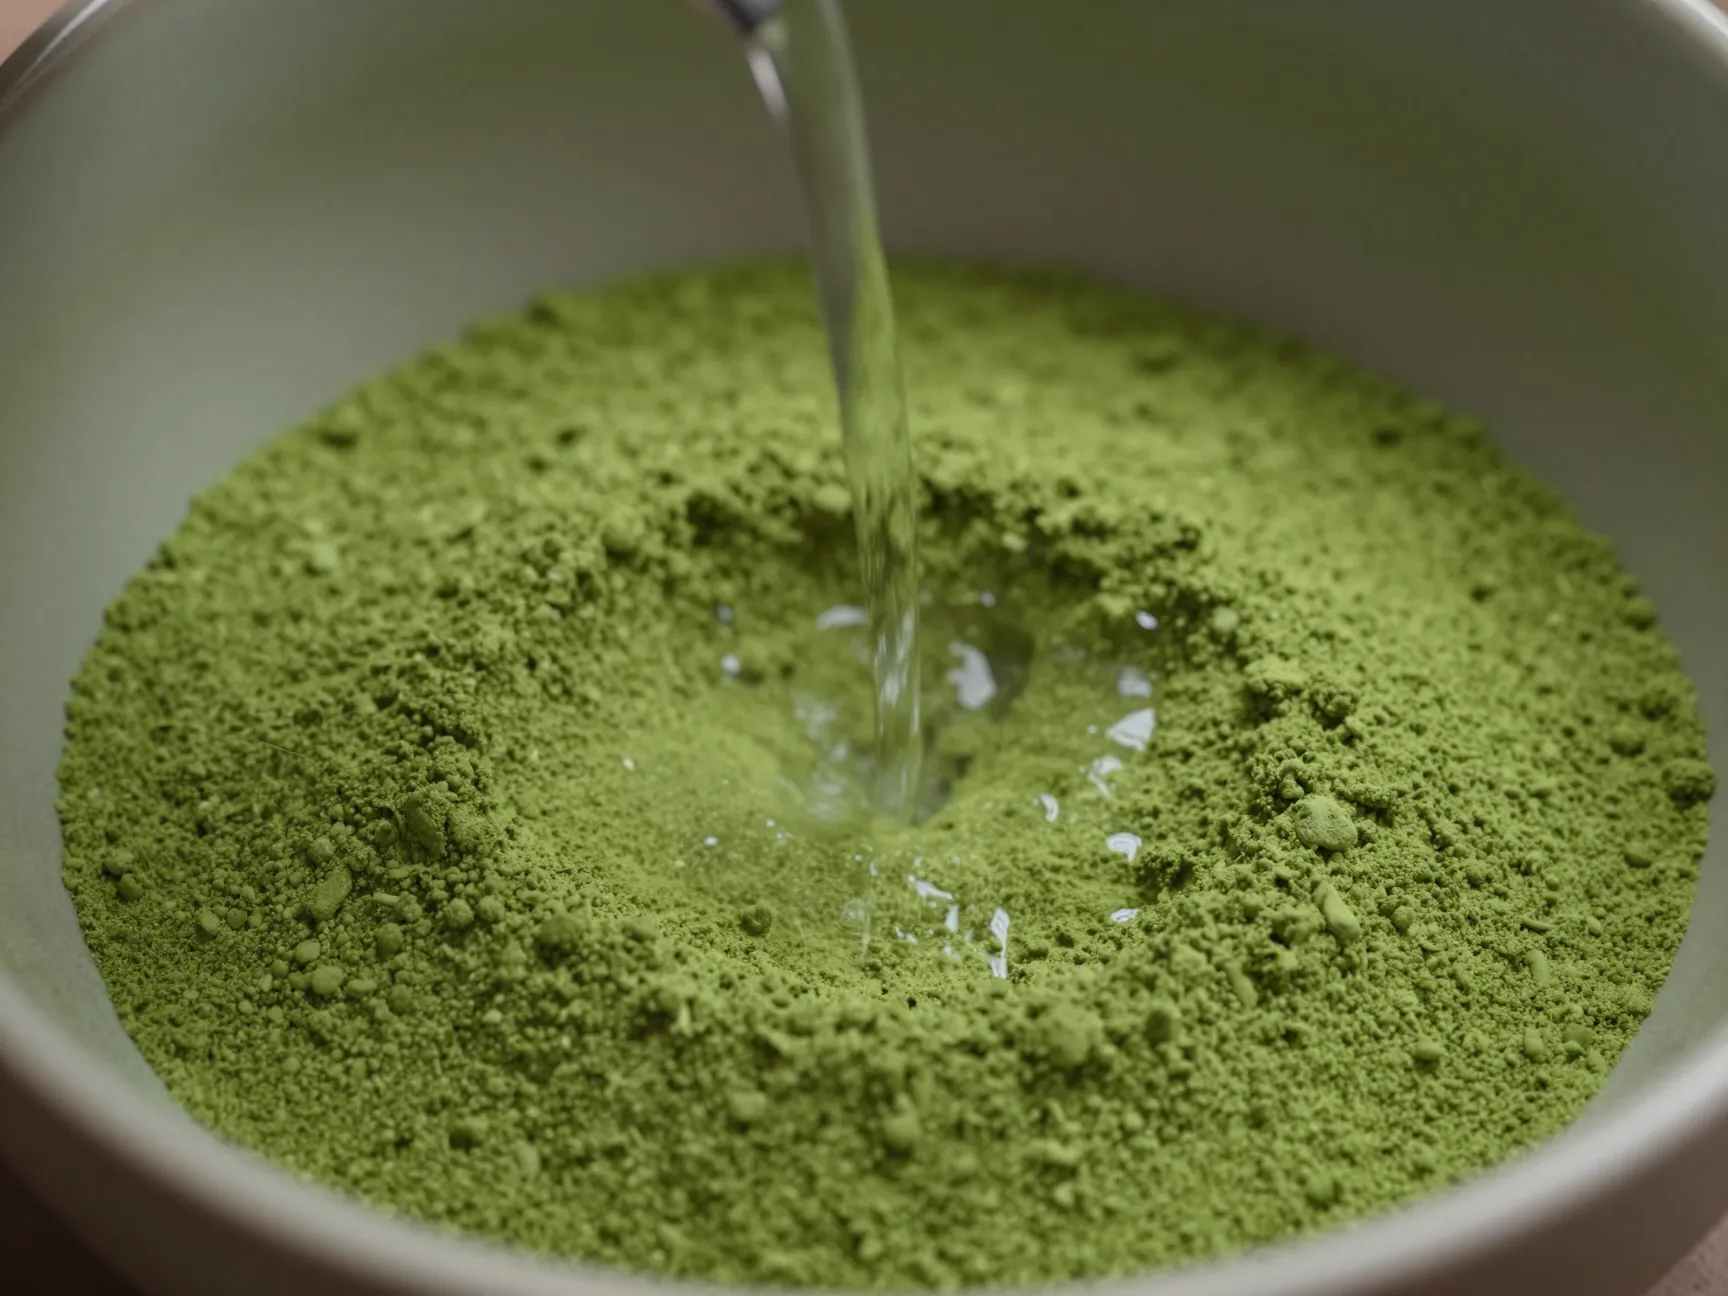
This step is where the actual preparation begins. Rather than adding all the water at once, you start with a small, controlled pour [2][3].
How to do it:
- Pour 60–80 ml (approximately 2–3 ounces) of your heated water into the chawan, directly onto the sifted matcha powder [2][3]
- This initial small pour begins dissolving the powder before whisking, making the process easier and more effective
- Do not stir yet — let the water sit on the powder for 3–5 seconds
This two-stage water addition is a hallmark of proper Japanese and is one of the details that separates a professionally prepared cup from a hastily made one.
7. Whisk Using the Correct Technique
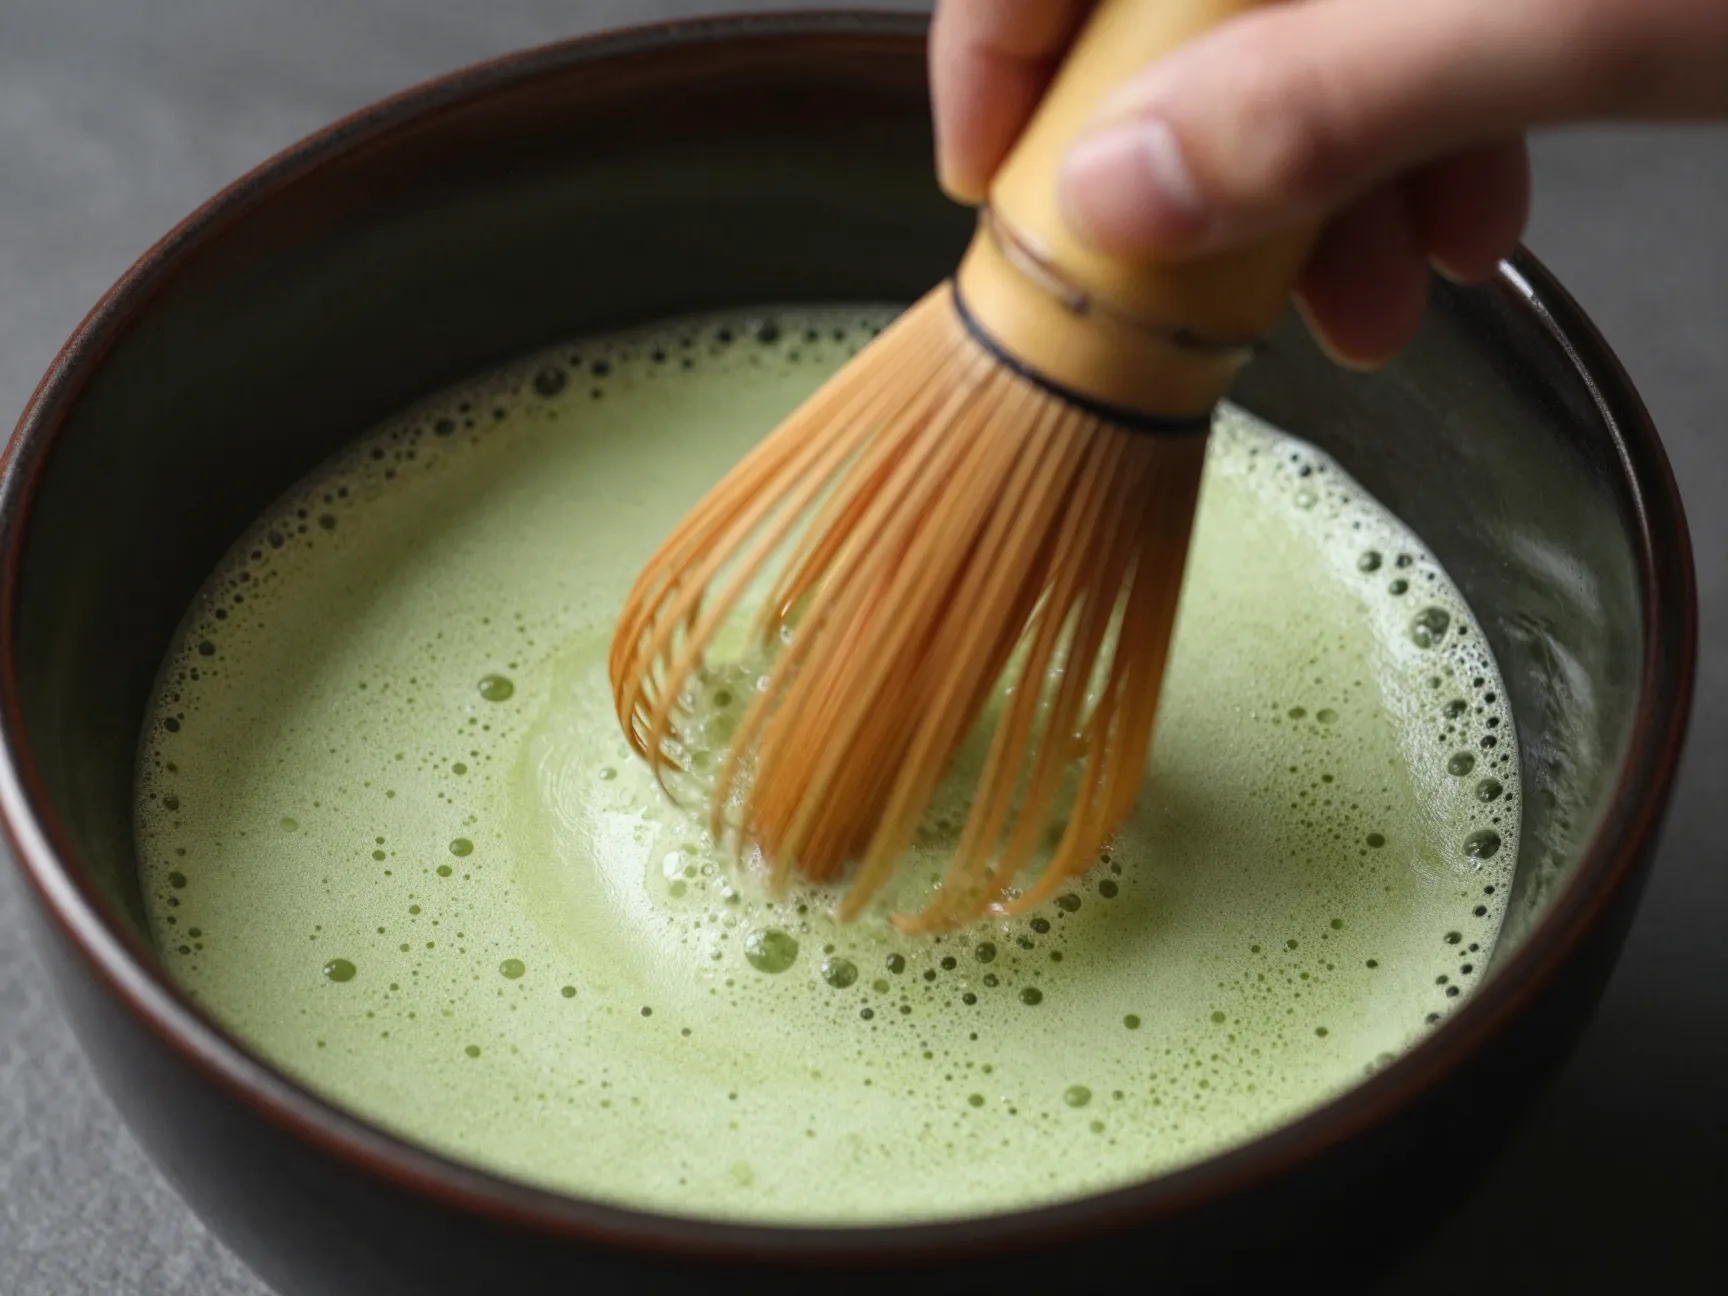
This is the most skill-dependent step, and it is also the most satisfying once you get it right [1][2][3].
The W or M-shaped motion:
- Hold the chawan steady with your non-dominant hand
- Grip the chasen loosely between your fingers — do not grip it like a pen
- Move the chasen rapidly in a W or M-shaped pattern across the bottom and surface of the liquid
- Keep your wrist loose and your movement light but vigorous
- Continue for 15–30 seconds [1][2]
What to avoid:
- ❌ Circular stirring (this does not aerate the liquid)
- ❌ Pressing the chasen hard against the bowl (this damages the tines)
- ❌ Stopping too early before froth has formed
The goal is to see small, uniform micro-bubbles forming across the entire surface of the tea. This froth is not just aesthetic — it indicates that the powder has fully emulsified with the water and that the tea has the right texture [1][3].
8. Check and Refine the Foam

Once you have whisked for 15–30 seconds, pause and assess the surface of your matcha [1][3].
Signs of a well-prepared cup:
- ✅ A thick layer of fine, creamy micro-bubbles covering the surface
- ✅ No large bubbles (these indicate too much air was introduced too quickly)
- ✅ A uniform, bright green color throughout
- ✅ No visible powder clumps floating on the surface
If you see large bubbles, gently skim the surface with the chasen using slow, light strokes to break them down. If the foam is thin or patchy, whisk for another 10–15 seconds using the same W-motion, focusing on the surface of the liquid rather than the bottom of the bowl.
🎋 Japanese tea masters describe the ideal foam as “awa” — a fine, persistent froth that holds its shape for at least 30 seconds after whisking stops.
9. Add Final Water and Serve Immediately
The final step depends on which style of matcha you are preparing [1][4].
For Usucha (thin tea) — the most common style:
- Add an additional 100–180 ml of hot water (at the same 170–180°F temperature) to the bowl after whisking [1]
- This brings the total volume to approximately 150–250 ml
- Stir gently with the chasen using a few light strokes to incorporate
- Serve and drink immediately — matcha begins to settle within minutes
For Koicha (thick tea) — a more advanced, intensely flavored style:
- Use double the amount of matcha powder (3–4 grams) with only 40 ml of water
- Whisk more slowly and deliberately; the goal is a thick, syrup-like consistency rather than froth
- This style requires higher-quality matcha and is traditionally reserved for formal tea ceremonies
For a Matcha Latte:
- After completing the whisking step, pour the concentrated matcha over steamed or frothed milk (dairy or plant-based) [1][4]
- A ratio of 1 part matcha concentrate to 3 parts milk works well as a starting point
- Add a small amount of honey or maple syrup if desired
Serve your matcha immediately in the chawan, oriented so the most visually appealing side of the bowl faces the person drinking — a small but meaningful nod to the Japanese tea ceremony tradition of presenting the bowl with intention.
Common Mistakes and How to Avoid Them
Even with the right steps in hand, a few recurring errors can undermine your results. Here is a quick reference:
| Mistake | Why It Happens | Fix |
|---|---|---|
| Bitter taste | Water too hot | Use a thermometer; target 175°F |
| Clumps in the bowl | Skipped sifting | Always sift before adding water |
| No froth forming | Wrong whisking motion or low-quality chasen | Use W-motion; replace worn chasen |
| Flat, dull flavor | Culinary-grade powder | Switch to ceremonial grade |
| Powder sinking to bottom | Waited too long to drink | Drink within 2–3 minutes of preparation |
| Grainy texture | Added all water at once | Use the two-stage water pour method |
Storing Your Matcha for Maximum Freshness
Even the best preparation technique cannot compensate for stale powder. Matcha is highly sensitive to light, heat, moisture, and oxygen — all of which degrade its flavor and nutritional value quickly.
Storage best practices:
- Keep matcha in an airtight, opaque tin (most quality brands package it this way)
- Store in the refrigerator after opening, but allow it to come to room temperature before opening to prevent condensation
- Use within 4–6 weeks of opening for best flavor
- Never store near strong-smelling foods — matcha absorbs odors easily
- Buy in smaller quantities (20–30 grams) more frequently rather than large amounts that sit unused
Conclusion
Mastering the 9 Steps for How to Make Matcha at Home Like a Japanese Tea Master is genuinely achievable for anyone willing to pay attention to a few key details. The process rewards precision — the right grade of powder, water at exactly the right temperature, the correct whisking motion — but it is not complicated once you understand why each step matters.
Your actionable next steps:
- Start with the right matcha: Order a small tin of ceremonial-grade powder from a reputable Japanese source before anything else.
- Invest in a chasen: A quality bamboo whisk costs less than a single drink and will transform your results immediately.
- Use a thermometer for the first week: Once you have a feel for the correct water temperature, you can rely on the boil-and-wait method.
- Practice the W-motion daily: Like any physical skill, whisking becomes intuitive within a week of consistent practice.
- Experiment with ratios: Once you have the basic usucha down, try adjusting the powder-to- to find the strength and flavor profile you enjoy most.
The Japanese tea ceremony is built on the concept of ichi-go ichi-e — “one time, one meeting” — the idea that each cup of tea is a unique, unrepeatable moment. Bringing that level of mindfulness to your morning matcha routine, even in a home kitchen, is worth every step of the process. 🍵
References
[1] How To Make Ceremonial Matcha At Home Like A Japanese Tea Master – https://isshikimatcha.com/blogs/news/how-to-make-ceremonial-matcha-at-home-like-a-japanese-tea-master
[2] How To Matcha – https://teamastermatcha.com/pages/how-to-matcha
[3] How To Prepare Matcha – http://gjtea.org/how-to-prepare-matcha/
[4] A Step By Step Guide To Preparing Matcha – https://ceremonymatcha.com/blogs/matcha-reads/a-step-by-step-guide-to-preparing-matcha