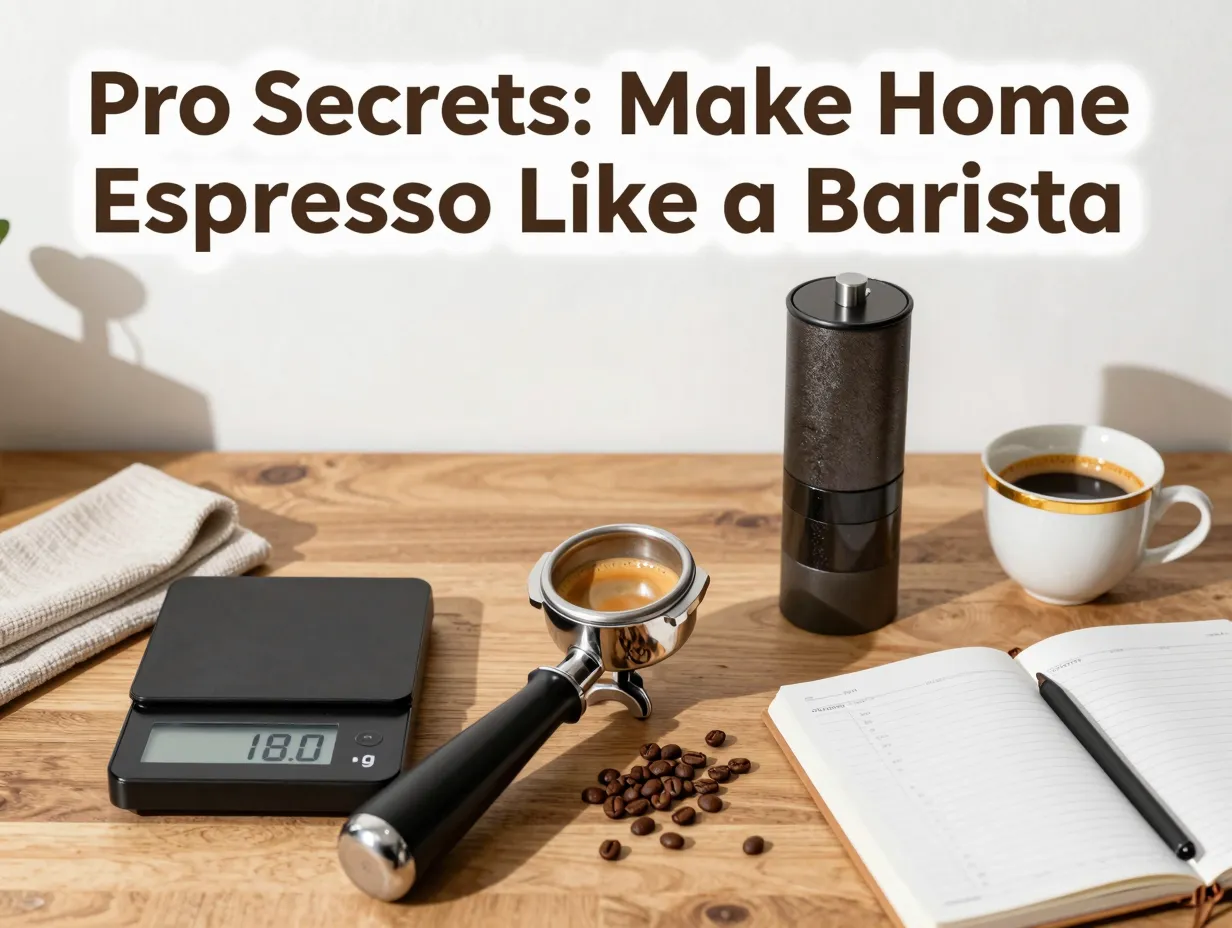
8 Pro Secrets for How to Make Espresso at Home Like a Barista
Only 1 in 5 drinkers ever achieves café-quality results — not because they lack passion, but because they’re missing a handful of precision techniques that professional baristas use every single shift. The good news? These secrets are learnable, repeatable, and entirely within reach for anyone willing to pay attention to the details.
Disclosure: This post contains affiliate links. As an Amazon Associate, we earn from qualifying purchases, and at no extra cost to you.
In this guide, I’m breaking down the 8 Pro Secrets for How to Make Espresso at Home Like a Barista — the exact methods that separate a flat, bitter shot from a rich, balanced espresso with a gorgeous layer of crema. Whether you’re a complete beginner or someone who’s been pulling shots for years, these strategies will transform your morning routine in 2026.
Key Takeaways ☕
- Grind quality and consistency are the single biggest factors in — invest here first.
- Precision measurements (to 0.1g accuracy) are non-negotiable for repeatable, café-quality shots.
- Water quality and temperature directly affect flavor — filtered water and preheated equipment matter more than most people realize.
- Puck preparation technique is a skill that takes practice but delivers immediate, noticeable improvements.
- Systematic troubleshooting — changing one variable at a time and recording results — is how professionals dial in the perfect shot.
The Foundation: Equipment and Ingredients That Make or Break Your Shot
Before we dive into technique, it’s worth understanding that the 8 Pro Secrets for How to Make Espresso at Home Like a Barista are built on a solid foundation. Even the best technique can’t rescue poor equipment or stale beans. Let’s start where professionals start — with the right tools and ingredients.
1. Invest in a Quality Burr Grinder First
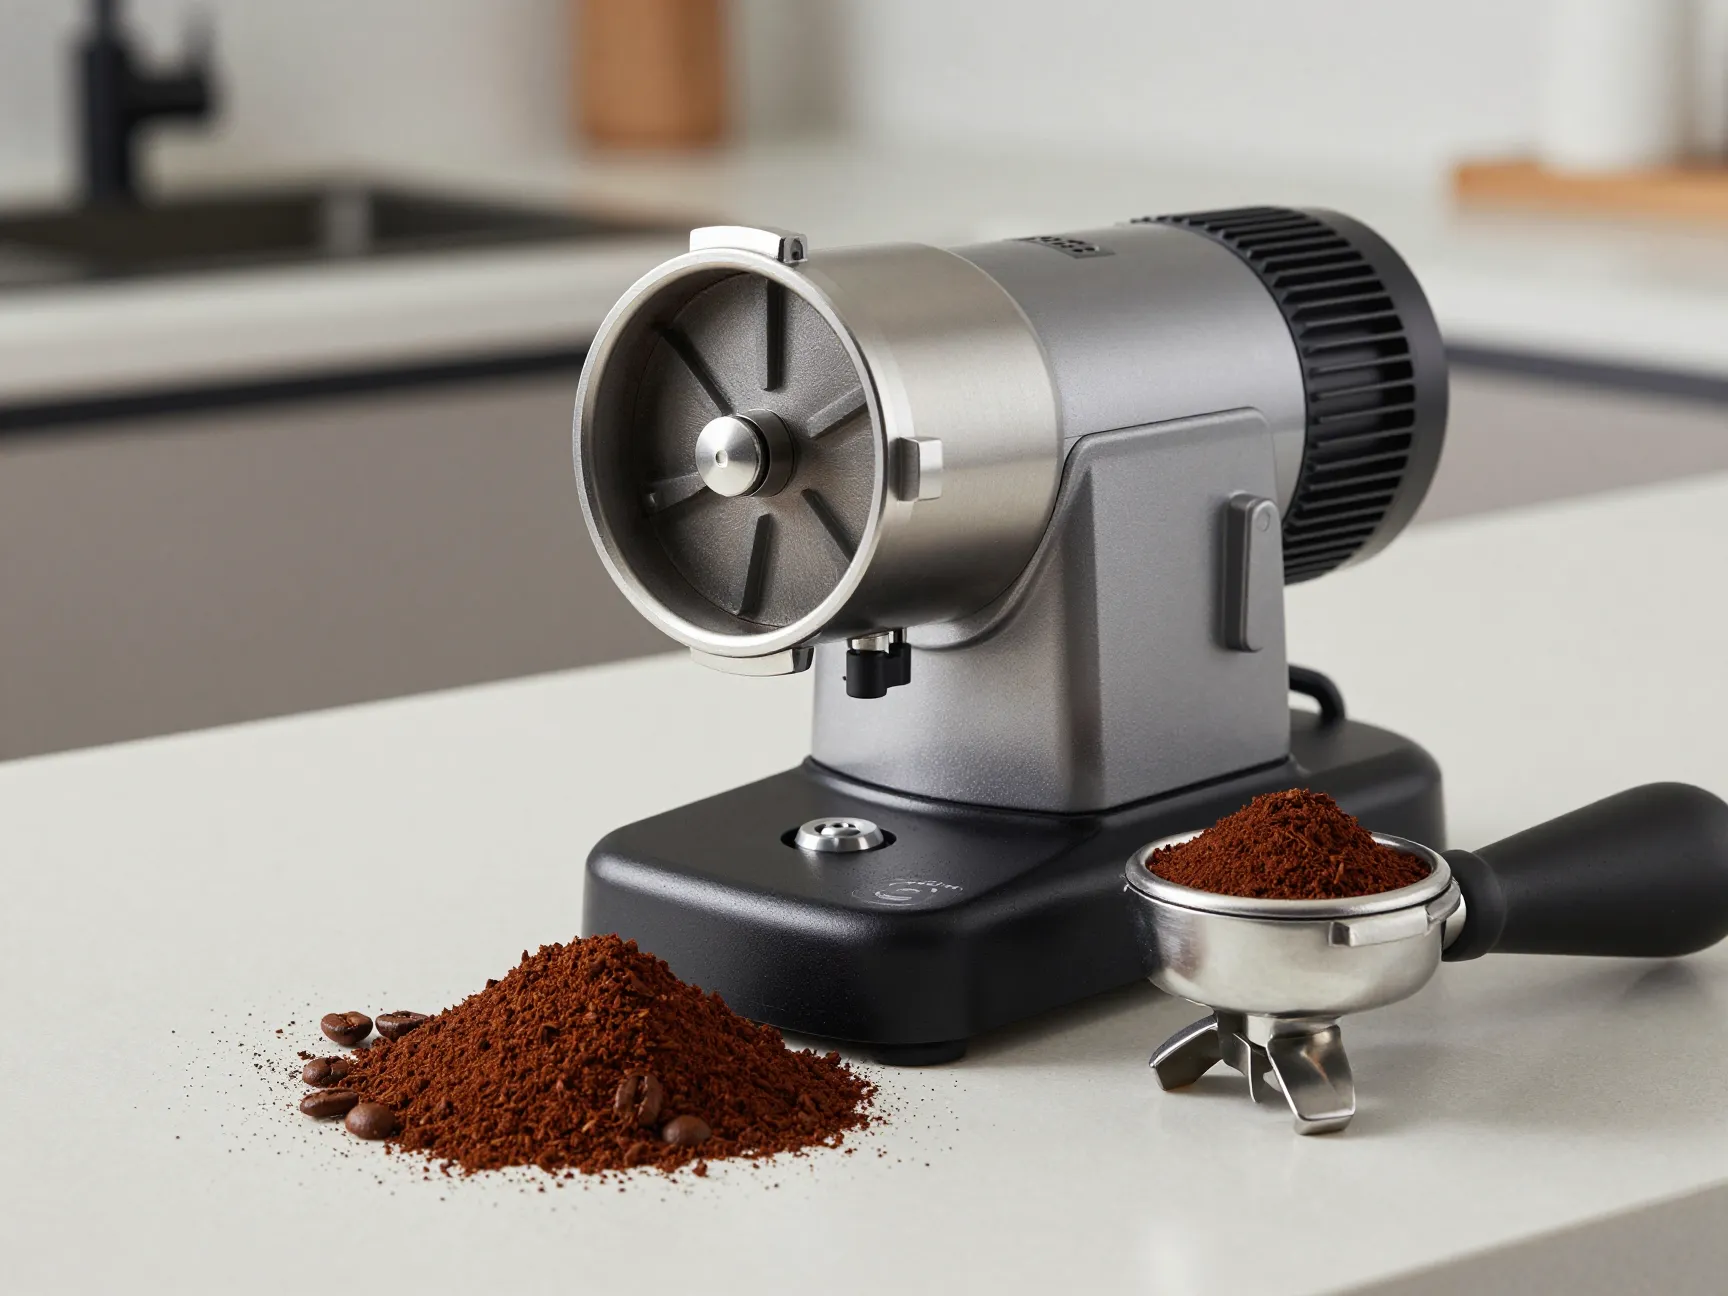
If you’re going to spend money on one piece of equipment, make it the grinder. A quality burr grinder — whether flat or conical — produces consistent particle sizes that allow water to flow evenly through the coffee puck. Inconsistent grind sizes, which are common with blade grinders, lead to uneven extraction: some particles over-extract (bitter) while others under-extract (sour) [1].
What to look for in an espresso grinder:
| Feature | Why It Matters |
|---|---|
| Burr type (flat or conical) | Consistent = even extraction |
| Stepless adjustment | Fine-tune grind size precisely |
| Low RPM motor | Less heat = better flavor preservation |
| Dosing consistency | Reduces waste and improves repeatability |
💡 Pro tip: A mid-range burr grinder ($150–$300) paired with an entry-level will outperform a cheap grinder with an expensive machine every single time.
Don’t underestimate this investment. Baristas at top cafés will tell you the grinder is the heart of the [2].
2. Select Freshly Roasted Specialty Coffee Beans
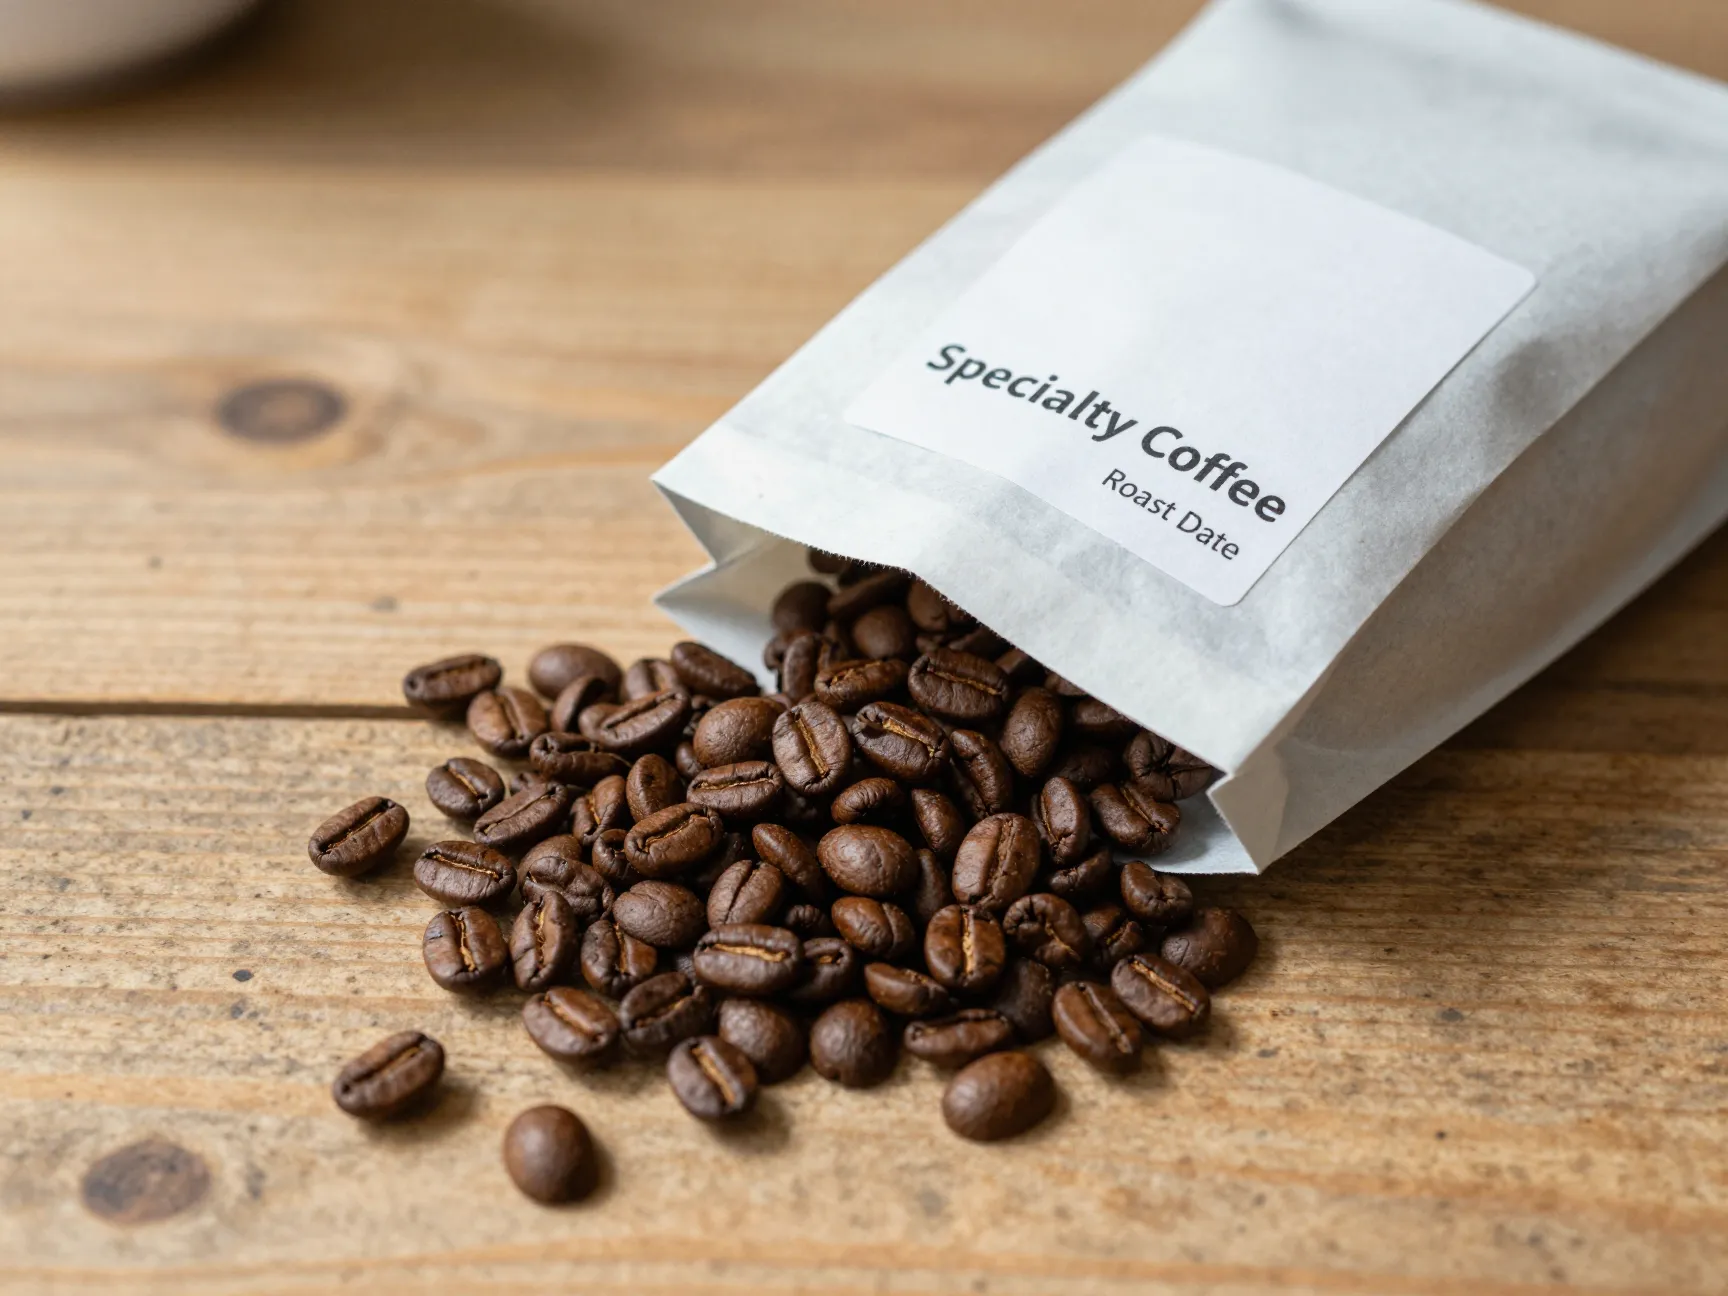
The beans you choose set the ceiling for how good your espresso can taste. Specialty — those scoring 80+ on the SCA scale — offer complex, nuanced flavor profiles that reveal themselves beautifully under espresso’s high-pressure extraction [2].
Key bean selection tips:
- Check the roast date, not just the “best by” date. Espresso tastes best between 7 and 21 days post-roast.
- Avoid pre-ground coffee — it goes stale within minutes of grinding.
- Experiment with origins: Ethiopian beans tend to be fruity and floral; Brazilian beans lean chocolatey and nutty.
- Medium to medium-dark roasts are generally most forgiving for beginners [4].
Fresh beans make a dramatic difference. Stale coffee, no matter how perfectly extracted, simply won’t produce the rich crema and complex flavor that define a great espresso.
3. Use Good Quality, Filtered Water
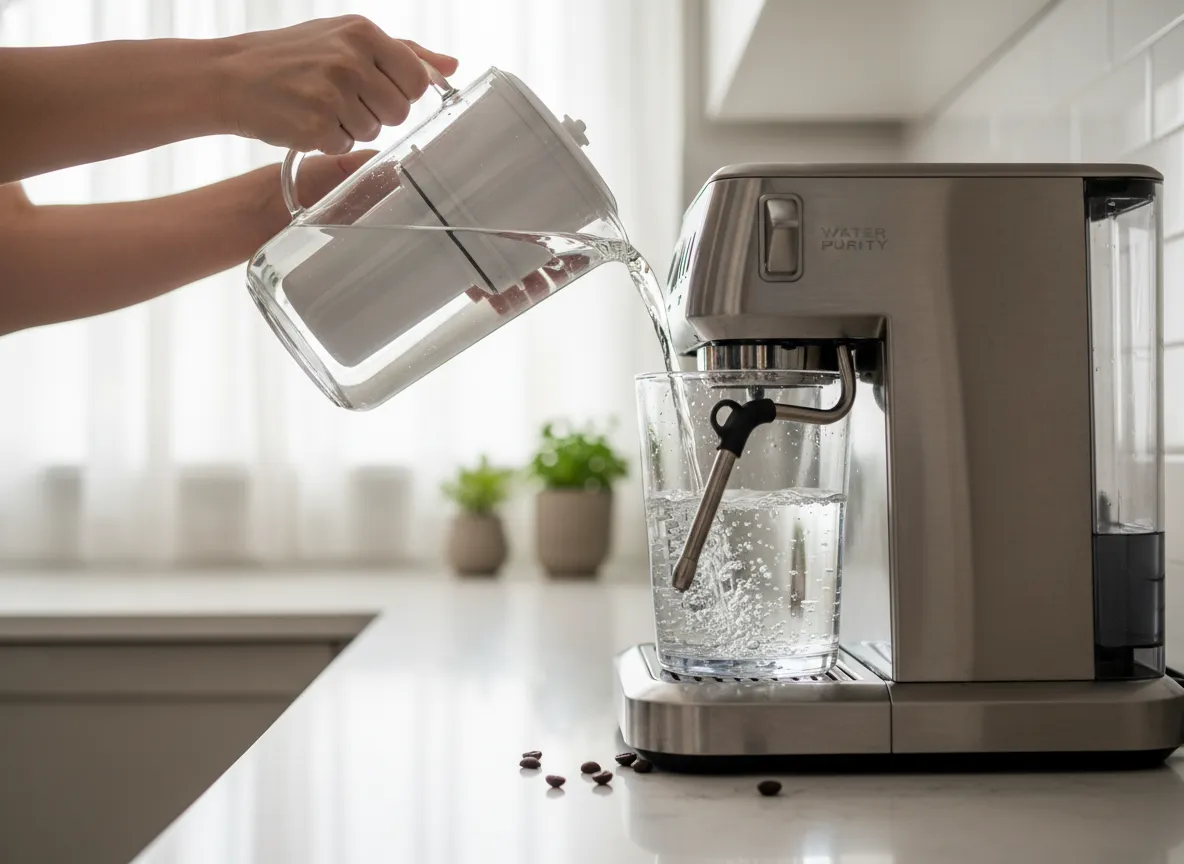
Water makes up roughly 90% of your espresso. Tap water with high mineral content or chlorine will negatively affect both the taste and the longevity of your machine [2]. Filtered water — ideally with a moderate mineral content (around 150 ppm TDS) — strikes the right balance between flavor extraction and equipment protection.
Water quality quick guide:
- ✅ Use filtered water (Brita, reverse osmosis with remineralization, or third-wave water packets)
- ✅ Aim for between 90–96°C (195–205°F)
- ❌ Avoid distilled water (strips flavor compounds)
- ❌ Avoid heavily chlorinated tap water (ruins taste)
This is one of the most overlooked secrets in home espresso. Professionals never skip it.
4. Understand Your Espresso Machine’s Characteristics
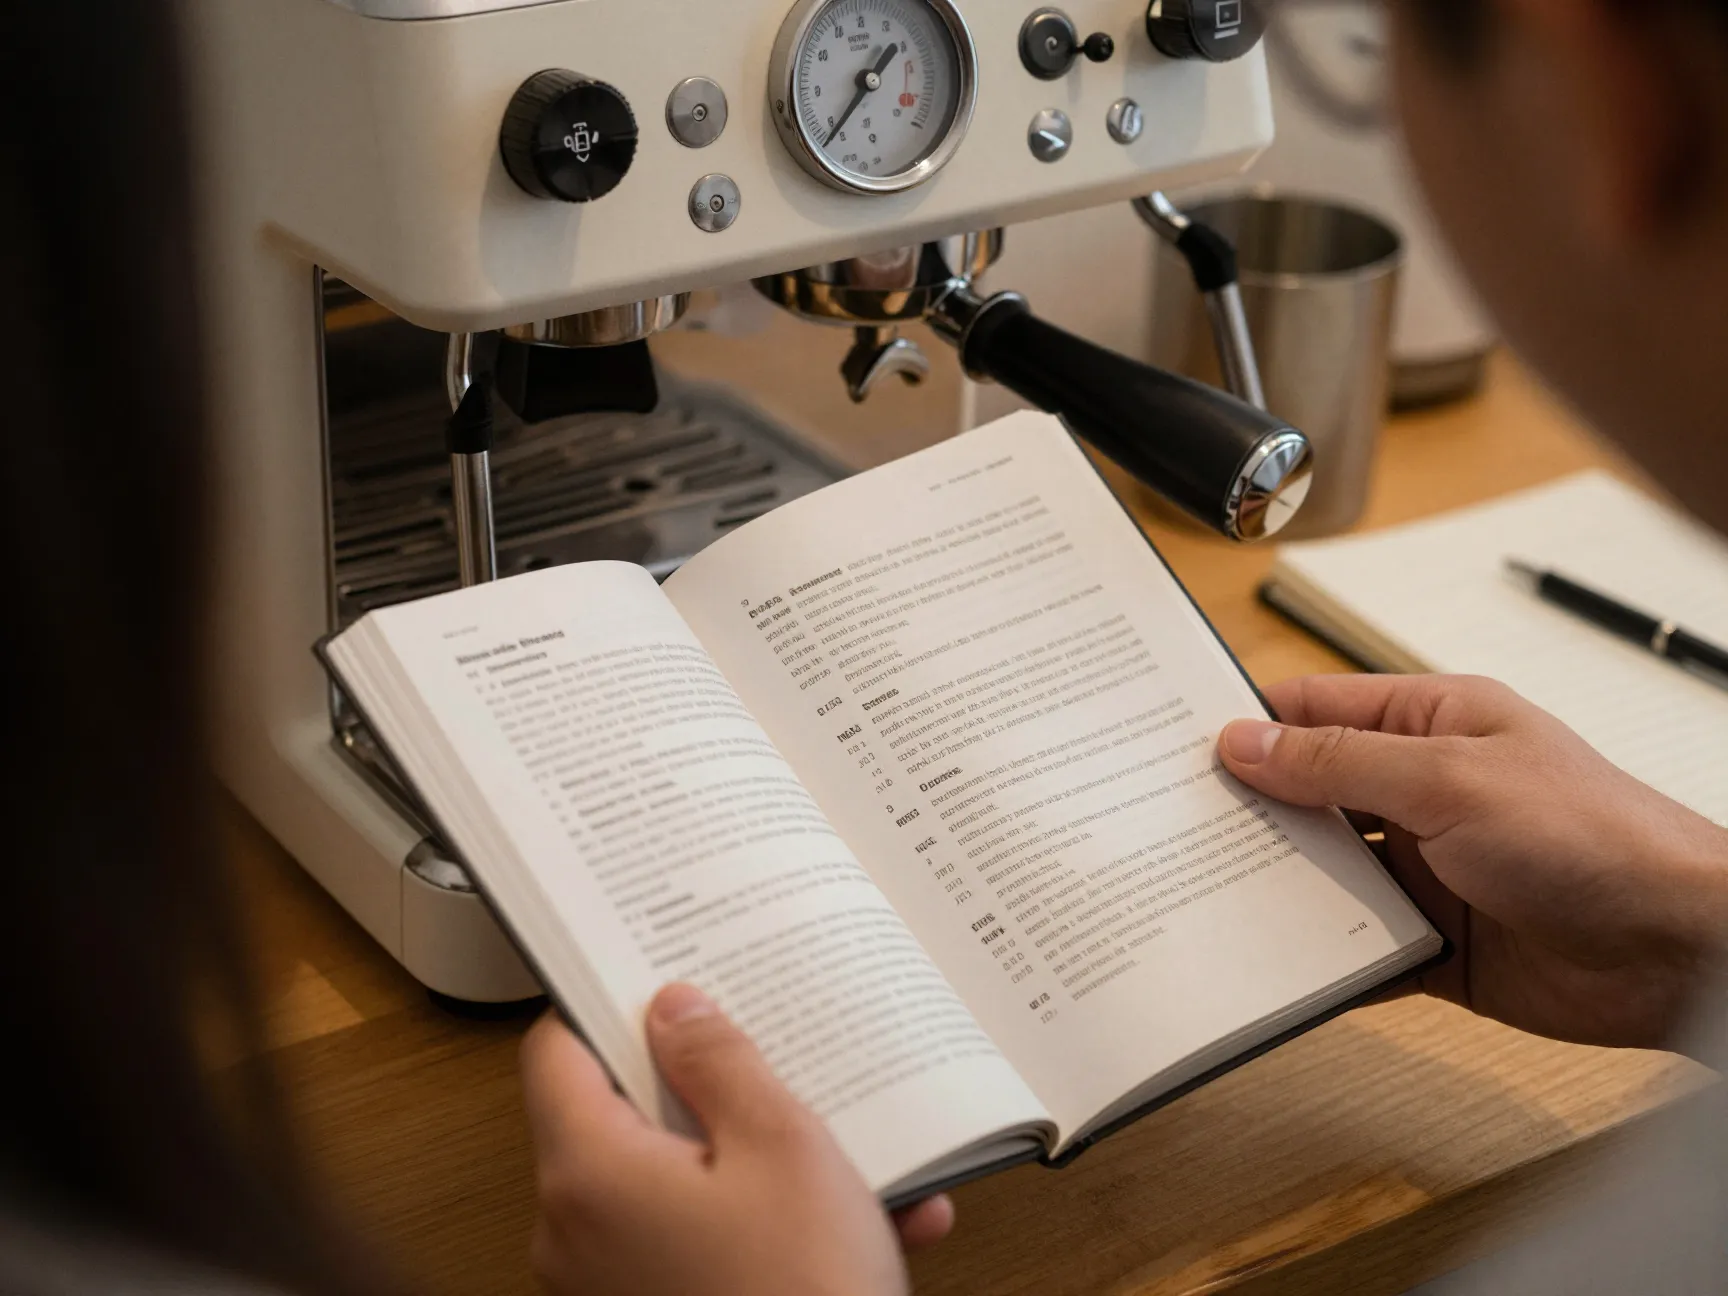
Every espresso machine behaves differently. Pressure profiles, boiler sizes, pump types, and temperature stability all vary between models. Before you can master technique, you need to know your machine [2][4].
Spend time reading your machine’s manual, watching model-specific tutorials, and understanding what the (if your machine has one) is telling you. Most home machines operate at 9 bars of pressure — but how quickly they reach that pressure and how stable they hold it varies significantly.
Questions to answer about your machine:
- Does it have a single or double boiler?
- What is the recommended warm-up time?
- Does it have a pressure gauge? What does a normal extraction look like?
- Is the temperature adjustable (PID controller)?
Familiarity with your specific machine is what allows you to apply all the other secrets consistently [2].
Mastering Technique: The 8 Pro Secrets for How to Make Espresso at Home Like a Barista in Action
Now that your foundation is solid, let’s move into the techniques that truly separate home baristas from café professionals.
5. Measure Everything to 0.1g Precision
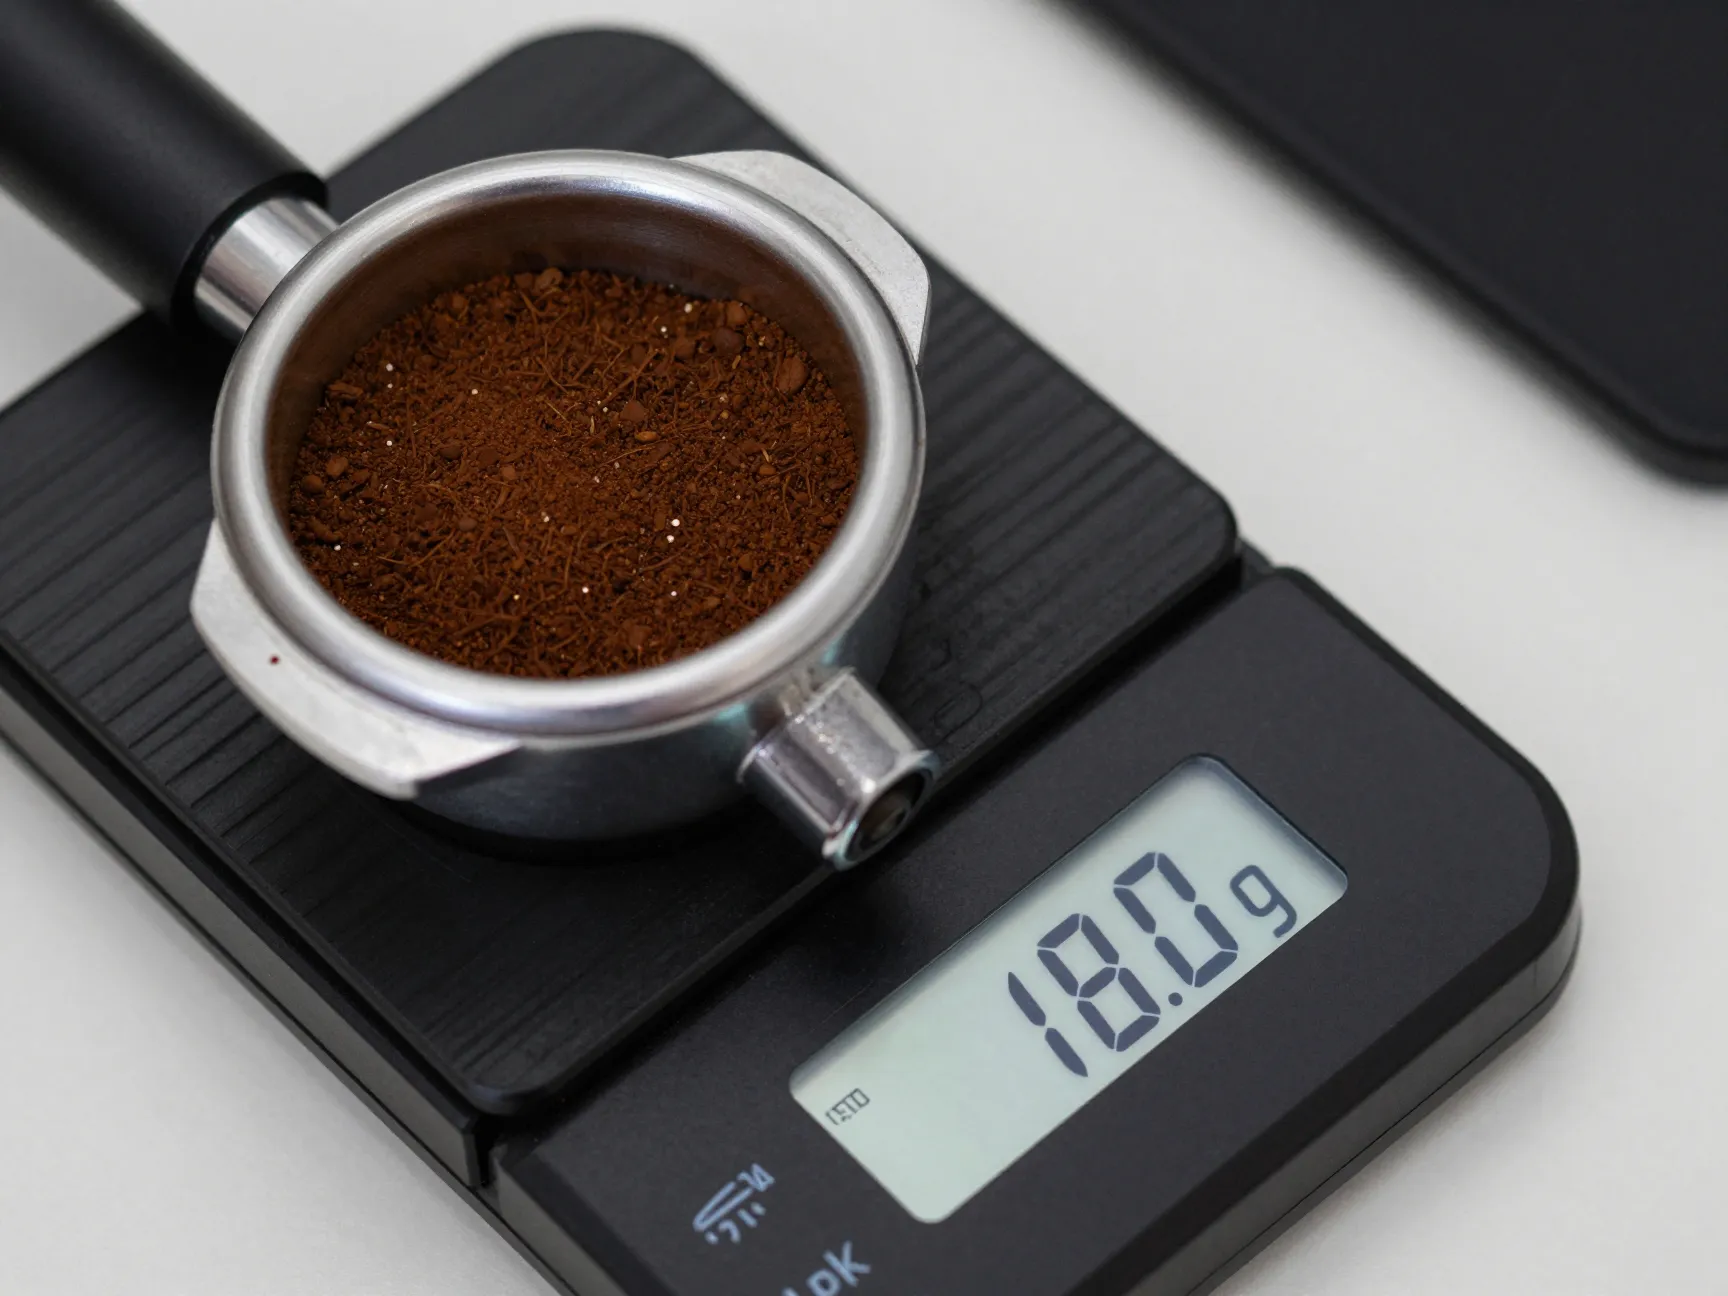
This is the secret that most home baristas skip — and it’s the one that makes the biggest difference in consistency. Professional baristas use precision scales that measure to 0.1g accuracy for both the coffee dose going into the portafilter and the liquid espresso yield coming out [1].
The standard framework:
| Parameter | Typical Range | Example |
|---|---|---|
| Dose (dry coffee in) | 7g – 21g | 18g |
| Yield (liquid espresso out) | 1:1.5 to 1:3 ratio | 36g |
| 25 – 30 seconds | 27 seconds |
A 1:2 (18g in, 36g out) is a reliable starting point for most espresso machines. Once you establish a baseline, you can adjust the ratio to dial in sweetness, body, and intensity [1][5].
🎯 Pull quote: “Without a scale, you’re guessing. With a scale, you’re cooking. The difference shows up in every single cup.”
A scale that fits under your portafilter costs as little as $20–$30 and is one of the highest-return investments you can make in your home espresso journey.
6. Dial In Your Grind Size Systematically
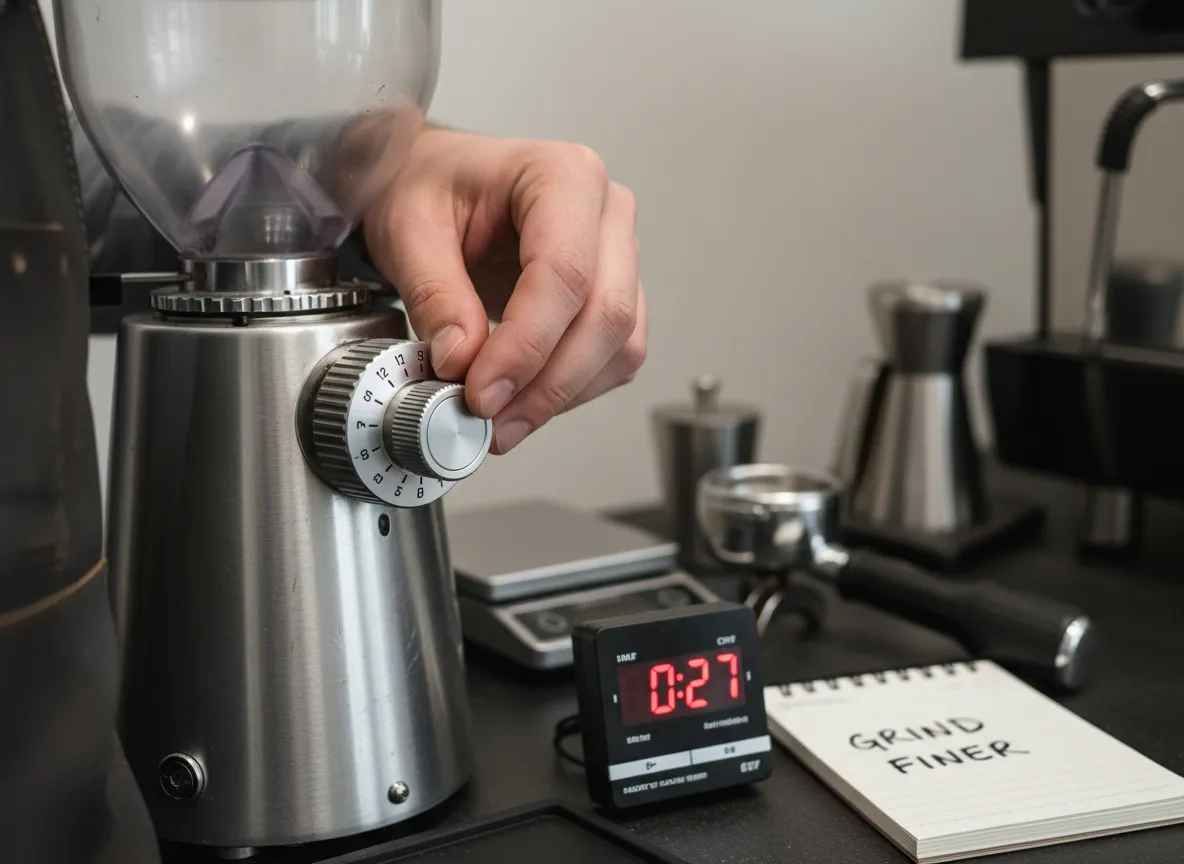
Grind size is the most powerful variable in espresso. Too coarse and the water rushes through too quickly (under-extraction = sour, weak). Too fine and the water struggles to pass through (over-extraction = bitter, harsh) [1].
The professional dialing-in process:
- Start with a medium-fine grind setting for your espresso machine.
- Pull a shot and time it from when the pump starts to when you stop the shot.
- If the shot runs under 25 seconds, grind finer.
- If the shot runs over 30 seconds, grind coarser.
- Adjust in small increments — one click at a time on most grinders [1].
Grind troubleshooting table:
| Shot Time | Taste Profile | Adjustment |
|---|---|---|
| Under 20 seconds | Sour, weak, watery | Grind finer |
| 20–25 seconds | Slightly sour | Grind slightly finer |
| 25–30 seconds | ✅ Balanced, sweet | Keep this setting |
| 30–35 seconds | Slightly bitter | Grind slightly coarser |
| Over 35 seconds | Bitter, harsh | Grind coarser |
Remember: only change one variable at a time. If you adjust grind size, keep dose, yield, and temperature the same. This scientific approach is exactly how professionals troubleshoot [2][6].
7. Develop a Consistent Puck Preparation Routine
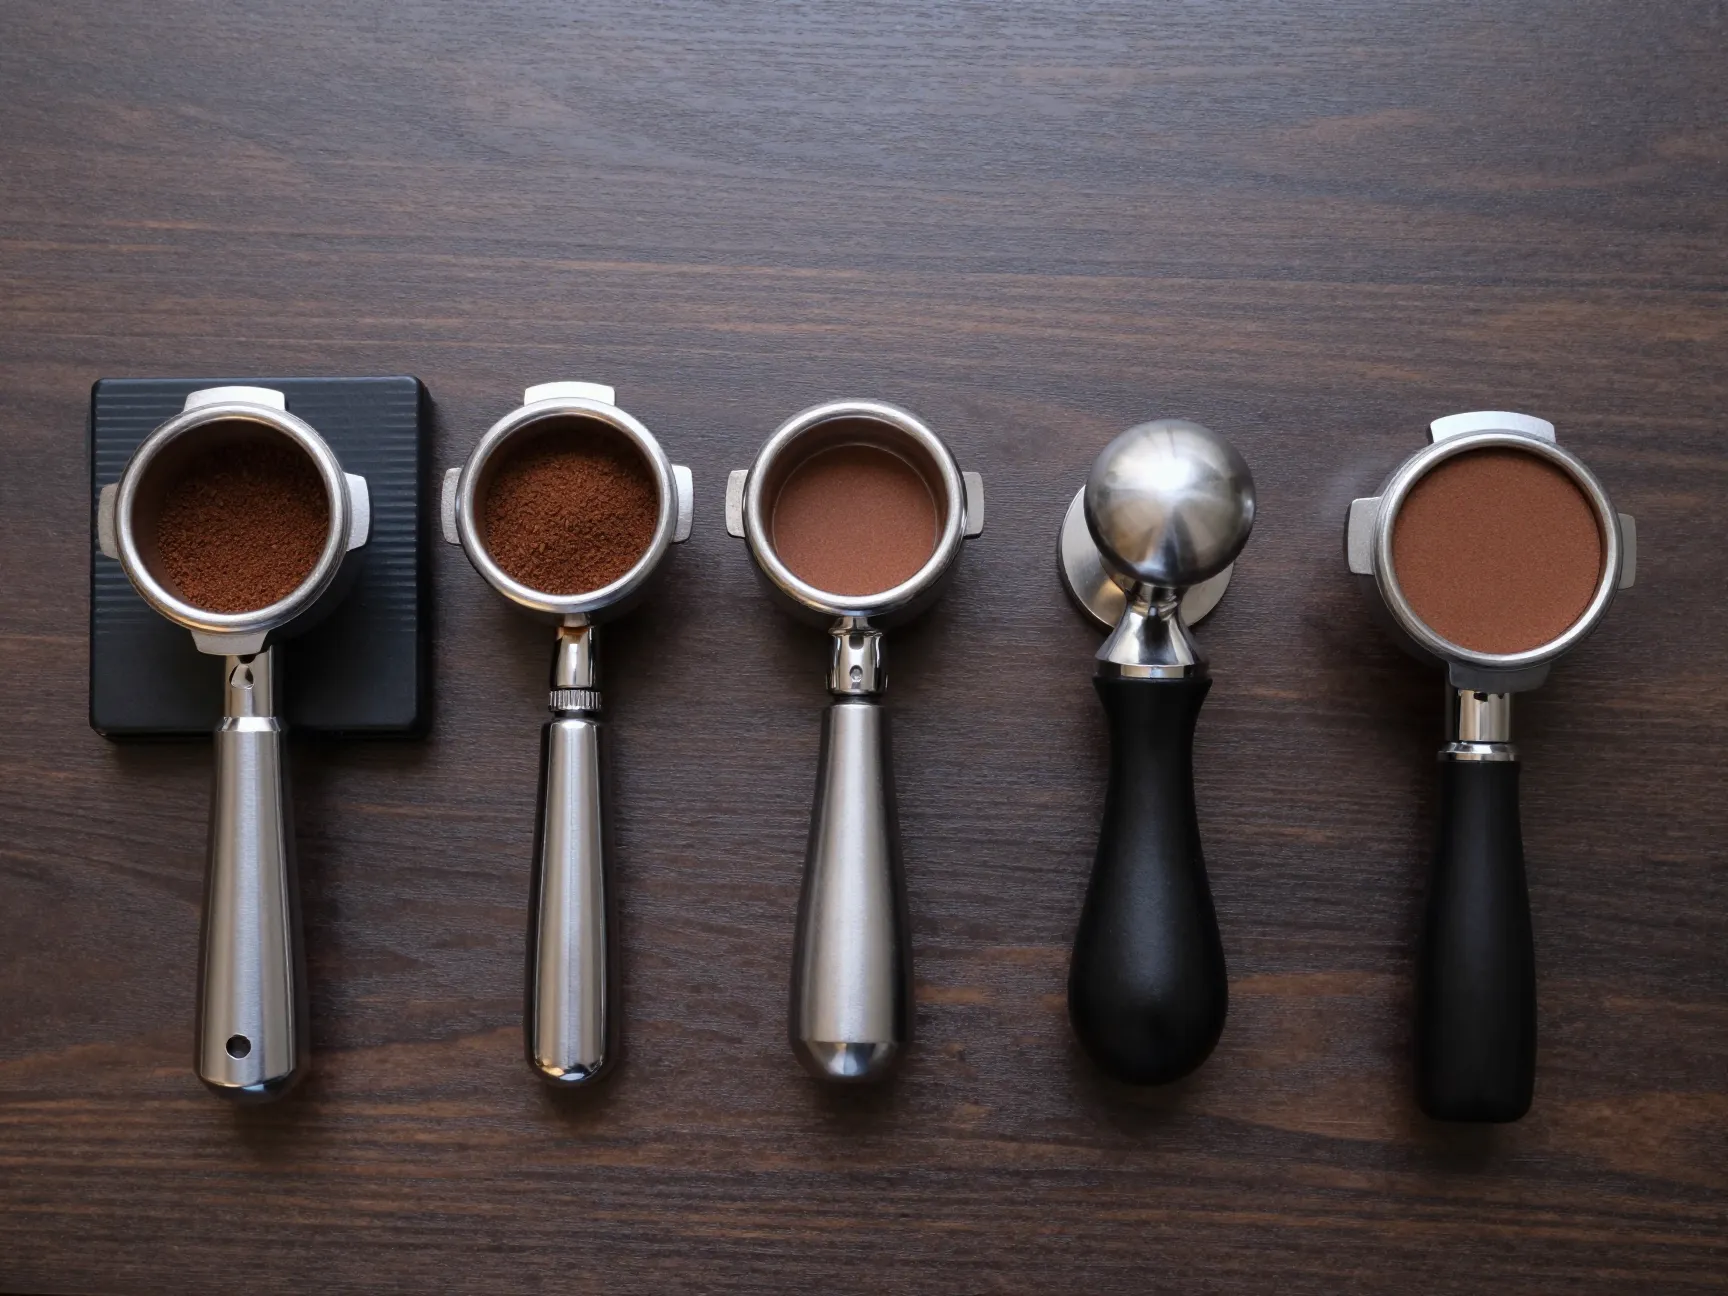
Puck preparation — the process of distributing and tamping ground coffee in the portafilter basket — is where technique becomes an art. Inconsistent puck prep is one of the leading causes of channeling, where water finds weak spots in the coffee puck and rushes through unevenly [6].
The professional puck prep sequence:
- Dose your ground coffee into the portafilter basket using your precision scale.
- Distribute the grounds evenly using a WDT (Weiss Distribution Technique) tool or a — this breaks up clumps and levels the bed.
- Tamp with consistent, level pressure (approximately 15–20kg of force). Use a calibrated tamper that fits your basket diameter precisely.
- Inspect the puck surface — it should be flat, level, and smooth with no visible cracks or gaps.
- Use a precision basket (like VST or IMS) for more even water distribution [6].
⚠️ Common mistake: Tamping at an angle creates uneven density in the puck, which causes channeling and inconsistent extraction. Practice on a bathroom scale to feel what 15–20kg of pressure actually feels like.
Shower screens also play a role here. Clean, unclogged shower screens ensure water disperses evenly across the puck surface [6].
8. Preheat Your Equipment and Clean It Religiously
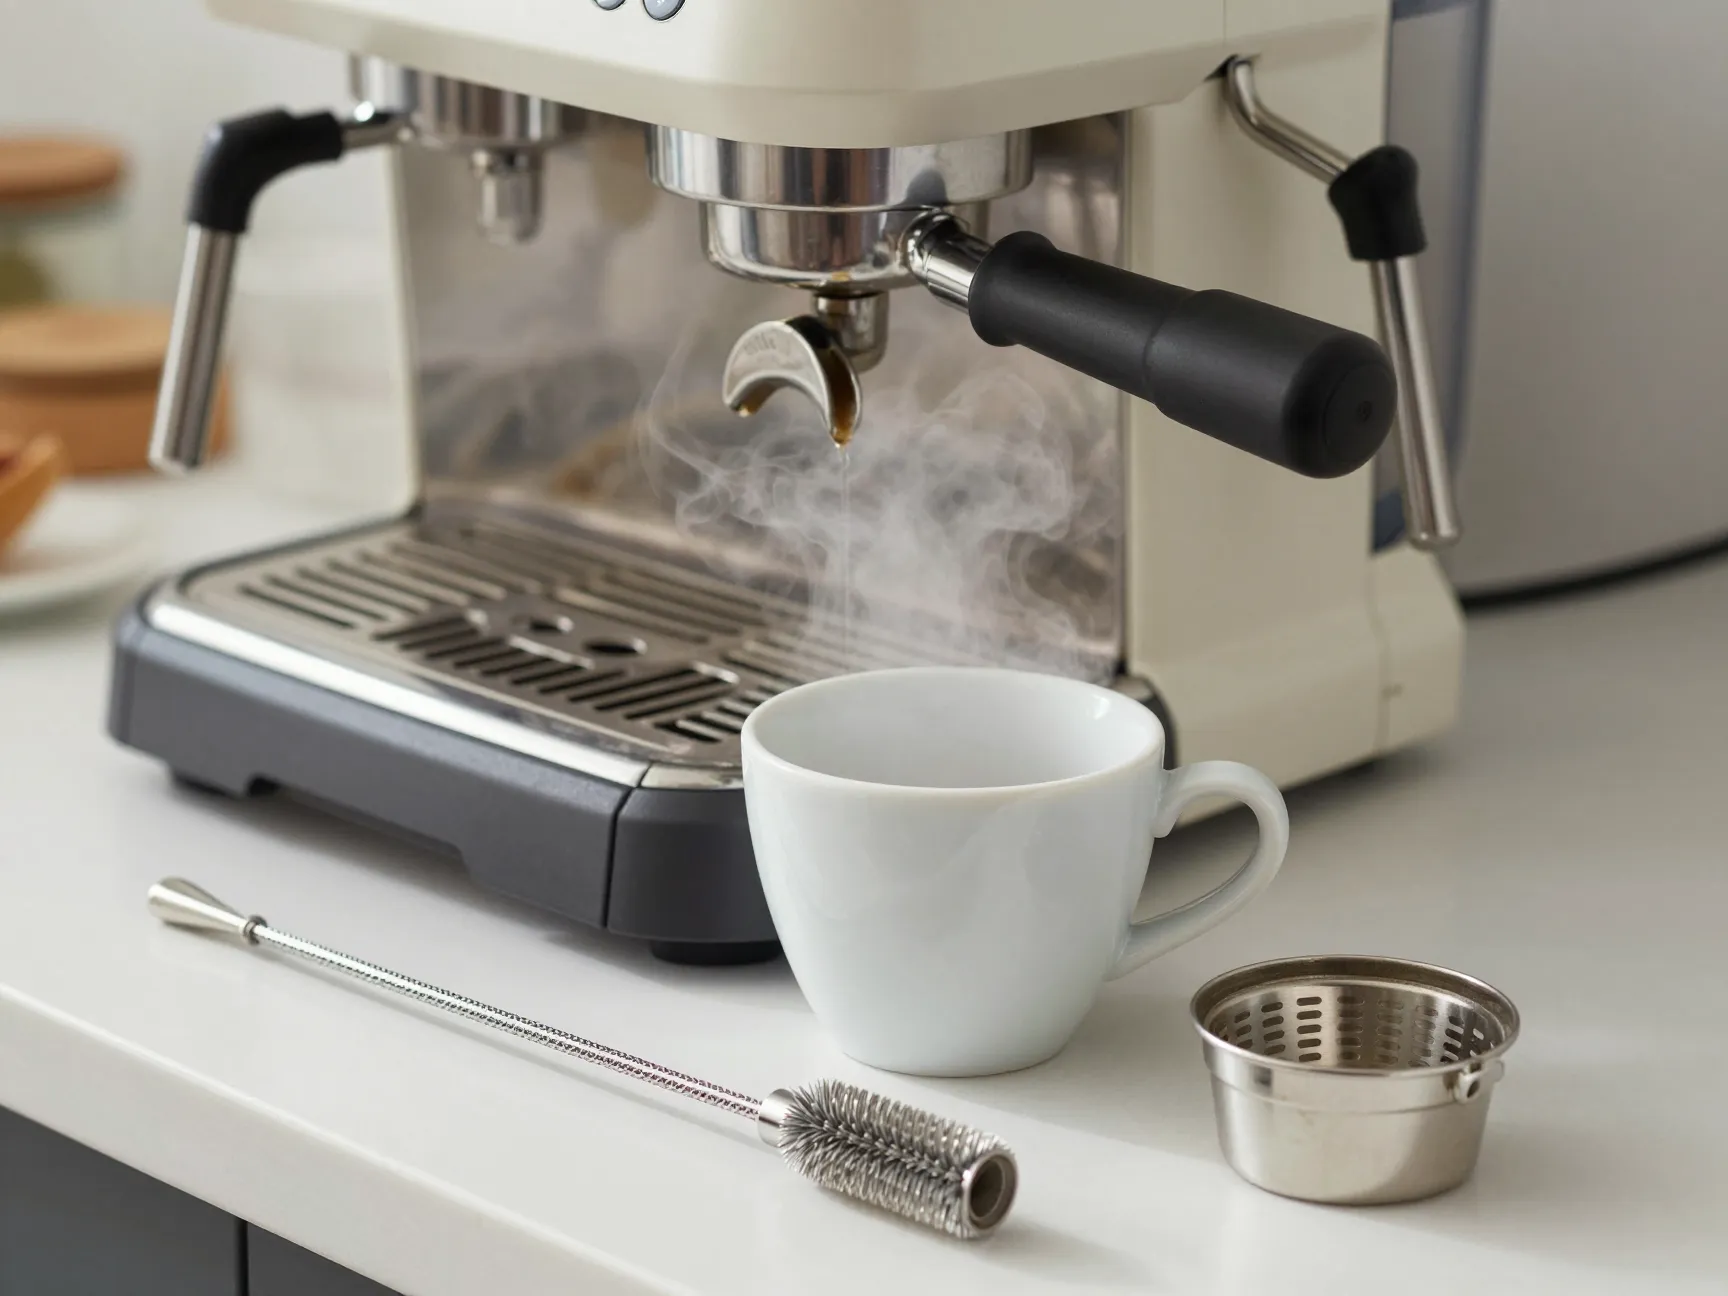
The final two professional secrets are closely linked: temperature management and equipment hygiene. Both are non-negotiable in professional café environments, and both are frequently ignored at home.
Temperature management:
Cold equipment steals heat from your brew water, causing temperature drops that result in under-extracted, sour espresso. Before pulling a shot [1]:
- Run a blank shot (water only) through the group head to preheat it.
- Warm your by filling them with hot water for 30 seconds.
- Allow your machine to fully warm up — most machines need 15–30 minutes, not just 5.
Cleaning schedule (professional standard):
| Task | Frequency |
|---|---|
| Rinse portafilter | After every shot |
| Clean portafilter basket | Every 30 minutes of use |
| Backflush group head | Every 40 minutes of use |
| Clean shower screen | Daily |
| Clean grinder burrs | Daily (or weekly for light home use) |
| Full descale of machine | Monthly |
[6] Dirty equipment doesn’t just affect taste — it accelerates machine wear and can introduce rancid oils into your espresso. A clean machine is a consistent machine.
🧹 Pro tip: Keep a dedicated espresso cleaning brush, blind basket, and backflush detergent on your counter. If it’s visible, you’ll actually use it.
Putting It All Together: Your Daily Espresso Workflow
Now that you know all 8 Pro Secrets for How to Make Espresso at Home Like a Barista, here’s how they flow together into a repeatable daily routine:
Morning espresso checklist:
- ☐ Turn on machine and allow full warm-up (15–30 min)
- ☐ Check water reservoir — use filtered water only
- ☐ Weigh beans to 0.1g accuracy
- ☐ Grind fresh, check grind setting against yesterday’s notes
- ☐ Distribute and tamp evenly
- ☐ Run blank shot to preheat group head
- ☐ Pull shot while weighing yield on scale
- ☐ Time the shot (target 25–30 seconds)
- ☐ Taste, note results, adjust one variable if needed
- ☐ Rinse portafilter immediately after
Keep a simple shot log — even a sticky note on the fridge works. Note the grind setting, dose, yield, time, and a quick flavor note. Over time, this log becomes your personal recipe book [2][6].
Common Espresso Mistakes and How to Fix Them
Even with the best secrets in hand, mistakes happen. Here’s a quick reference for the most common issues:
| Problem | Likely Cause | Fix |
|---|---|---|
| Sour, weak espresso | Under-extraction (too coarse/fast) | Grind finer, slow down shot |
| Bitter, harsh espresso | Over-extraction (too fine/slow) | Grind coarser, speed up shot |
| No crema | Stale beans or wrong pressure | Use fresher beans, check machine pressure |
| Uneven flow/channeling | Poor puck prep or uneven tamp | Improve distribution, re-tamp evenly |
| Inconsistent shots | No measurements, dirty equipment | Use scale, clean machine regularly |
| Burnt taste | Water too hot or dirty equipment | Lower temperature, backflush machine |
Most espresso problems have simple, systematic solutions. Don’t get discouraged — even professional baristas dial in shots every single day [7].
Conclusion: Your Path to Barista-Quality Espresso at Home
Pulling café-quality espresso at home isn’t magic — it’s method. The 8 Pro Secrets for How to Make Espresso at Home Like a Barista covered in this guide give you a complete, professional framework: start with quality beans and a burr grinder, use filtered water, measure everything precisely, dial in your grind systematically, master puck preparation, manage temperature carefully, and keep your equipment spotlessly clean.
Your actionable next steps for 2026:
- This week: Buy a precision scale (0.1g accuracy) if you don’t already have one.
- This week: Purchase fresh-roasted specialty beans (check the roast date).
- Next week: Start keeping a simple shot log — grind setting, dose, yield, time, taste.
- This month: Establish a cleaning routine and stick to it.
- Ongoing: Change one variable at a time when troubleshooting — patience and consistency are the real secrets.
The gap between a mediocre home espresso and a genuinely great one is smaller than you think. Apply these eight secrets consistently, and within a few weeks, you’ll be pulling shots that rival your favorite café — every single morning.
References
[1] Espresso Top Tips How To Make Perfect Espresso At Home – https://9barista.com/blogs/the-ninth-bar/espresso-top-tips-how-to-make-perfect-espresso-at-home
[2] The Top 19 Tips To Make Better Espresso At Home – https://coffeebros.com/blogs/coffee/the-top-19-tips-to-make-better-espresso-at-home
[3] Watch – https://www.youtube.com/watch?v=BYyaboKlQ60
[4] How To Make Espresso – https://www.breville.com/us/en/blog/coffee-and-espresso/how-to-make-espresso.html
[5] Home Espresso Tips A Guide – https://www.bonlifecoffee.com/blog/home-espresso-tips-a-guide
[6] Watch – https://www.youtube.com/watch?v=uX4wwCdHhVQ
[7] Espresso How To – https://coffeegeek.com/guides/howtos/espresso-how-to/