8 Hacks for How to Make Coffee With Keurig That Tastes 10x Better
Over 40 million American households own a Keurig machine — yet most of them are brewing coffee that falls far short of its potential. The machine isn’t the problem. The habits are.
Disclosure: This post contains affiliate links. As an Amazon Associate, we earn from qualifying purchases, and at no extra cost to you.
If your morning cup tastes weak, bitter, or just plain flat, you’re not alone. The good news? You don’t need a barista degree or an expensive to fix it. These 8 hacks for how to make coffee with Keurig that tastes 10x better are practical, affordable, and backed by real . I’ve tested every one of them, and the difference is genuinely remarkable.
Whether you’re a casual sipper or a serious coffee lover stuck with a Keurig at the office, this guide will transform your daily brew from “meh” to memorable.
Key Takeaways ☕
- Water quality is the single biggest factor in Keurig coffee flavor — switch to filtered or spring water immediately.
- Brew size matters more than you think — smaller settings (6–8 oz) produce far stronger, richer coffee.
- A pinch of salt neutralizes bitterness without making your salty.
- Reusable K-cups with fresh grounds unlock the full flavor potential of your machine.
- Regular descaling with white vinegar keeps your Keurig brewing hotter, cleaner, and better.
Why Your Keurig Coffee Tastes Disappointing (And How to Fix It)
Before diving into the hacks, it helps to understand why Keurig coffee often underperforms. The machine uses a pressurized single-serve system that brews fast — sometimes too fast. Short , pre-ground stale coffee sealed in plastic pods, and tap water loaded with chlorine all work against you.
The result? A cup that’s watery, bitter, or oddly flat.
The great news is that each of these problems has a direct, simple solution. Here are the 8 hacks for how to make coffee with Keurig that tastes 10x better, explained in full detail.
8 Hacks for How to Make Coffee With Keurig That Tastes 10x Better
1. Switch to Filtered or Spring Water
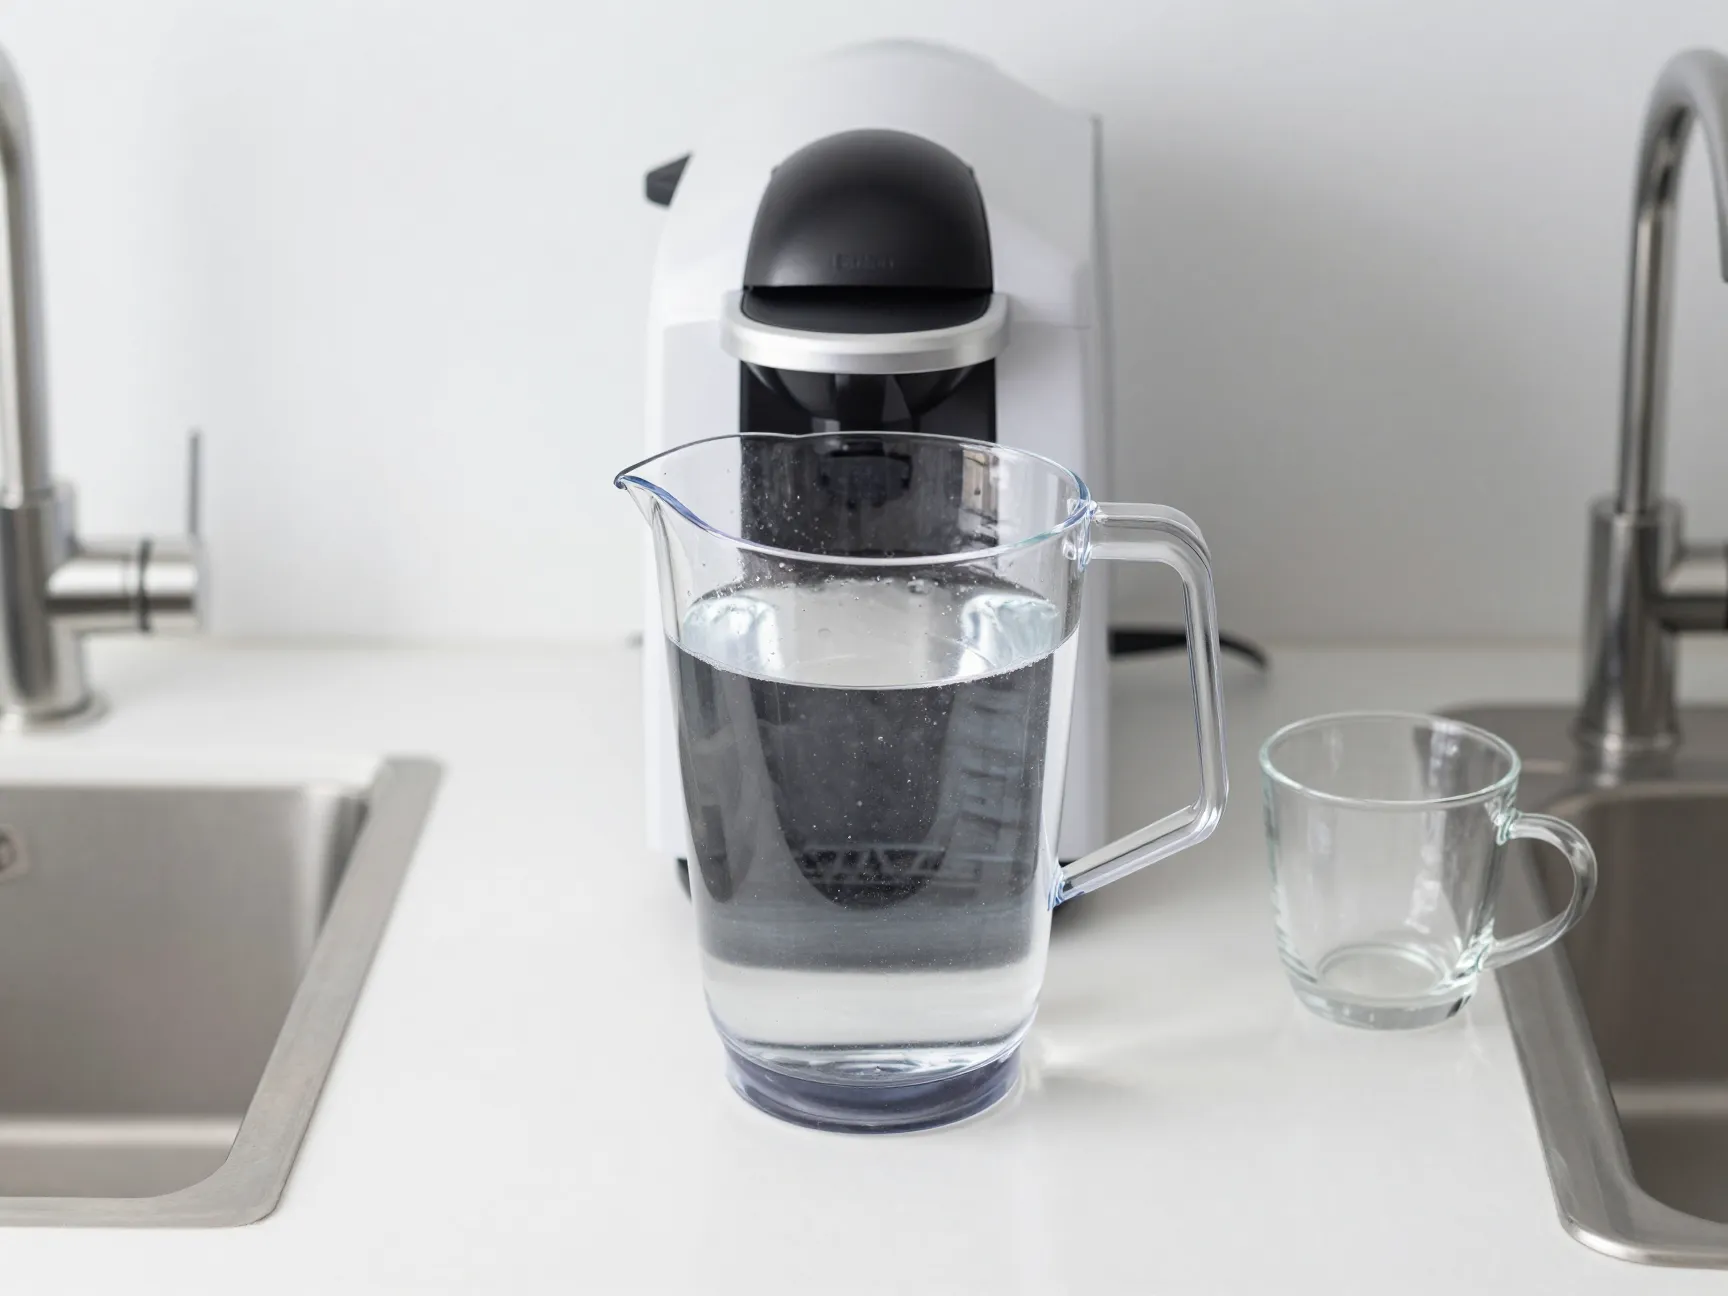
Your coffee is approximately 98% water. That number alone should make you rethink using tap water. Tap water contains chlorine, fluoride, and mineral imbalances that dull your coffee’s flavor profile before the grounds even get involved [1].
The ideal brewing water contains a balanced mix of calcium and magnesium — these minerals actually help extract the best flavor compounds from . Distilled water, on the other hand, is too pure and produces flat, lifeless coffee because it lacks the minerals needed for proper extraction [1].
What to use instead:
- Filtered water (Brita, PUR, or under-sink filters work well)
- Spring water (bottled or from a natural source)
- Reverse osmosis water with added mineral drops
💡 Pro tip: This one change alone can make a noticeable difference in your very next cup. It’s the easiest win on this entire list.
| Water Type | Flavor Impact |
|---|---|
| Tap water | Flat, sometimes bitter or chlorine-tinged |
| Distilled water | Lifeless, no depth |
| Filtered water | Clean, balanced, full flavor |
| Spring water | Rich, mineral-enhanced, café-quality |
2. Preheat Your Keurig With a Water-Only Cycle
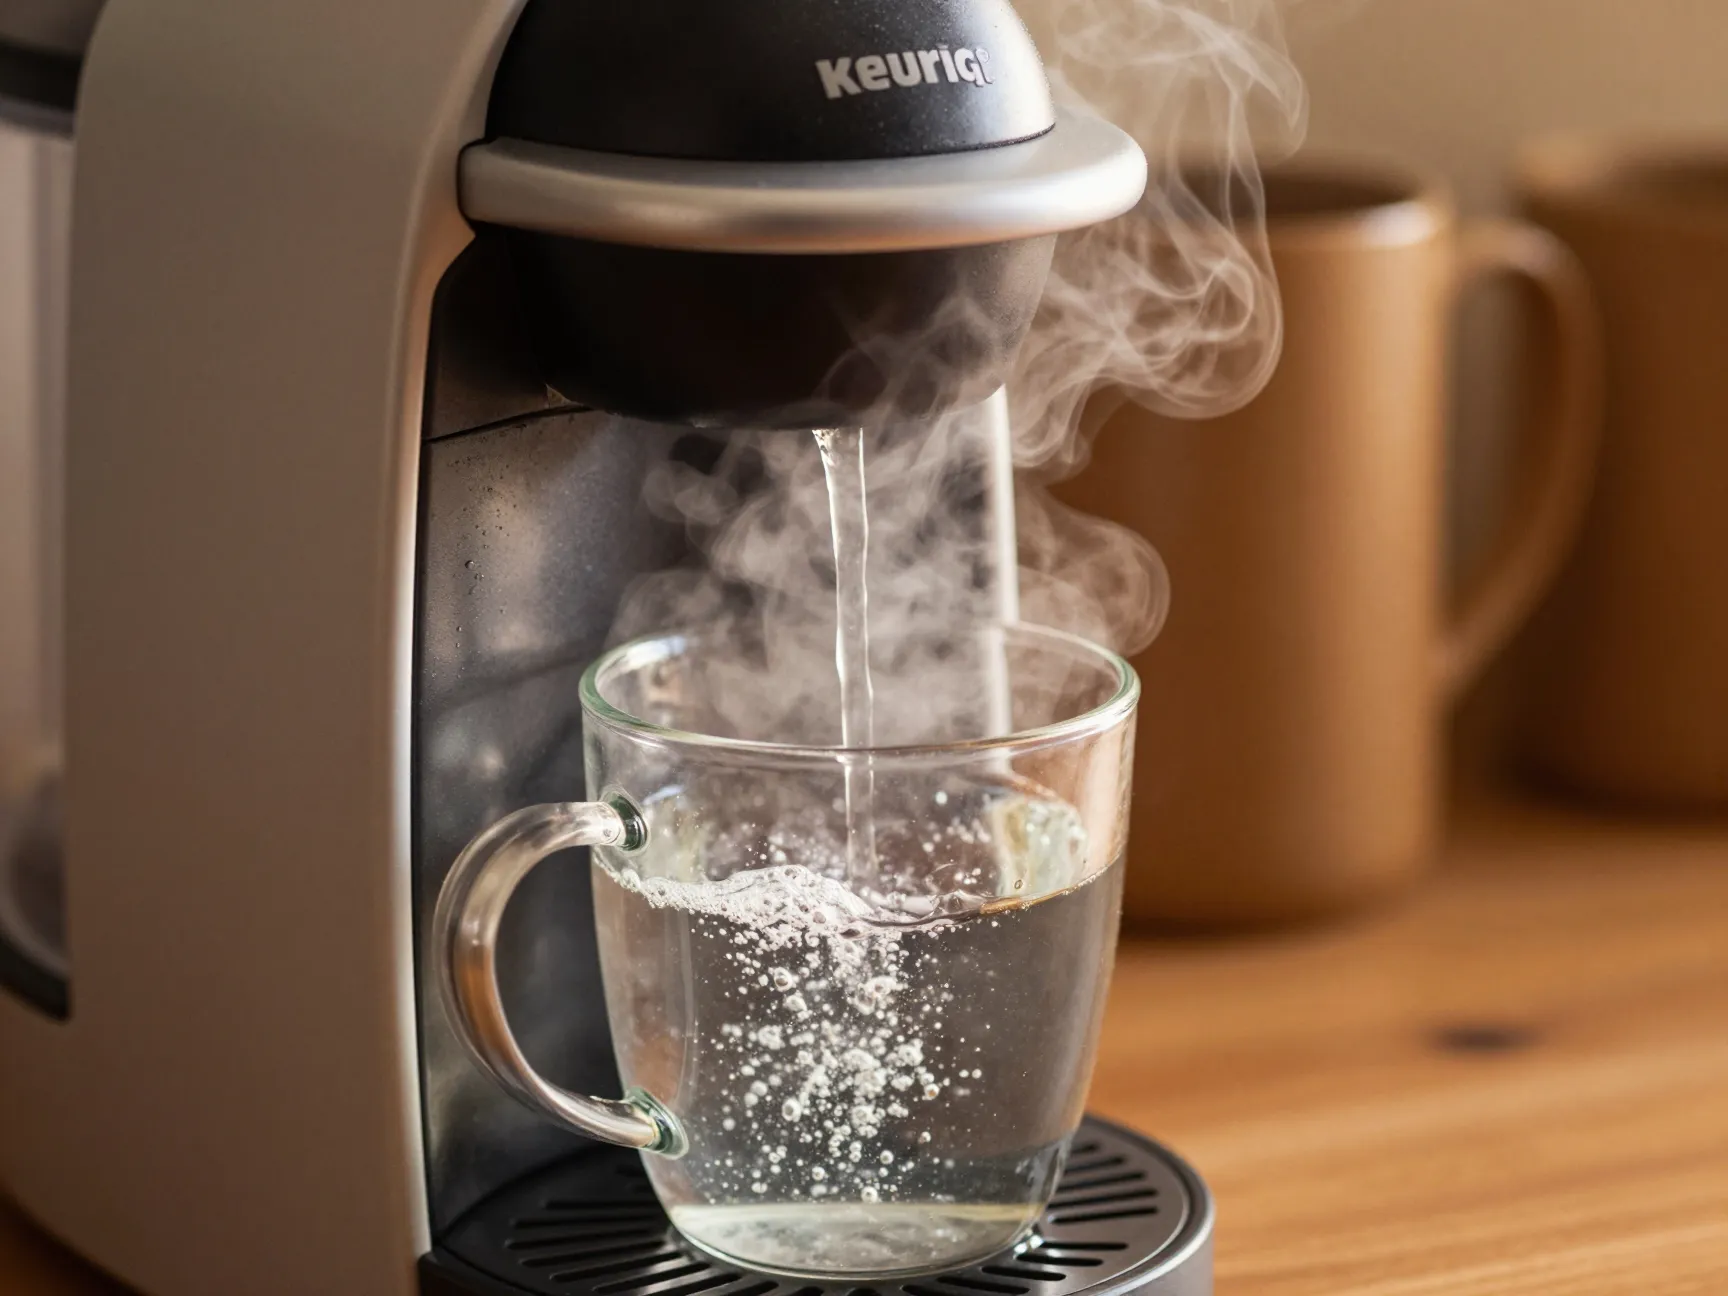
Most people drop in a pod and hit brew immediately. That’s a mistake. A cold machine means the first ounces of water hitting your grounds are below optimal extraction temperature, which leads to under-extracted, sour, or weak coffee [1] [2].
Here’s the fix: Before inserting your K-cup, run a brew cycle with just water — no pod. This does two things:
- It warms up the internal water lines and heating element to the correct temperature.
- It preheats your mug, which helps your coffee stay hot longer.
This takes less than 60 seconds and costs you nothing. Think of it as warming up before a workout — the machine performs better when it’s ready.
3. Use the “Strong” or “Bold” Brew Setting
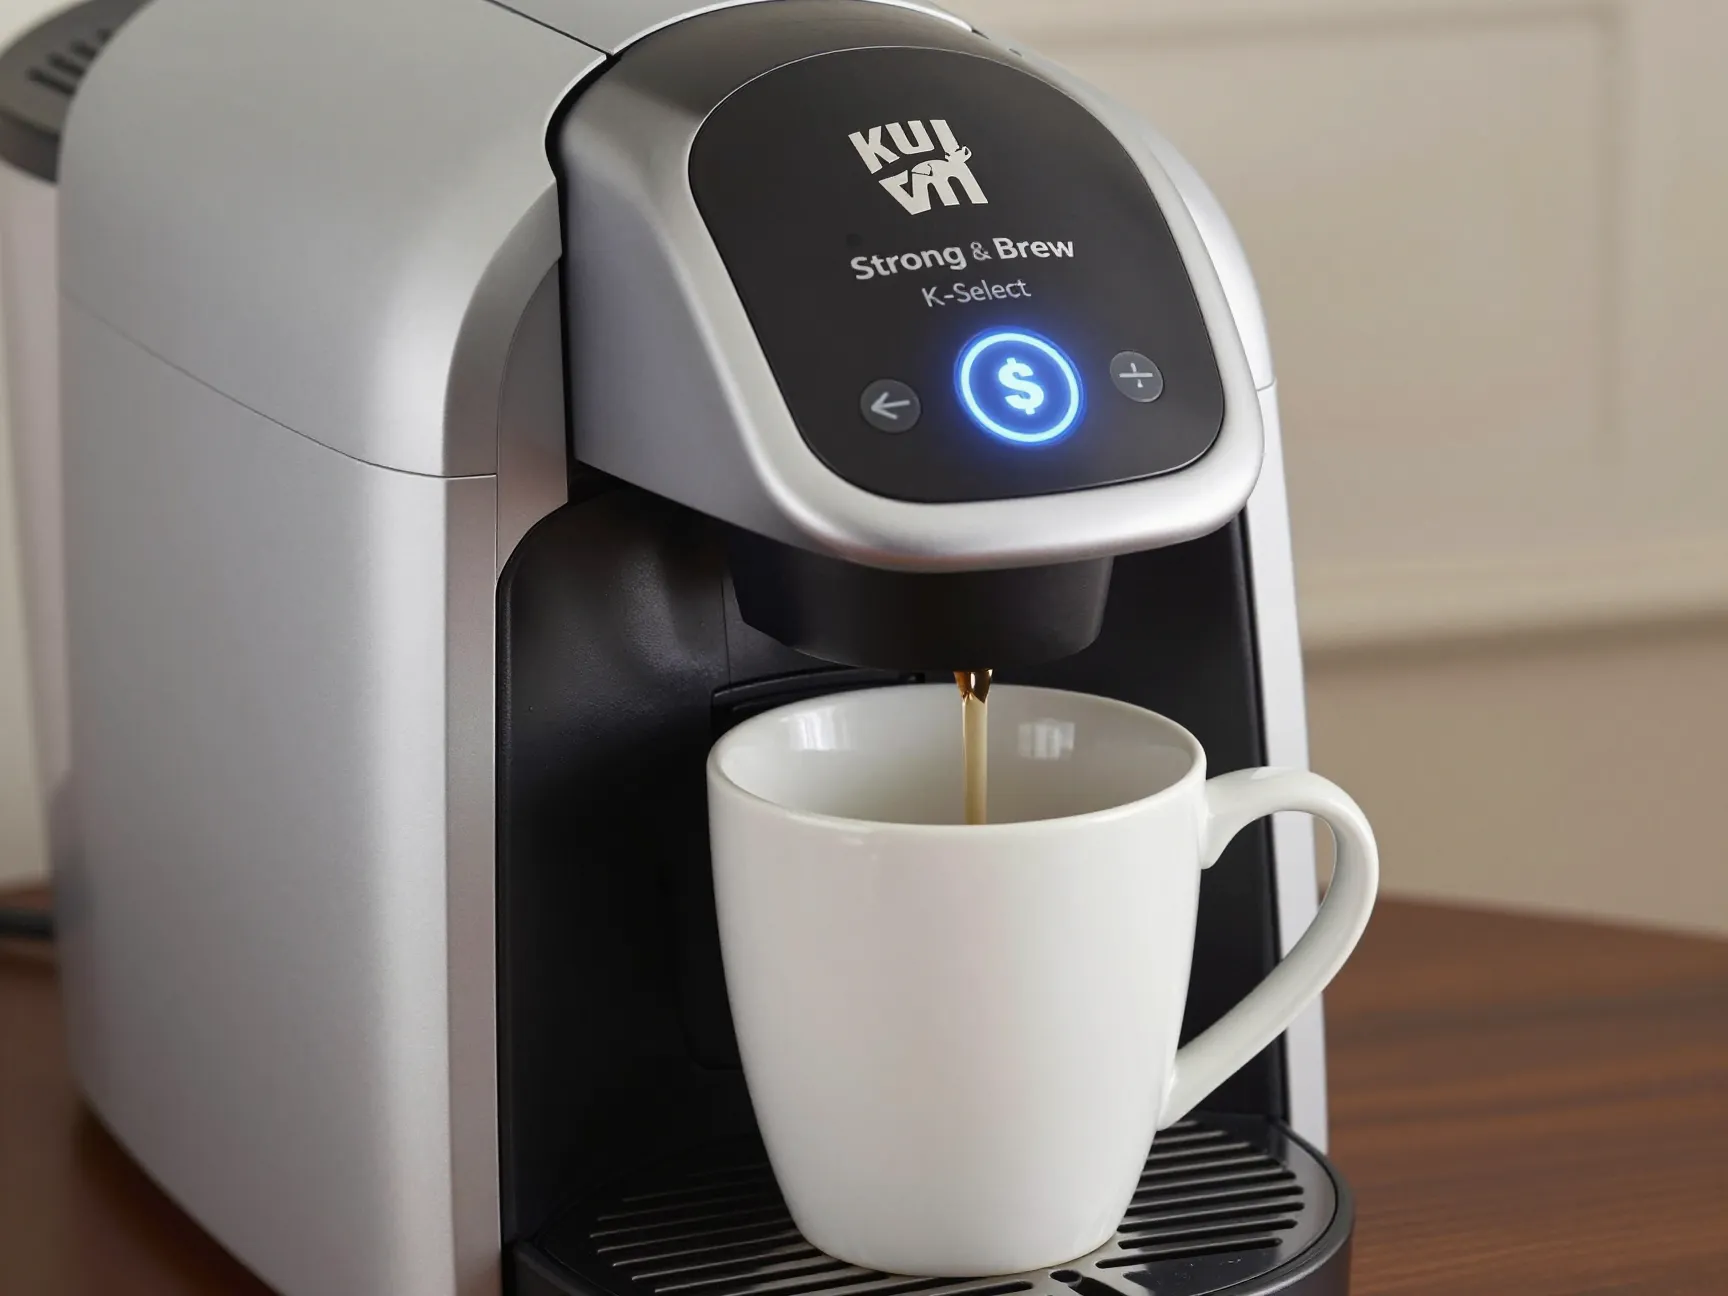
Many Keurig models include a Strong or Bold brew button that most users ignore. This setting slows down the flow of water through the grounds, increasing the contact time between and coffee [1] [2].
Longer contact time = better extraction = richer, more developed flavor.
In coffee science, this is called extraction time, and it’s one of the most critical variables in brewing quality. The Strong setting essentially gives your Keurig a small but meaningful edge over its default speed [3].
Benefits of the Strong setting:
- Fuller body and more complex flavor
- Higher caffeine content per cup
- Reduced watery or thin taste
- More aromatic finish
If your Keurig model has this feature, make it your default. You can always dial back if the result is too intense, but most people find they prefer it immediately.
4. Brew at 6 oz or 8 oz Instead of 10–12 oz
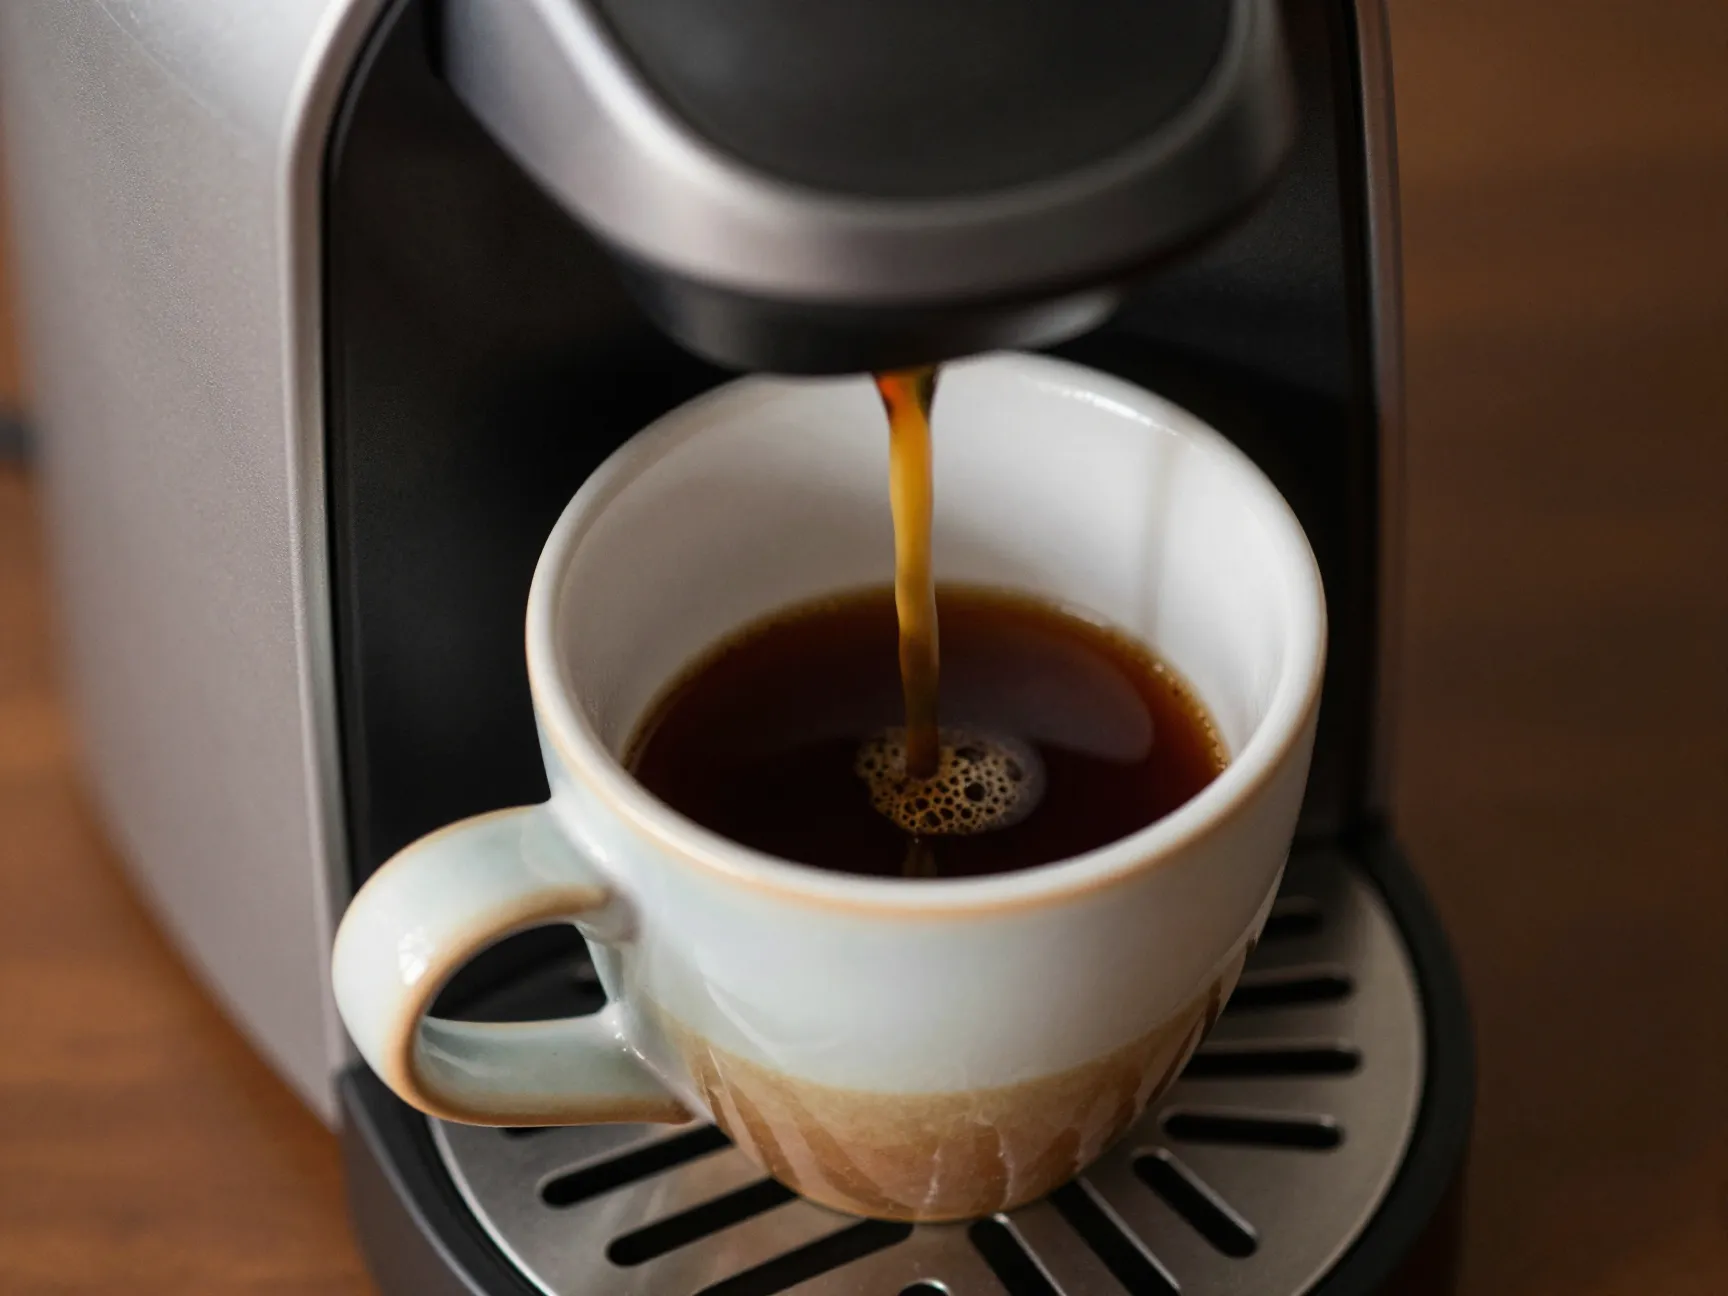
This is one of the most impactful — and most overlooked — hacks on this list. When you brew a 12 oz cup from a single K-cup pod, you’re pushing a lot of water through a small amount of coffee. The result is over-diluted, weak coffee [2].
The math is simple: The same amount of grounds, twice the water = half the strength.
Switching to the 6 oz or 8 oz brew setting concentrates the flavor dramatically. Yes, you get a smaller cup, but the taste difference is significant. If you want a larger drink, brew at 6 oz and add hot water or milk separately — this is called an Americano-style approach and it preserves flavor far better than brewing large.
🔑 Key insight: “Less water, more flavor” is the golden rule of single-serve brewing.
5. Try the Double-Pod Hack for Maximum Strength
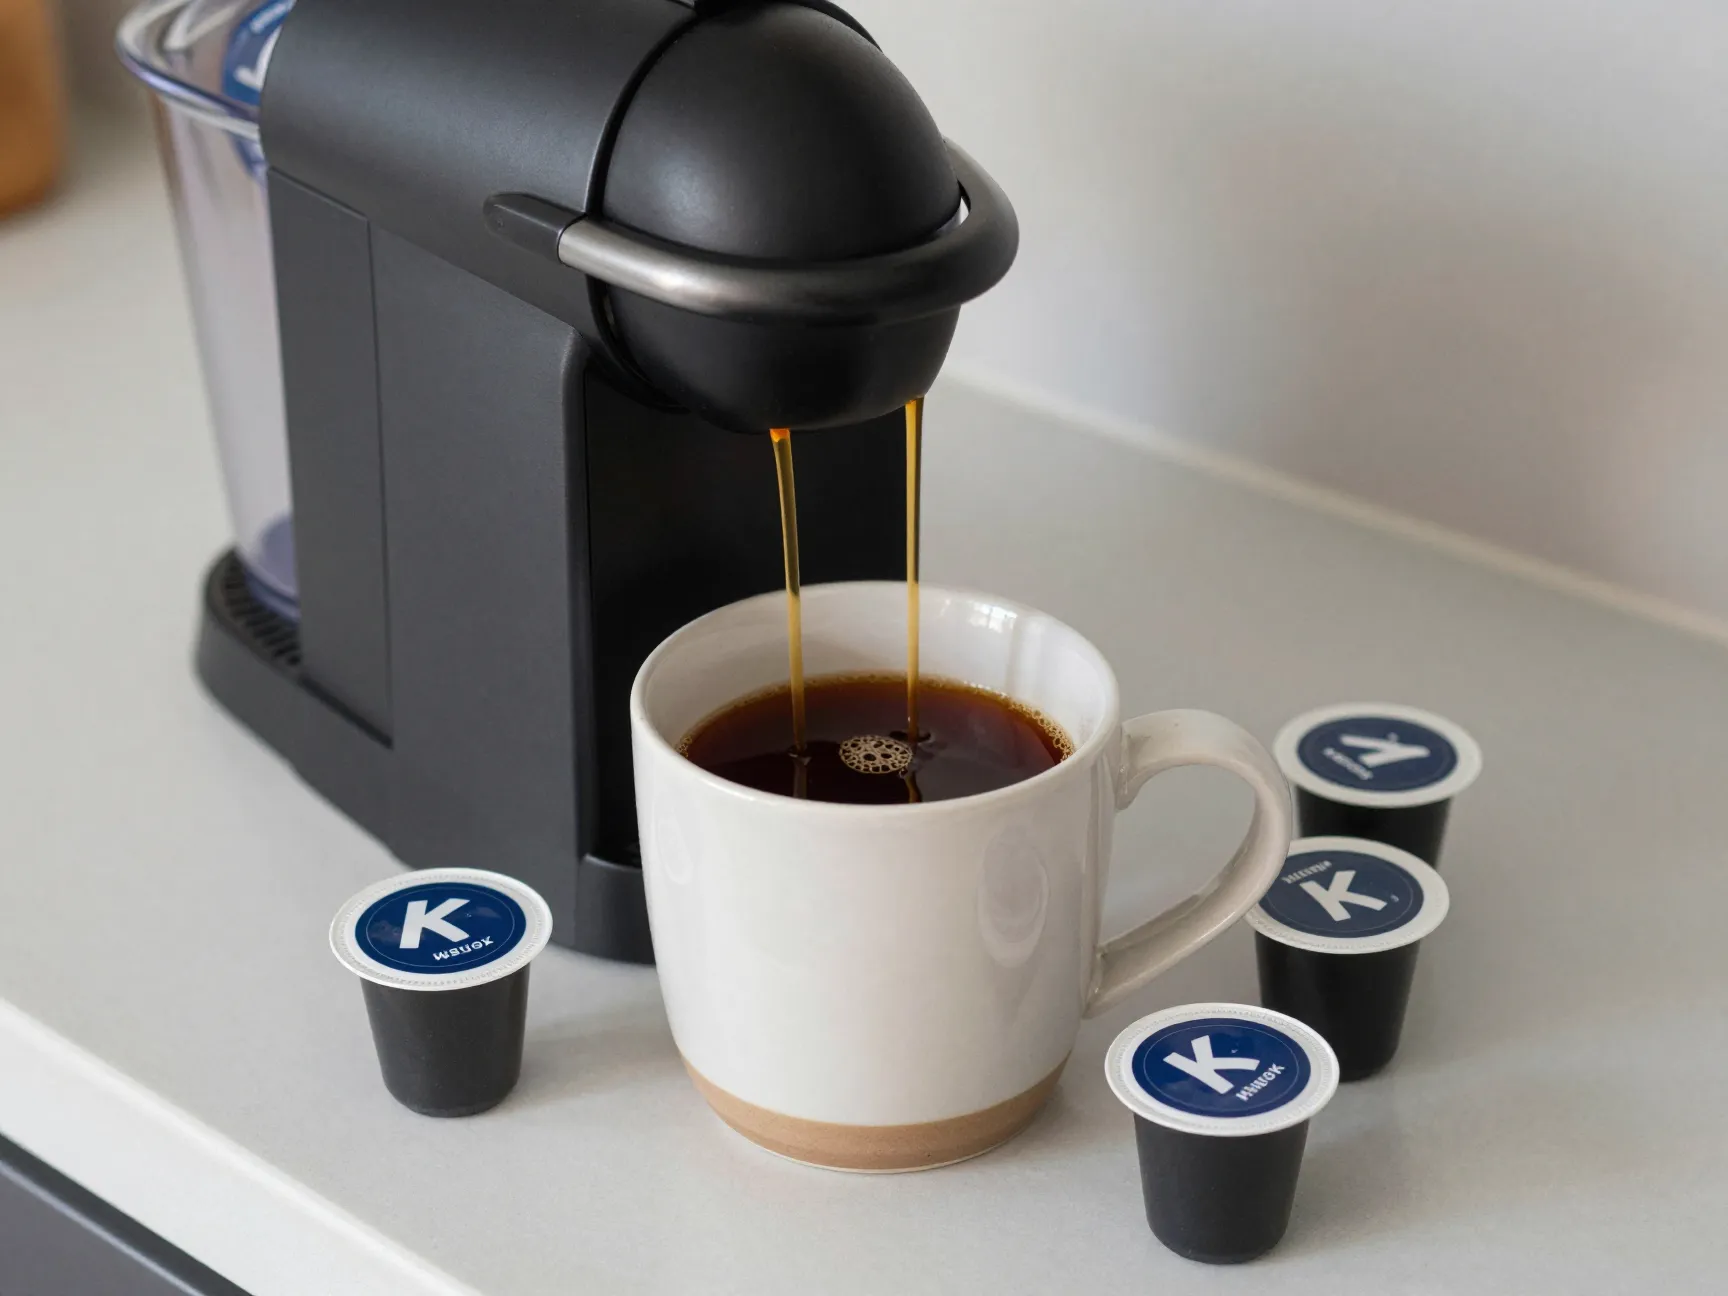
If you need a full, large cup of coffee that still tastes bold, the double-pod hack is your answer [1] [2].
Here’s how it works:
- Insert the first K-cup and brew at the 6 oz setting.
- Remove the used pod without moving your mug.
- Insert a second K-cup and brew another 6 oz into the same mug.
The result is a 12 oz cup brewed from two pods — double the grounds, same water volume. The coffee is noticeably stronger, richer, and more satisfying than any single-pod large brew.
Yes, it uses two pods. But if matters to you, this is the most straightforward way to get it from a Keurig without any additional equipment.
Cost consideration: Two K-cups typically cost $1.00–$1.50 total — still far cheaper than a café drink.
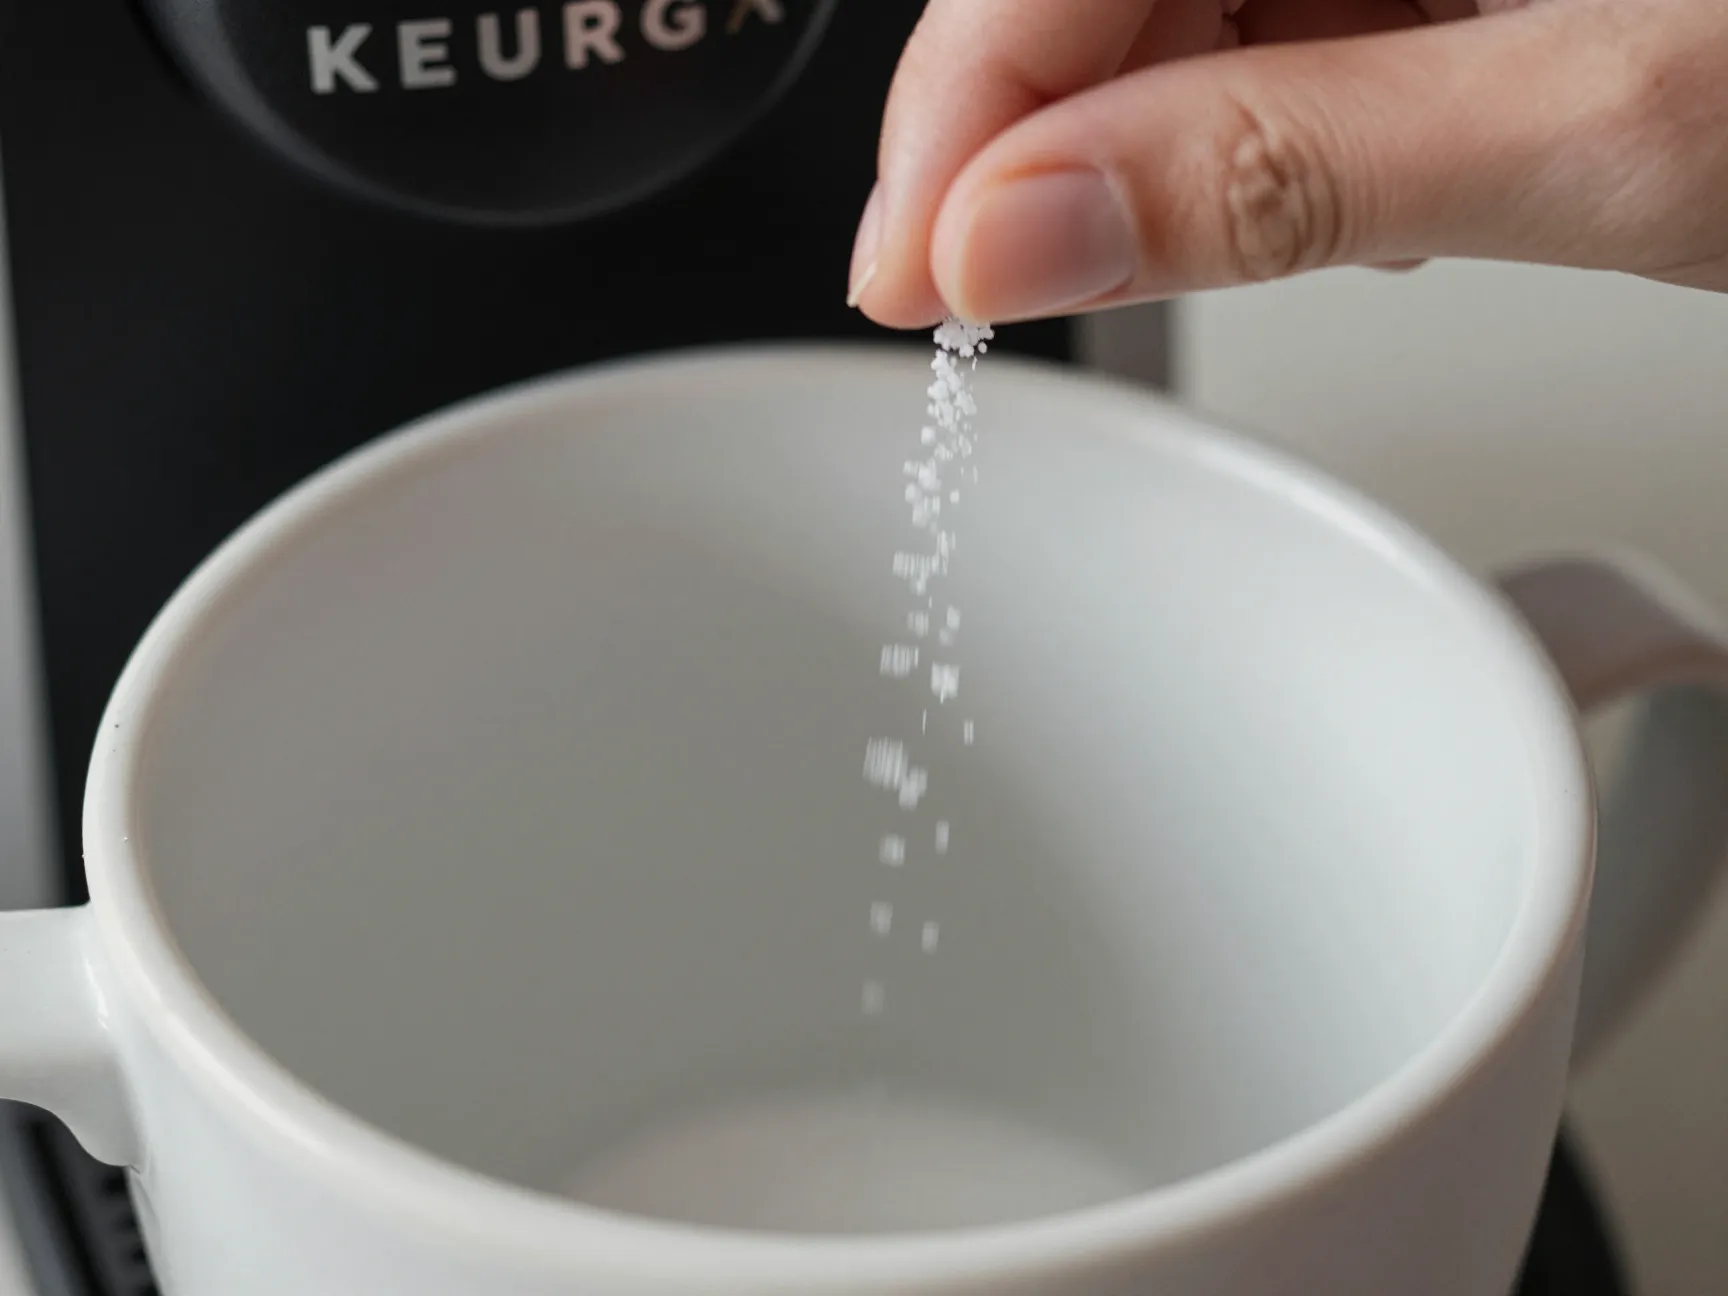
6. Add a Tiny Pinch of Salt to Your Cup
This one sounds strange. I get it. But the science behind it is solid, and once you try it, you’ll never go back [1] [2] [3].
A very small amount of salt — we’re talking ⅛ teaspoon or less — neutralizes the bitter compounds in coffee without making it taste salty. Salt suppresses bitterness perception on the tongue, which allows the sweeter, more nuanced flavors of the coffee to come forward.
This trick has been used by professional baristas and food scientists for years. It works especially well with darker roasts or K-cups that tend to brew on the bitter side.
How to use it:
- Add the pinch of salt directly to your empty mug before brewing
- Or stir it in after brewing
- Start with just a tiny pinch — less than you think you need
☕ “Salt doesn’t make your coffee taste salty — it makes it taste like better coffee.”
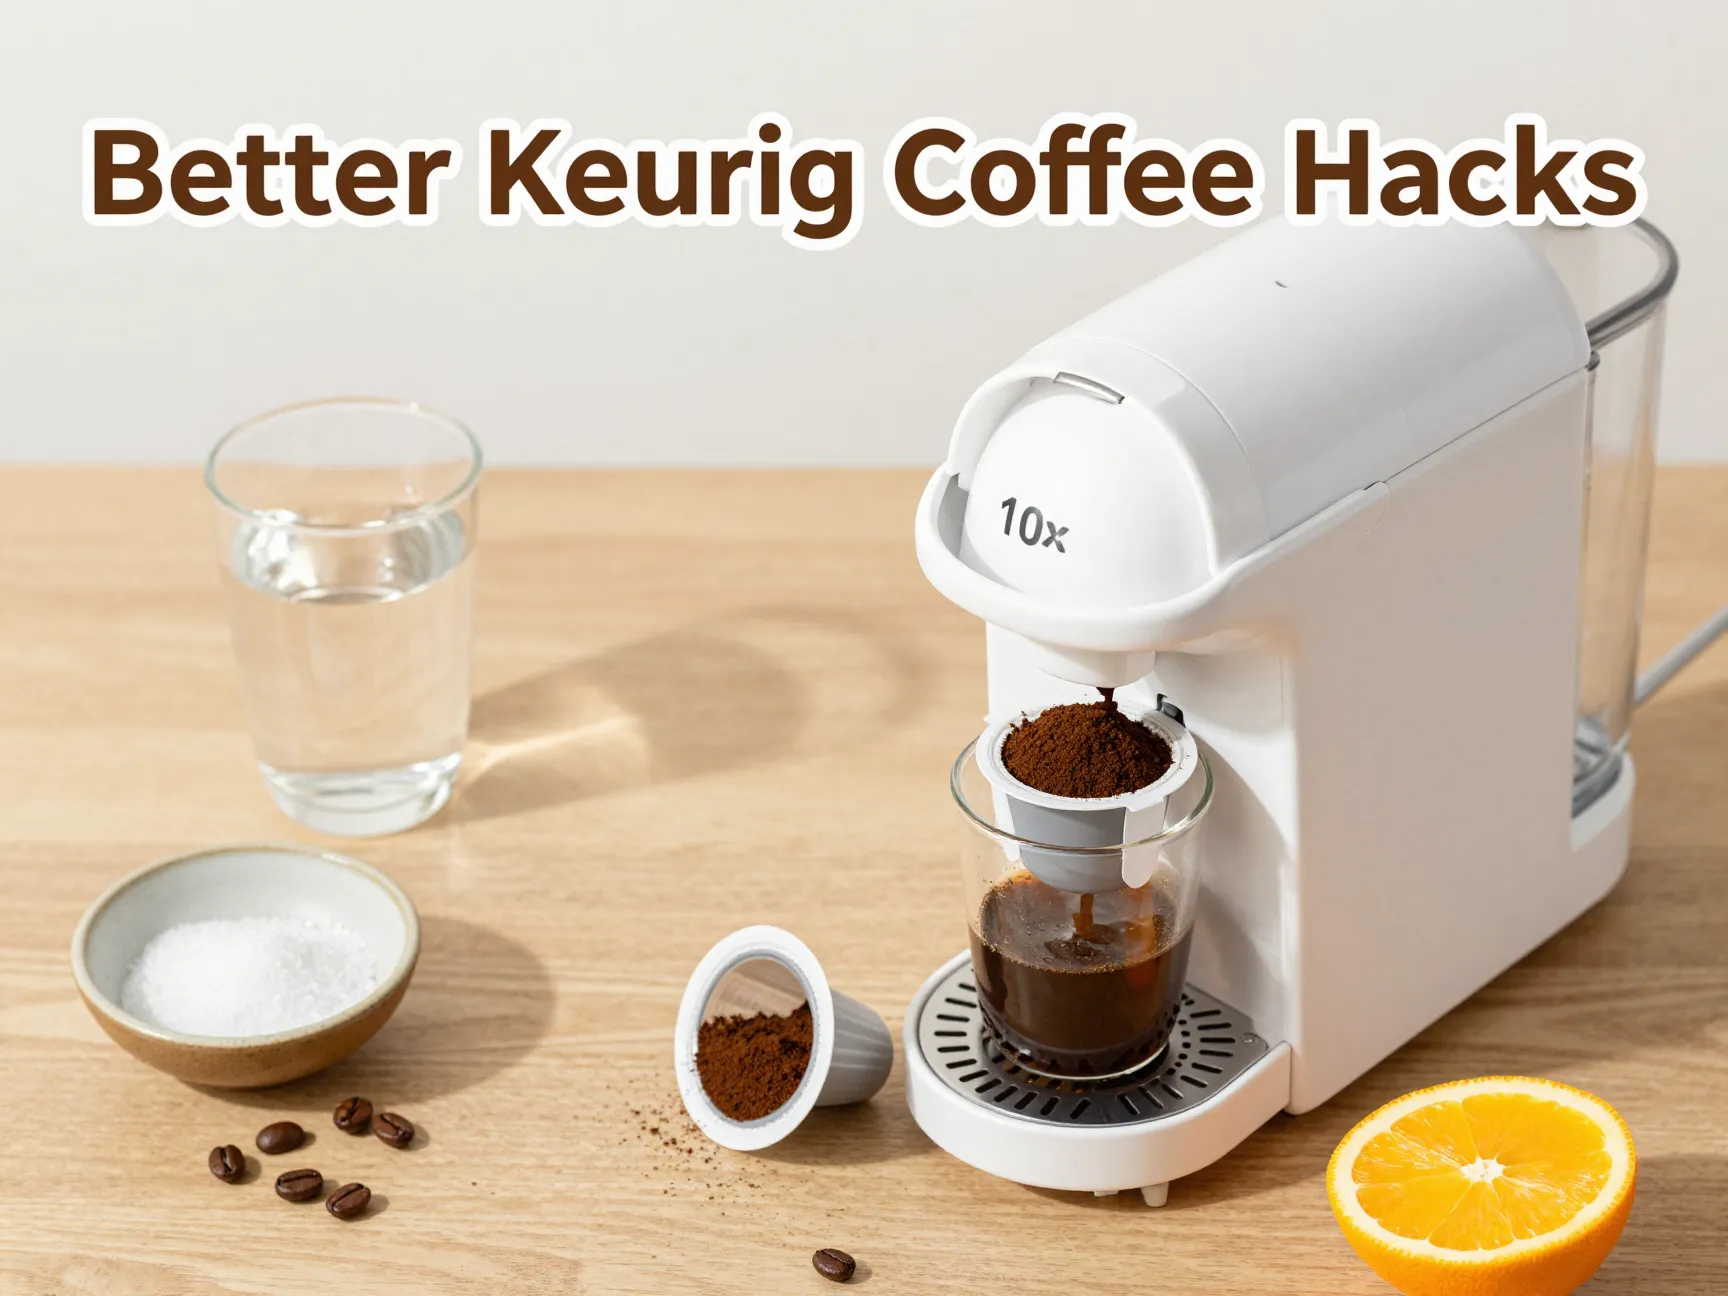
7. Use a Reusable K-Cup With Freshly Ground Beans
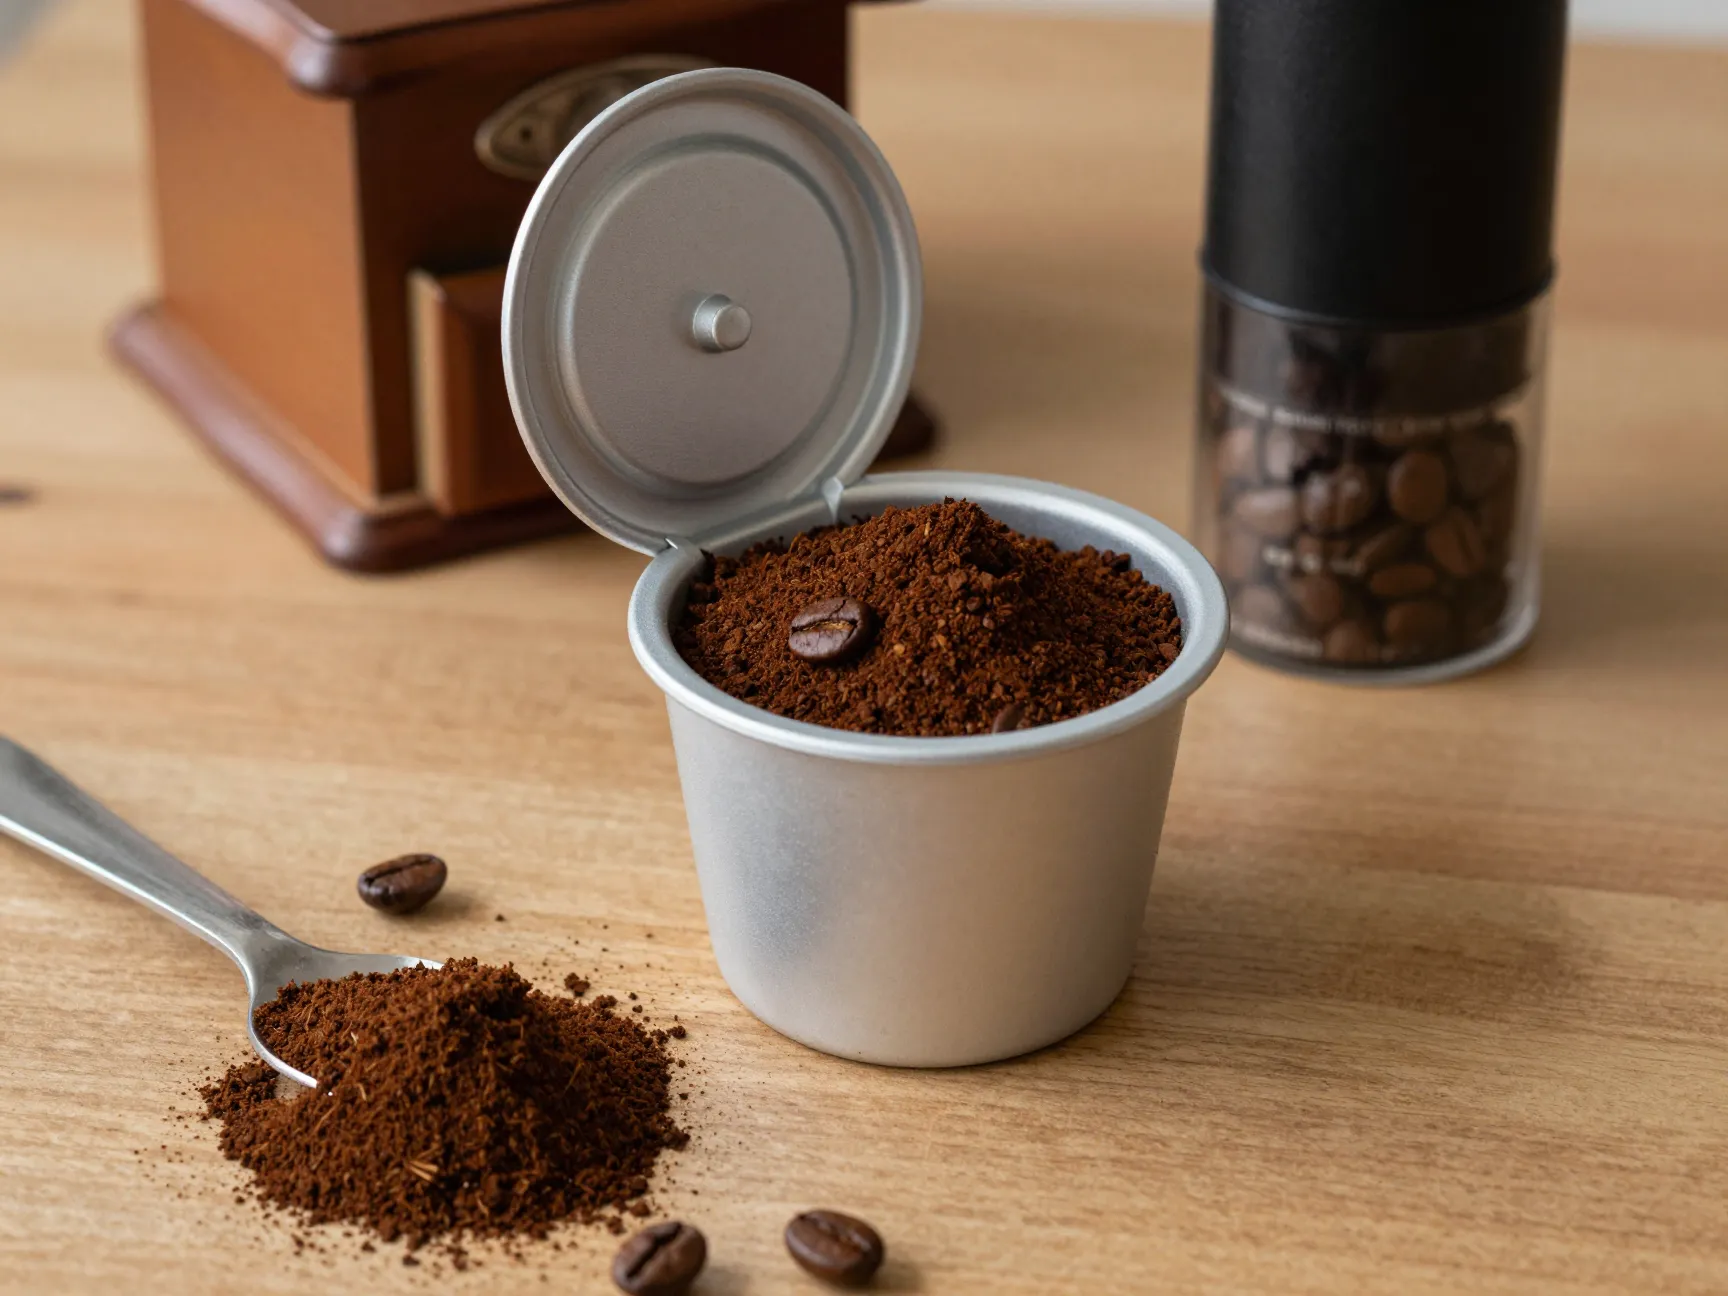
This is the single biggest upgrade you can make to your Keurig setup. Pre-filled K-cups contain pre-ground coffee that was sealed weeks or months ago. Freshness is the enemy of stale coffee, and stale coffee is the enemy of great flavor [1] [2] [3].
A reusable K-cup (also called a refillable pod) costs around $10–$15 and lets you fill it with any coffee you choose — freshly ground, right before brewing.
How to use a reusable K-cup for best results:
- Grind your beans to a medium grind (similar to table salt in texture).
- Fill the reusable pod — don’t overfill.
- Lightly tamp the grounds, but don’t pack them tight (tight packing restricts water flow).
- Brew at the 6 oz setting for the most concentrated flavor.
Benefits of going reusable:
- Total control over roast type and origin
- Dramatically fresher coffee
- Reduced plastic waste 🌱
- Lower cost per cup over time
- Ability to experiment with specialty beans
| Factor | Pre-filled K-cup | Reusable K-cup |
|---|---|---|
| Freshness | Low (weeks/months old) | High (ground fresh) |
| Flavor control | None | Complete |
| Cost per cup | $0.50–$0.75 | $0.20–$0.40 |
| Environmental impact | High plastic waste | Minimal |
| Flexibility | Limited to available pods | Any bean, any roast |
8. Deep Clean Your Keurig With White Vinegar
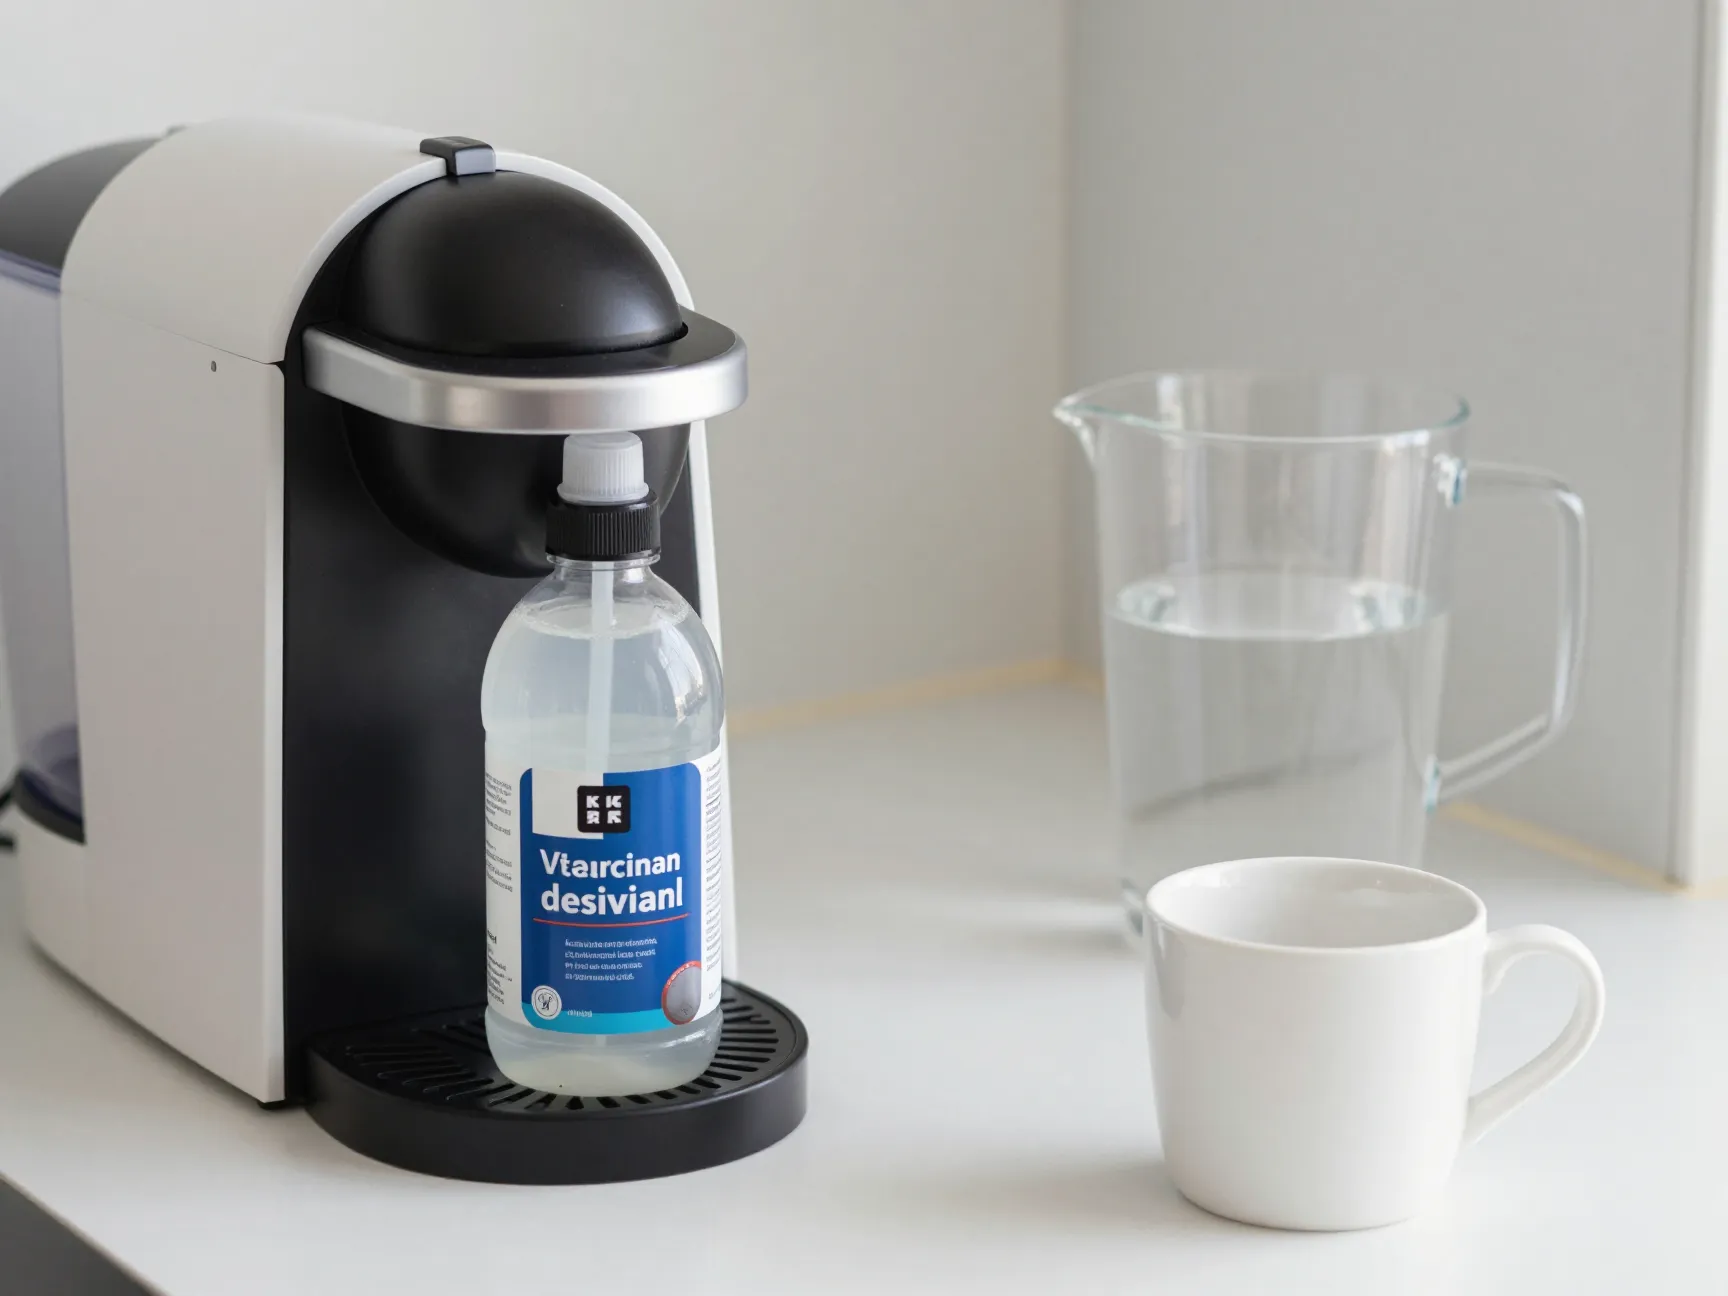
Even if you do everything else on this list perfectly, a dirty Keurig will undermine every cup you make. Mineral scale, old coffee oils, and stale water residue build up inside the machine over time — and they all affect flavor [2].
A machine with scale buildup also struggles to reach optimal brewing temperature, which means under-extracted coffee even when you’re doing everything else right.
How to descale your Keurig with white vinegar:
- Empty the water reservoir completely.
- Fill it with undiluted white vinegar.
- Run brew cycles (without any K-cup) until the reservoir is empty.
- Refill with clean water and run 2–3 full rinse cycles.
- If a vinegar smell lingers, add a splash of lemon juice to the water for the final rinse cycle [2].
How often should you descale?
- Every 3–6 months for regular users
- Every 1–2 months if you use tap water or live in a hard water area
🧹 Bonus benefit: A clean Keurig brews hotter, which means better extraction and a longer machine lifespan.
Bonus Hack: Add Cinnamon or Nutmeg for a Flavor Upgrade 🌿
While this didn’t make the official numbered list, it’s worth mentioning as a quick flavor enhancer. Adding a small pinch of ground cinnamon or nutmeg to your brewed coffee creates a warm, aromatic dimension that transforms a basic cup into something special [3].
Two ways to use spices with your Keurig:
- Stir a small pinch into your finished cup
- Add spices directly to the grounds in your reusable K-cup before brewing for a more subtle, integrated flavor
Cinnamon pairs beautifully with medium roasts. Nutmeg works well with dark, bold roasts. Cardamom is excellent if you enjoy Middle Eastern-style coffee.
Quick Reference: All 8 Hacks at a Glance
| # | Hack | Difficulty | Cost | Impact |
|---|---|---|---|---|
| 1 | Use filtered/spring water | Easy | Low | ⭐⭐⭐⭐⭐ |
| 2 | Preheat with water-only cycle | Easy | Free | ⭐⭐⭐ |
| 3 | Use Strong/Bold brew setting | Easy | Free | ⭐⭐⭐⭐ |
| 4 | Brew at 6–8 oz setting | Easy | Free | ⭐⭐⭐⭐⭐ |
| 5 | Double-pod hack | Easy | Low | ⭐⭐⭐⭐⭐ |
| 6 | Add a pinch of salt | Easy | Free | ⭐⭐⭐⭐ |
| 7 | Reusable K-cup + fresh grounds | Moderate | Low | ⭐⭐⭐⭐⭐ |
| 8 | Descale with white vinegar | Moderate | Very Low | ⭐⭐⭐⭐ |
Frequently Asked Questions
Q: Will these hacks work on any Keurig model?
Most of these hacks work across all Keurig models. The Strong/Bold setting is only available on select models (like the K-Elite and K-Select), but the other seven apply universally.
Q: How much does it cost to implement all 8 hacks?
The majority of these hacks are completely free. The only purchases involved are filtered water (if you don’t already filter), a reusable K-cup (~$10–$15), and white vinegar (~$2). Total investment: under $20.
Q: Can I use these hacks if I only drink flavored K-cups?
Absolutely. The water quality, brew size, preheating, and salt hacks all apply regardless of the K-cup flavor you use.
Q: How quickly will I notice a difference?
Most people notice an improvement on the very first cup after switching water and adjusting brew size. The reusable K-cup with fresh grounds delivers the most dramatic improvement.
Conclusion: Your Best Keurig Cup Starts Today
The 8 hacks for how to make coffee with Keurig that tastes 10x better aren’t complicated, expensive, or time-consuming. They’re small, intentional adjustments that add up to a dramatically better cup — every single morning.
Here’s where to start right now:
- Today: Switch to filtered or spring water and change your brew size to 6 or 8 oz.
- This week: Run a preheating cycle before your first brew and try the salt trick.
- This month: Pick up a reusable K-cup and a bottle of white vinegar for your first descaling session.
In 2026, there’s no reason to settle for mediocre coffee just because you own a single-serve machine. Your Keurig is capable of producing genuinely — it just needs a little help from you.
Start with one hack. Then add another. By the time you’ve worked through all eight, your morning cup will be something you actually look forward to. ☕
References
[1] Keurig K Cup Coffee Taste Better – https://www.stravacraftcoffee.com/blogs/healthy-living-blog/keurig-k-cup-coffee-taste-better
[2] How To Make Keurig Coffee Taste Better Without Tossing Your Machine Out A Window – https://aerialresupplycoffee.com/blogs/the-resupply-blog/how-to-make-keurig-coffee-taste-better-without-tossing-your-machine-out-a-window
[3] Watch – https://www.youtube.com/watch?v=zR0eBgpuBxM
[4] Make K Cups Taste Better – https://club.atlascoffeeclub.com/make-k-cups-taste-better/